
It's such a wonderful feeling to decorate for the holidays, and now you can wear a bit of that Christmas magic wherever you go with the Free Crochet Christmas Tree Hairclip Pattern! This pattern is easy to follow, and you can turn just a little yarn into a cheerful hair accessory that looks like a tiny Christmas tree.
The Christmas Tree hairclip is bright, cute, and fun to make. Imagine a tiny green tree in your hair, decorated with colorful bits for ornaments and maybe a shiny yellow star at the very top. You get to pick the colors-classic green with red and gold, or even make a rainbow tree for extra cheer! Each clip adds a festive sparkle, making your holiday outfits even more special.

This pattern is great because it's not only for hair! You can make a sparkling Christmas brooch, tuck a tree into a card as a gift topper, clip one onto your backpack as a holiday bag charm, or even hang it as a mini ornament on your own tree. There are so many ways to use your Christmas trees.
You just need a 2.5mm hook and soft cotton yarn to get started. The special part of this pattern is the picot stitch, which makes the edge of the branches look nice and spiky, just like a real Christmas tree. When finished, your little tree will be about two to three inches tall, which is perfect for wearing or sharing.

You can make every tree different with your favorite yarn colors and decorate them any way you like. With this pattern, it's easy to crochet a tree hairclip, a bright brooch, a pretty gift decoration, or even a fun keychain. Spreading Christmas joy can be as simple as picking up your crochet hook!
Materials Needed
- Yarn:
- 4-ply cotton yarn (in Olive Green or any preferred color).
- Hook: 2.5 mm crochet hook.
- Scissors: For cutting the yarn ends.
- Tapestry Needle: To weave in loose ends securely.
- Stitch Marker (Optional): To mark the first stitch of your row, especially for beginners.
- Gauge Measuring Tape (Optional): To ensure consistency.
Gauge
- 8 single crochets (sc) = 1 inch (2.5 cm)
- Gauge is not overly crucial for this motif as it will naturally vary depending on the materials and tension.
Finished Size
Approximately 5-6 cm (2-2.5 inches) in length, depending on your tension and yarn choices.
Important Notes Before You Begin
- Chaining and Turning: For this motif, the chain 1 (ch) at the beginning of each row does not count as a stitch. Always start the first stitch in the same stitch as the chain-1 from the row below. At the end of each row, turn your work.
- Decreases: The decrease used is single crochet 2 together (sc2tog), creating a smooth and tapered edge for the leaf.
- Customization: The yarn color can be customized for various uses. If you're aiming for vibrant fall decor, consider warm hues like red, yellow, or orange for an autumn leaf.
Crochet christmas tree Pattern
This pattern creates a beautiful christmas tree that can be used for embellishment on bags, hats, scarves, headbands, or even as standalone decor (e.g., as keychains or small pendants). The addition of the chain detail and its clean, structured shape makes it an attractive and versatile project.
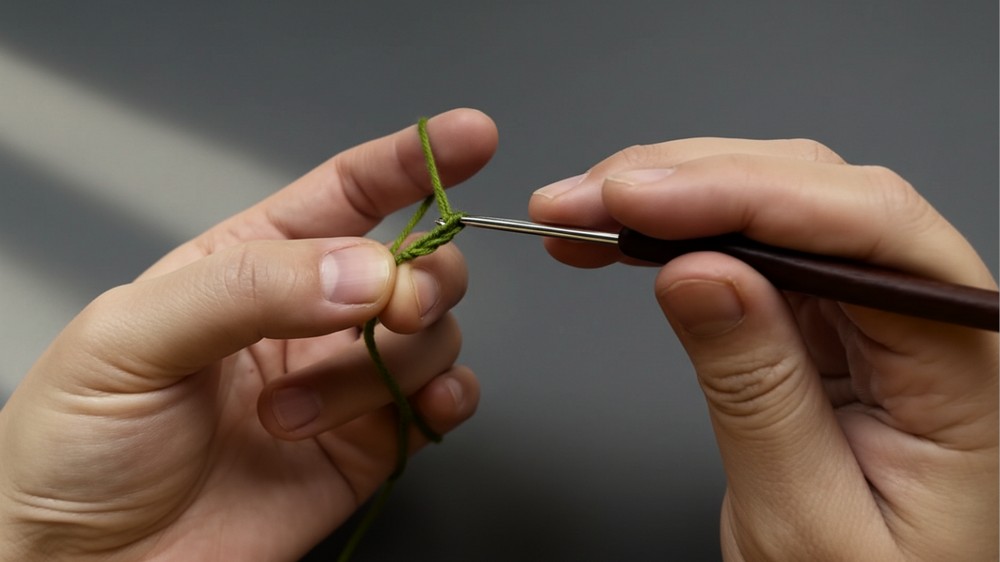
Step 1: Leaf Base
- Start with a slipknot: Using your 4-ply cotton yarn, create a slip knot on your hook.
- Foundation Chain: Chain 9 (ch 9).
Step 2: Rows to Shape the Leaf
Row 1
- Starting in the 2nd chain from the hook, make 1 single crochet (sc) in each stitch across. (8 sc total)
- Chain 1, turn.
Row 2
- Make 1 sc in each stitch across. (8 sc total)
- Chain 1, turn.
Row 3
- Work 6 sc across in the first 6 stitches.
- Then, work 1 decrease (sc2tog) in the last 2 stitches. (7 sc total)
- Chain 1, turn.
Row 4
- Make 1 sc in each stitch across. (7 sc total)
- Chain 1, turn.
Row 5
- Start with 1 decrease (sc2tog) over the first 2 stitches.
- Then, make 5 sc in the next 5 stitches. (6 sc total)
- Chain 1, turn.

Row 6
- Make 1 sc in each stitch across. (6 sc total)
- Chain 1, turn.
Row 7
- Work 4 sc in the first 4 stitches.
- Then, work 1 decrease (sc2tog) over the last 2 stitches. (5 sc total)
- Chain 1, turn.
Row 8
- Make 1 sc in each stitch across. (5 sc total)
- Chain 1, turn.
Row 9
- Start with 1 decrease (sc2tog) in the first 2 stitches.
- Finish with 3 sc across the next 3 stitches. (4 sc total)
- Chain 1, turn.

Row 10
- Make 1 sc in each stitch across. (4 sc total)
- Chain 1, turn.
Row 11
- Work 2 sc in the first 2 stitches.
- Then, 1 decrease (sc2tog) over the last 2 stitches. (3 sc total)
- Chain 1, turn.
Row 12
- Make 1 sc in each stitch across. (3 sc total)
- Chain 1, turn.
Row 13
- Work 1 decrease (sc2tog) in the first 2 stitches.
- Then, finish with 1 sc in the last stitch. (2 sc total)
- Chain 1, turn.
Row 14
- Make 1 sc in each stitch across. (2 sc total)
- Chain 1, turn.
Row 15
- Work 1 decrease (sc2tog) over the last 2 stitches. (1 sc total)
- Chain 1 and cut the yarn, leaving a tail for assembly or sewing.
At this stage, you've completed the main body of the leaf.
Step 3: Adding Chain and Embellishments
- Attach your yarn to the tip of the leaf.
- Chain Detail: Chain 3 (or desired length), skip 1 stitch, and slip stitch (sl st) into the next available base stitch. Repeat three more times to create a decorative chained edge.
- Fasten off and weave in the ends.

Step 4: Decorative Stem (Optional Handle)
For extra texture or as a handle, crochet a short stem at the base of the leaf:
- Reattach yarn in the center of the 4 middle stitches at the base.
- Chain 1, and work 4 sc across these stitches for 3 rows (R1-R3).
- Fasten off, leaving a tail long enough to sew or attach the stem securely.

Customization Ideas
- Color Variations: Use embroidery thread to highlight the veins in contrasting colors.
- Leaf Chains: Create a garland of leaves for room decor or seasonal fall decorations. String them together with chains.
- Add Beads: Incorporate beads into the stem or edge for a sparkle.
- Keychains or Bag Charms: Attach a metal ring or clasp to turn the leaf into a keychain or bag charm.
- Hairclips: Glue the hairpin to the back of the tree to make it a Christmas tree hairclip.
Conclusion
This Crochet Leaf Motif is a delightful and relaxing project for small-scale creations. Its clean lines, defined shape, and decorative potential make it fantastic for beginners and seasoned crocheters alike. While small in size, the leaf has decorative charm and can be adjusted into several practical embellishments.
Remarks on Final Appearance
The finished leaf is small, lightweight, and visually appealing. If tension is consistent, you'll have a smooth, slightly structured motif. Its edges and decorative stem can be used to enhance other projects like bags, baskets, or even headwear.