
Style your accessories with warmth and personality using this free crochet pine cone bag charm pattern that's easy and quick to make.
It's not always easy to find a crochet pattern that is both adorable and practical, but this free crochet pine cone bag charm pattern truly stands out. Sometimes, projects can feel too complicated or fussy, but this one is refreshingly simple and fun to make, even if you're just getting started with crochet. The finished pattern is so charming, capturing all the rustic beauty of nature and adding a cozy woodland vibe to your bag or keys.
Free Crochet Pine Cone Bag Charm Pattern Using Cotton Yarn
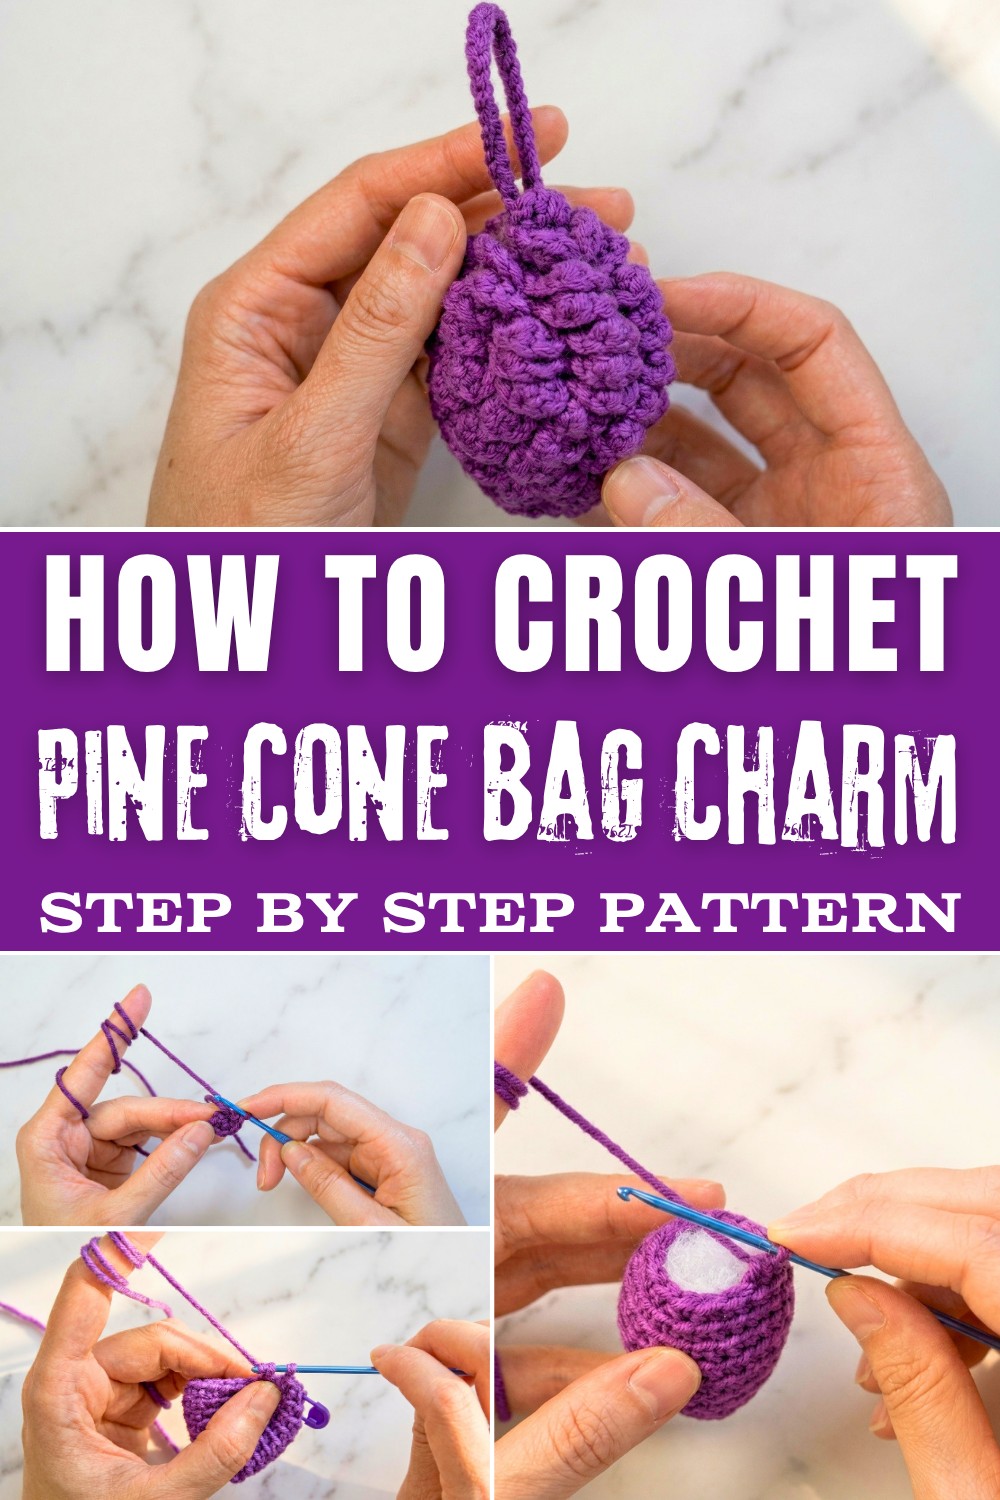
This pattern mainly uses the magic ring to begin, followed by single crochet stitches, chains, and working in back loops only, which gives the pine cone its gentle, textured scales. These classic stitches are the same ones you'll use in making amigurumi, small baskets, cute keychains, and other textured home decor items, so everything you learn here will help you with countless other projects. The pine cone's pattern is beginner friendly, with clear steps and lots of visual interest, making it perfect for relaxing crochet sessions.
What You'll Learn From this Pasttern
- Learn how to start with a magic ring to begin your project.
- Master crocheting in continuous rounds for seamless designs.
- Practice increasing and decreasing stitches to shape the pattern.
- Create special textures that add a realistic touch to the pine cone.
- Gain valuable skills for future crochet endeavors, building confidence with different techniques.
- Adapt the pattern to make pine cone ornaments for seasonal decorating.
- Use the design for rustic garlands or festive home decor.
- Transform your work into centerpieces for your table that exude a handmade charm.
- Enjoy a quick and rewarding crochet project that turns simple stitches into something truly delightful.
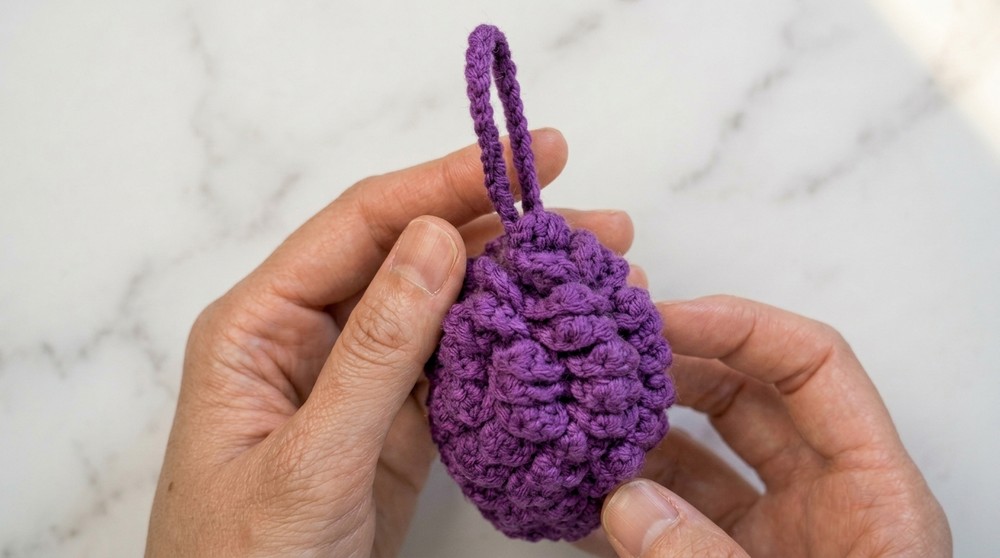
Finished Size
- Approx. 6-8 cm (2.5-3") tall (may vary by yarn and tension)
Ideal For
- Skill Level: Confident Beginners (knowledge of single crochet, increases, and beginner shaping in rounds helpful)
- Working in continuous rounds
- Using back/front loops for texture
- Stitch increases/decreases
- Creating scales using partial double crochet clusters
- Ornament finishing and weaving
Yarn Notes & Customization
- Try with browns, reds, or white for seasonal/winter pinecones.
- Add metallic or variegated yarns for festive shine.
- Apply a dusting of glitter glue to tips for a snowy effect.
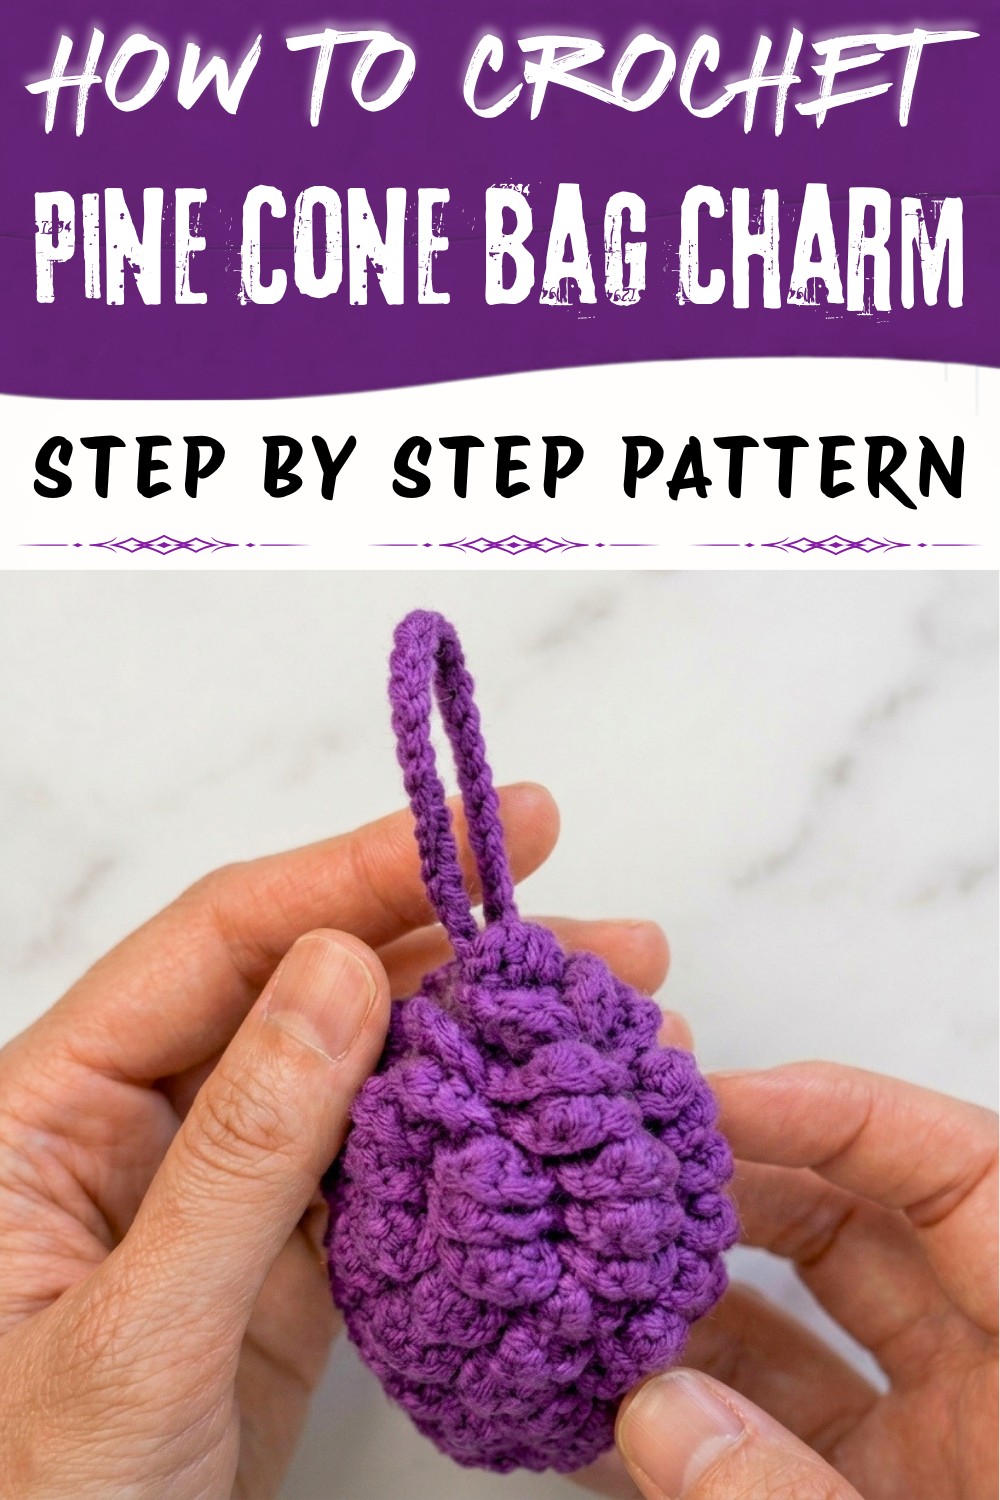
Crochet Pyon Pinecone Ornament Pattern
Materials Needed
- Yarn:
100% milk cotton yarn, weight 5 ply, in purple - Hook:
2.5 mm crochet hook - Stuffing:
Fiberfill (or use yarn scraps for eco-friendly option) - Stitch Marker:
Or a paper clip - Tapestry Needle:
For sewing/weaving in - Scissors
Abbreviations List
- ch: Chain
- sc: Single Crochet
- sl st: Slip Stitch
- inc: Increase (2 single crochets in the same stitch)
- dec: Decrease (combine 2 stitches into 1 stitch)
- blo: Back Loop Only
How to Begin
Start by gathering all materials, ensuring the workspace is organized and well-lit. Familiarize yourself with the abbreviations and stitch techniques before starting.
Stitches Used in This Pattern
- Magic Ring
- Single Crochet (sc)
- Slip Stitch (sl st)
- Chains (ch)
- Incomplete Double Crochet
- Back Loop Only (blo)
Pinecone Crochet Pattern
Pinecone Base
Round 1:
- Make a magic ring. Chain 1 (does not count as a stitch).
- Work 6 single crochets (sc) into ring.
- Pull tail to close ring tightly.
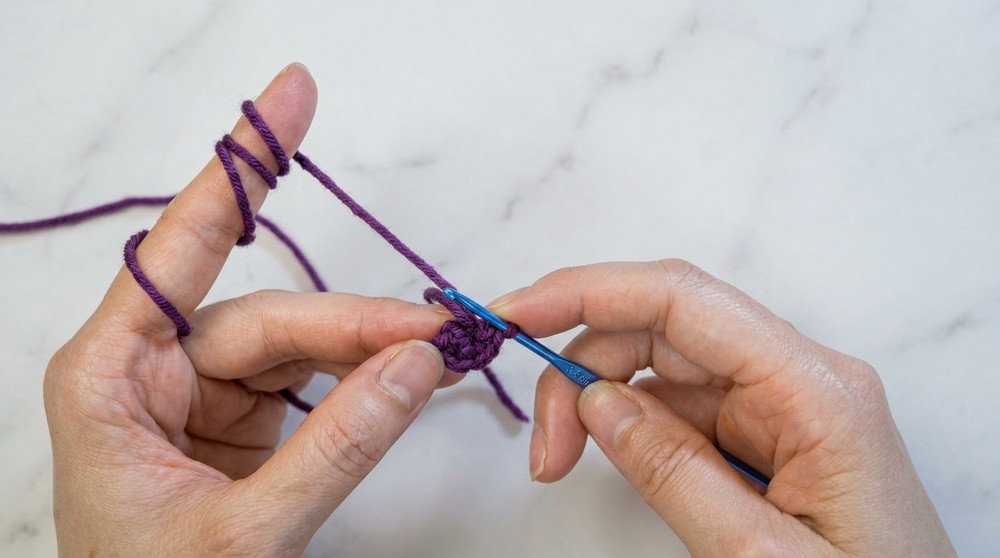
This forms the closed base of your pinecone. Making a magic ring creates a neat, flat circle without a hole.
Round 2: (Work in back loops only from here onward)
- [2 sc in each stitch around] (increase in every stitch; total 12 sc).
By working only in the back loops, the front loops remain for textural detail in the next phase. This technique gives pinecones a "scaly" look!
Round 3:
- [1 sc in next stitch, 2 sc in next stitch] repeat around.
- (total 18 sc)
Alternate one single crochet and one increase (two in same stitch) for a gentle expansion. Keep using back loop only!
Round 4:
- [1 sc in each of next 2 stitches, 2 sc in next stitch] repeat around.
- (total 24 sc)
The shaping creates an oval foundation, continuing natural pinecone dimensions.
Round 5:
- 1 sc in each stitch around.
- (24 sc, back loop only)
No increases-just maintain the round, keeping your tension even and using the back loop throughout.
Round 6:
- [1 sc in each of next 3 stitches, 2 sc in next stitch] repeat around.
- (30 sc)
This is the last round to increase your base-your ornament is now pinecone-sized!
Rounds 7-8:
- 1 sc in each stitch around.
- (30 sc per round)
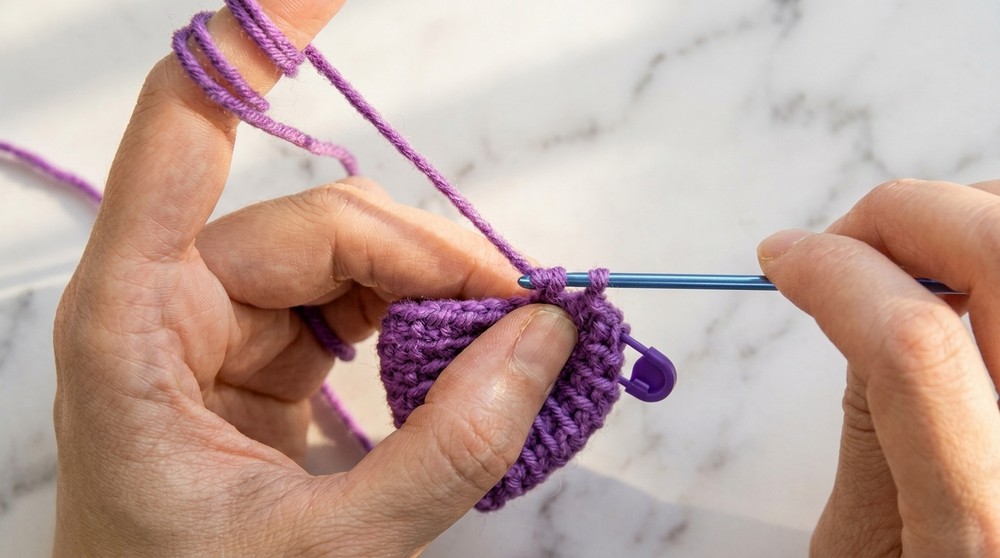
Keep working evenly for some vertical height. Always use the back loop only for good scale definition.
Round 9 (Start Decreases):
- [1 sc in next 3 stitches, sc2tog (decrease)] repeat around.
- (24 sc)
sc2tog: Insert hook into next stitch, pull up loop, insert hook into next, pull up loop, yarn over, pull through all.
Round 10:
- 1 sc in each stitch around.
- (24 sc)
Round 11:
- [1 sc in next stitch, sc2tog (decrease)] repeat around.
- (16 sc)
Your ornament is closing toward the top - pause and gently stuff here, shaping as you go.
Round 12 (Close Opening):
- [sc2tog] around.
- (8 sc, snuggly finished)
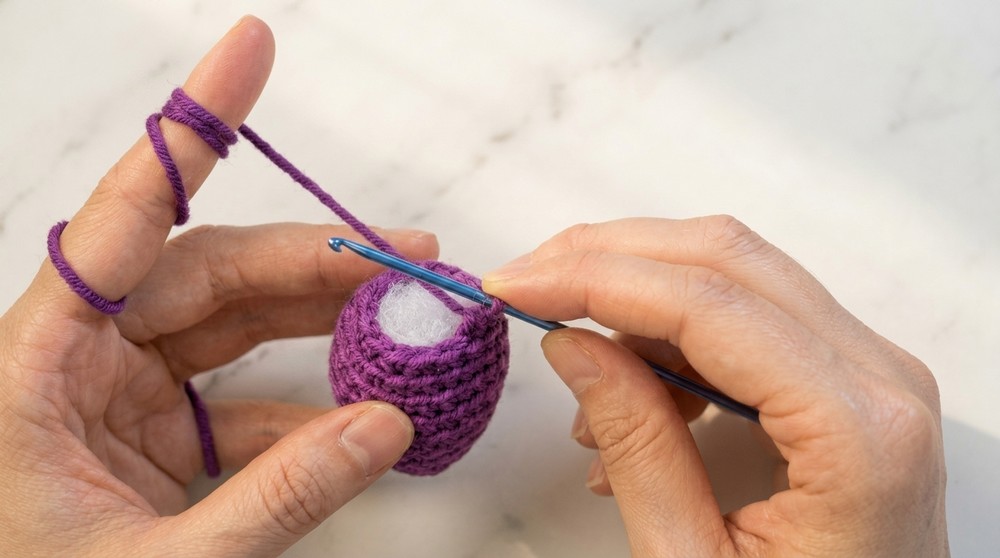
Close with the tapestry needle using a drawstring if desired, fasten off.
*The base is finished! At every step, keep your stitch count even. For beginners: alternate between plain single crochet rounds and increase sets, using the back loop every time after the first round.
Pinecone Scales (Textured Detail)
You'll now work into the FRONT LOOPS left unused from the previous rounds.
Scale Round 1:
- Join yarn with a slip stitch into the first front loop.
- [Ch 2, in same loop: (Yarn over, insert into loop, pull up loop, yarn over, pull through two), repeat into next loop (Yarn over, insert, pull up, yarn over, pull through 2): you have 3 loops on hook, yarn over, pull through all], ch 2, slip stitch into same loop.
- Repeat this "scale group" in every front loop around (should be 6 total).
This is a mini cluster with chain spacers, emulating natural pinecone scales!
Next Scale Rounds:
- On every new round, skip 1 front loop and work the scale group into the next, creating overlapping, spiral "scales." Continue this process (skip one, scale in next) until all front loops are used.
- As you move up, overlap groups for realism.
Each scale group is: slip stitch to loop, ch 2, incomplete double crochet in same and next loop, ch 2, slip to base. All in front loops! This is what makes the 3D pinecone effect.
To Finish:
- When only a couple loops remain (at the top), join with a slip stitch.
- Ch 28 (or your preferred length for a hanging loop), slip stitch to base to form a ring.
- Fasten off, weave in all ends with your needle.
Your pinecone ornament now has a sturdy hanging loop-ready for a tree, gift, or decoration!
Customization & Assembly
- Mix colors for a realistic or holiday look.
- Brush the tips with white paint or glue/glitter for a frosty effect.
- Make larger pinecones with bulkier yarn and a 4 mm hook-variety looks great on a tree!
Special Techniques & Tips
- Use a stitch marker! Mark your first stitch each round.
- Keep tension firm but not tight for neat shapes.
- Stuff gently for plump, even pinecones.
- Always weave in ends for professionalism.
Conclusion
This charming pine cone ptern offers versatility, whether used for bags or as décor. The combination of simple stitches and textured scales ensures a realistic and appealing result. Enjoy the crocheting process, and let your creativity shine!