
Make your keys or backpack look cheerful with a tiny, colorful pumpkin that is soft and fun to hold. This little pumpkin is bright orange with a cute green stem and looks happy wherever you place it. It is easy to make by following the Free Crochet Pumpkin Keychain Pattern step by step, so even beginners can enjoy it.

Beginner Friendly Free Crochet Pumpkin Keychain Pattern
You can carry it everywhere because it is light and small, and it also makes a lovely gift for friends or family. Each pumpkin can be a little different because you can choose the size and color you like. Its playful look and soft feel make it a charming and fun accessory for everyday use or for adding a touch of autumn joy.

Materials
- Yarn:
- 4-ply yarn in two colors:
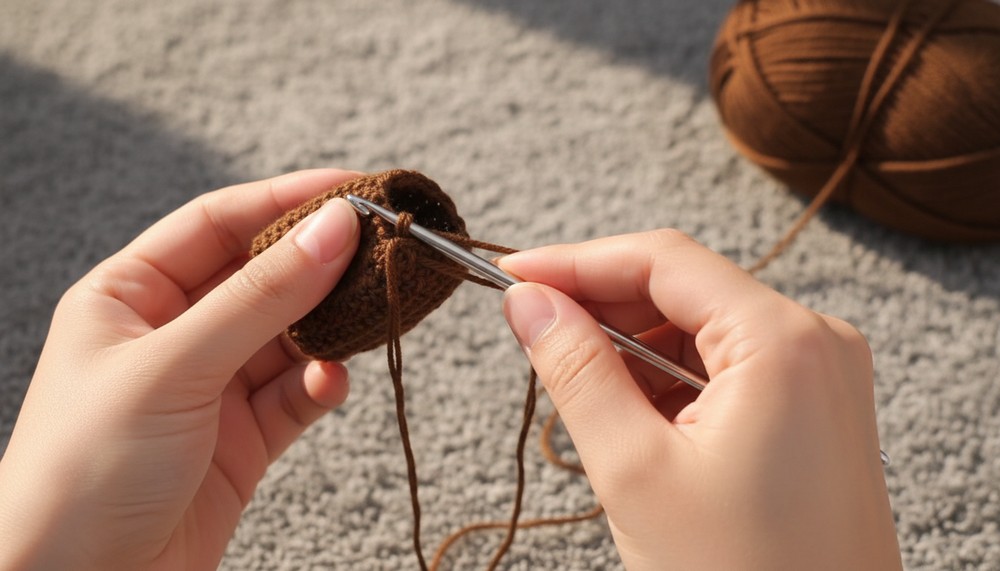
- Main Color for the pumpkin body (e.g., Chocolate Brown).
- Secondary Color for the stem (e.g., green).
- 4-ply yarn in two colors:
- Crochet Hook: 2.5 mm crochet hook
- Additional Tools:
- Tapestry Needle: For sewing and weaving in ends
- Scissors: For cutting yarn
- Polyester Fiberfill: For stuffing
- Keychain Ring: To attach the pumpkin to keys
- Hot Glue Gun (optional): For securing parts
Gauge
Gauge is not critical for this project. However, maintaining consistent tension is important for a neat finish. Your finished pumpkin should have clearly defined stitches and hold its shape well when stuffed.
Finished Size
The completed pumpkin keychain measures approximately 2 inches (5 cm) in diameter and 1.5 inches (3.8 cm) in height, including the stem.
Skill Level
Beginner-Friendly
This project uses basic crochet stitches and techniques suitable for beginners. It's a great introduction to shaping and simple crochet patterns.
Key Abbreviations (US Crochet Terminology)
- CH: Chain
- SC: Single Crochet
- HDC: Half Double Crochet
- SL ST: Slip Stitch
- MR: Magic Ring
Special Techniques
Magic Ring (MR)
- Wrap the yarn around your fingers to create a loop.
- Insert the hook into the loop, pull up a loop, and chain 1 to secure.
- Work the specified number of stitches into the ring. Pull the tail tight to close the ring.
Pattern Instructions
Pumpkin Body
- Foundation Chain:
- Begin with a slip knot.
- CH 15.
- Round 1:
- HDC in the second CH from the hook.
- Work 1 HDC in each chain across. (Total: 14 HDC)

- Subsequent Rounds (Rounds 2-18):
- CH 1, turn.
- HDC in the back loop only (BLO) in each stitch across for a total of 14 HDC each round.
- After finishing each round, make sure to CH 1 and turn.
- Finishing Round 18:
- Once you complete Round 18, leave a long tail for sewing and cut the yarn.
- Seaming the Body:
- Fold the piece in half, aligning the short edges.
- Using the yarn tail and a tapestry needle, sew the edges together.

Closing the Top and Bottom
- Top Closure:
- Pick up loops from the raised ridges created by working in the back loops. Pick up yarn loops around the opening.
- Pull the yarn tight to close the opening.
- Secure with an additional round of stitching for extra durability.
- Stuffing:
- Turn the piece right side out, making sure all seams are neat.
- Stuff the pumpkin with polyester fiberfill, ensuring a firm shape.
- Bottom Closure:
- Repeat the loop-picking and pulling technique used for the top closure.
- Secure by pulling tight and adding additional rounds of stitching as needed.
Shaping the Pumpkin
- Defining Segments:
- Insert the needle with yarn through the center of the bottom and pull it out through the center of the top.
- Wrap the yarn around the pumpkin between two raised ridges to shape the segments.
- Repeat, pulling tightly to create defined sections. Continue to shape the pumpkin as desired.

Creating the Stem
Stem Base
- Magic Ring (MR):
- Make a magic ring with the green yarn.
- 6 SC into the ring.
- Tighten the ring by pulling the tail.
- Place a stitch marker in the first SC to mark the beginning of the round.

- Round 2:
- SC increase (2 SC in each stitch) (Total: 12 SC).
- Remove the stitch marker, SL ST to join.
- Leave a long tail and cut yarn.
Stem
- Foundation Chain:
- Using the green yarn, CH 6.
- Working into Chains:
- SL ST in the second CH from the hook, and in each of the next 4 chains (total of 5 SL ST).
- Always work into the back loops.
- Finish:
- Leave a long tail and cut yarn.
- Use the tails to sew the stem to the stem base.
Assembly
- Attach Stem Base and Stem to Pumpkin:
- From the center of the pumpkin, insert the needle through the base, pull through the stem and attach neatly.
- Use hot glue or sewing for added stability.

- Secure and Weave Ends:
- Weave in loose ends securely, hiding them inside the pumpkin or under stitches.
Adding the Keychain
- Attaching the Key Ring:
- Secure a key ring to the top of the pumpkin stem with glue or a tapestry needle, ensuring it's firmly attached.
Conclusion
Congratulations on completing your small pumpkin keychain! This delightful accessory is cute and practical, perfect for showcasing your crocheting skills. With its neat and polished appearance, it's an excellent addition to your keychain collection or a thoughtful gift.
Tips and Final Remarks
- Experiment with Colors: Customize your pumpkin with different yarn colors for a playful or realistic look.
- Size Variations: Use a larger hook and thicker yarn for a bigger pumpkin.
- Finishing Touches: Add embellishments such as a face for Halloween, or decorative leaves.