
Walking into a space that feels uniquely yours, where every detail reflects your personality and style. One way to achieve this is by incorporating handmade touches, like using a crochet cushion cover pattern to turn ordinary cushion into eye-catching accents. Perfect for living rooms, bedrooms, or cozy nooks, this pattern lets you play with textures and colors to suit any theme, whether minimalist, boho, or vibrant.
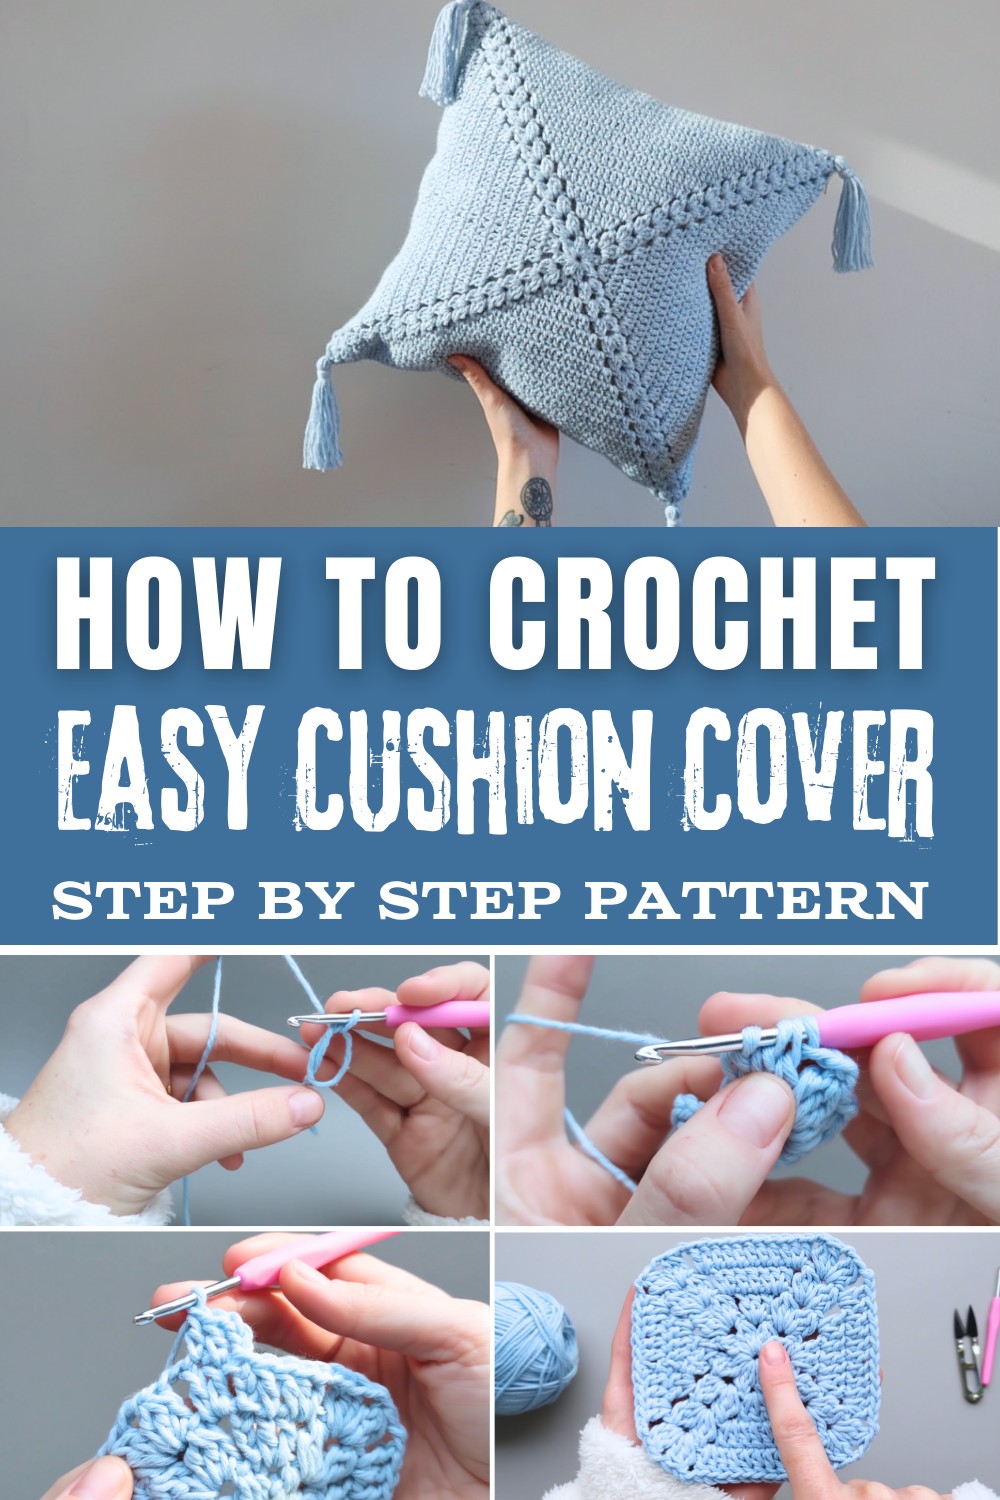
Opt for neutral shades to create a classic, understated look or mix bold tones for a striking focal point. Making one not only enhances your crafting skills but also adds a functional, decorative layer to your home. Practical and customizable, it's a satisfying way to elevate your space with warmth and individuality.
Materials:
- Yarn:
- Twine yarn, 100% cotton (non-stretch), -Baby Blue shade
- Recommended: Euroroma 100% cotton yarn.
- Quantity: 1 roll that can easily make at least one side, possibly two sides.
- Crochet Hook:
- Size 3.5 mm (US: E/4). Confirm with your yarn label for hook recommendations if using another yarn weight.
- Scissors: For cutting yarn and neatening ends.
- Pins: To secure edges while sewing.
- Thread and Needle: For sewing the crocheted cover to your fabric pillowcase invisibly.
- Fabric Pillowcase: Either pre-bought or made. A zipper cover is recommended for convenience. Ensure you measure it accurately before crocheting.
Finished Size:
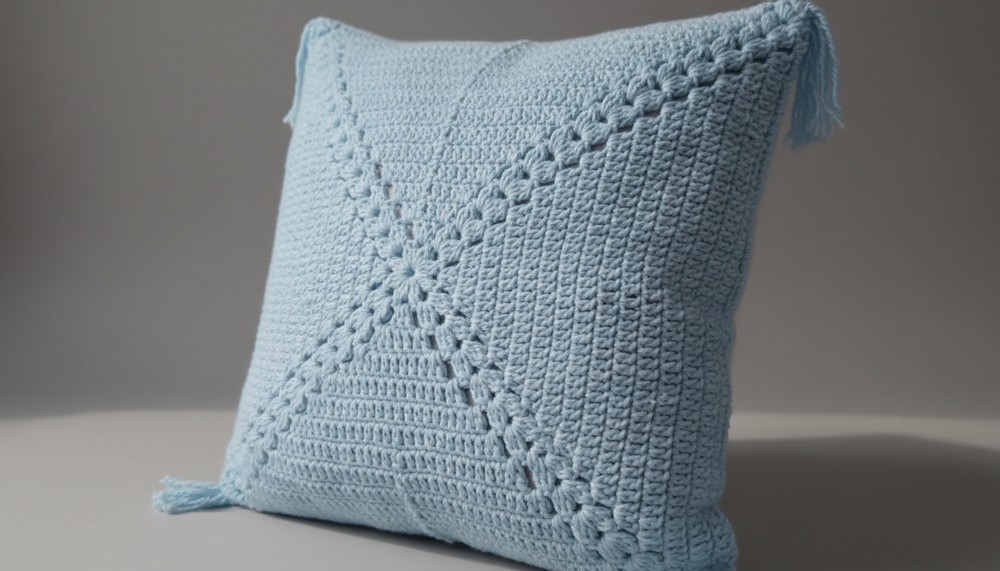
The crochet cover, as demonstrated in the transcription, was designed for a 42 cm (approximately 16.5 inches) square cushion. You can adapt this pattern to fit other cushion sizes by adding or reducing rows. Adjust measurements as needed, ensuring the cover fits snugly.
Gauge:
This stitch pattern works in a repetitive sequence that does not demand strict gauge. However, if you want precision:
- Gauge Measurement Suggested: Use the first few rows to ensure your crocheted square matches the cushion dimensions.
- Example: A square measuring 10 cm x 10 cm (4" x 4") with pattern stitches corresponds to this tutorial.
Easy Crochet Cushion Cover Pattern which Adds Comfort
This step-by-step guide provides the complete instructions for making the crochet cushion cover referenced in the transcription, along with extra details to help you customize and perfect the project. Let's dive into the process to crochet cushion.
Follow this simple yet elegant pattern for a square cushion cover.
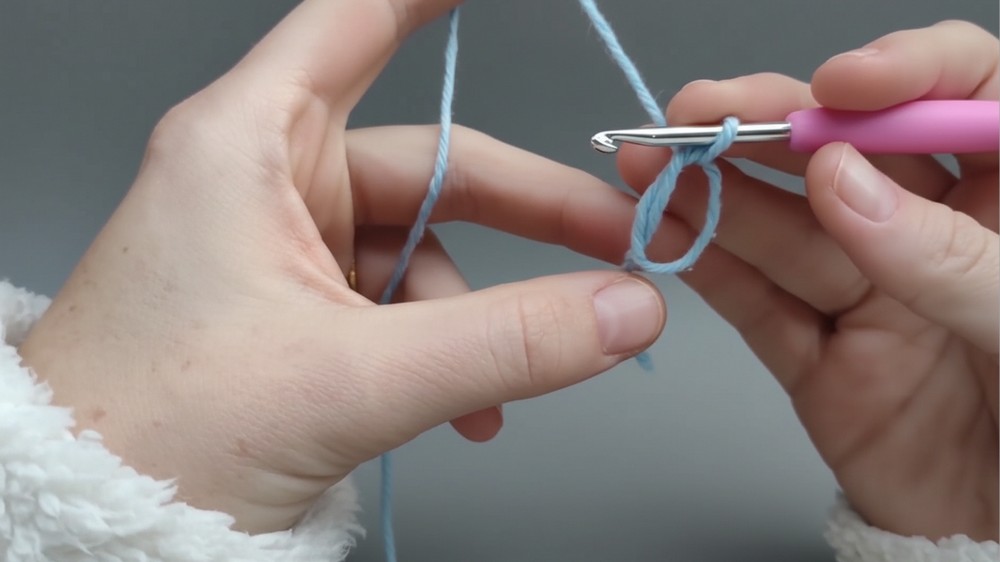
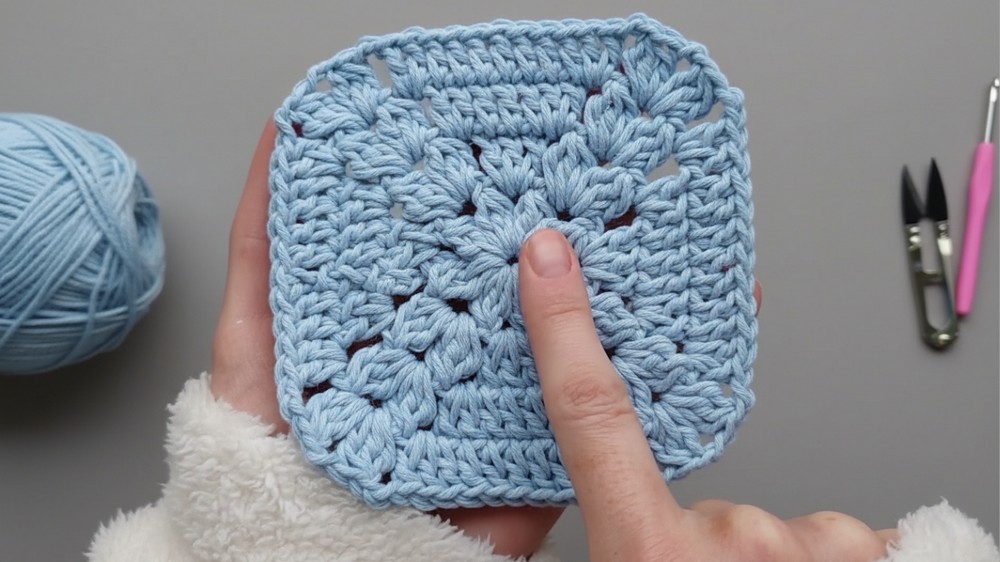
Step 1: Begin with a Magic Ring
- Magic Ring: Create a magic ring at the center to start your work. This ensures an adjustable loop that lays flat as the square grows.
- Secure the ring loosely, making it easy to work the stitches.
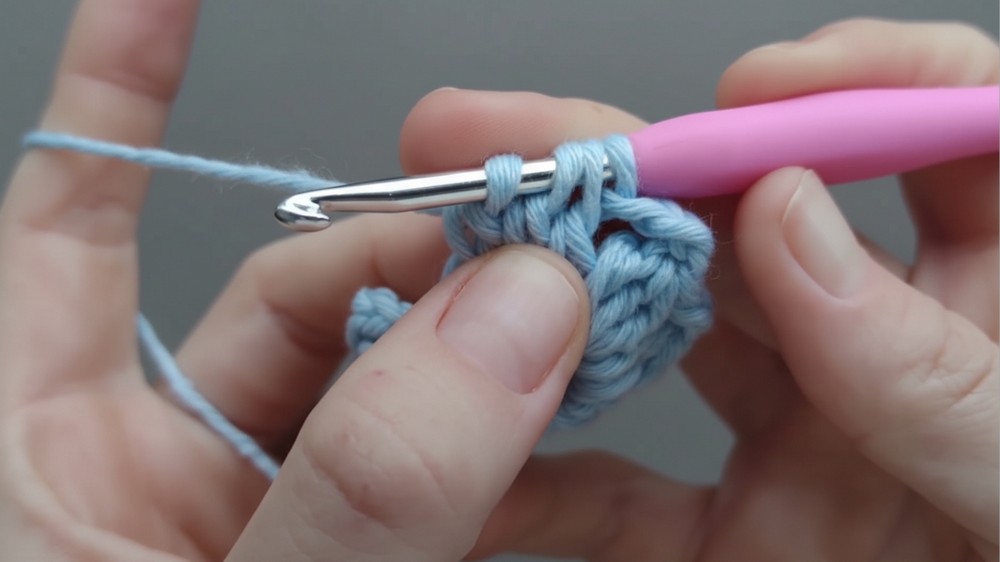
Step 2: Round 1 (Foundation Round)
"Segments" are groups of 3 double crochet (high) stitches closed together.
- Create segments: Begin with:
- 2 chains to represent the first double crochet, followed by 2 double crochets not finished.
- Close all 3 stitches together.
- Form corners: For each corner:
- Chain 3 stitches (space between corners).
- Add 2 segments per corner, separated by 2 chains.
- Continue crocheting 2 segments separated by chain spaces until all corners are formed, ensuring a square shape with 4 corners.
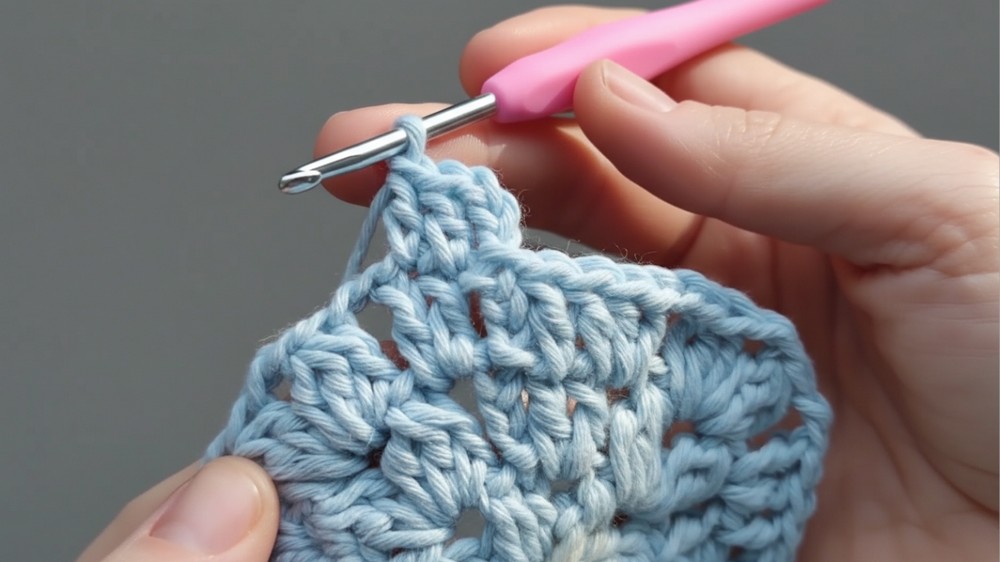
Step 3: Round 2 (Building the Square)
- Corners:
- Crochet 1 segment. Chain 2 stitches, crochet 1 more segment.
- Corners are always formed by 2 segments separated by 2 chains.
- Sides (Between Corners):
- Separate segments with double crochet stitches-these are worked individually, not grouped.
- For each side, begin and end with 2 double crochet stitches (increase).
- Add Rows: When crocheting subsequent rows, ensure the increase begins and ends at every side to allow the square to grow.
Step 4: Larger Square Progression (Rounds 3 and Beyond)
- Continue the pattern:
- Always follow the logic of the corner being made up of 2 segments, separated by 2 chains.
- Sides increase consistently: Each new round will add 2 extra double crochet stitches between corners.
- Repeat: Continue this cycle until your square matches the size of the cushion cover.
Step 5: Finishing Off
- Fastening Ends:
- Do not simply cut and pull the thread. Sew the ends discreetly to avoid unraveling. Refer to finishing techniques for neat results.
- Edges:
- Adjust your cover to ensure it aligns perfectly with the fabric pillowcase. Use pins to secure the crocheted section to the fabric for accurate placement.
Step 6: Sewing the Crochet Cover to the Pillowcase
- Invisible Sewing Technique:
- Use regular thread and stitch so the needle loops only through the back chain of the crochet stitches, leaving the front texture intact.
- Stitch in small segments to make the seam invisible from both sides.
- Tidy Finish: Pull gently to avoid overstretching or distortion. Work slowly, ensuring all corners align perfectly.
Optional Add-ons:
- Tassels for Decoration:
- Tassels add visual interest.
- Attach them securely to each corner once the sewing is complete.
- Double-Sided Cover:
- Instead of crocheting just one square, crochet a second and sew it to the back side for a cohesive two-sided look.
- Custom Design:
- Experiment with yarn colors or textures for seasonal variations or personalized gifts.
- Experiment with yarn colors or textures for seasonal variations or personalized gifts.
Tips for Customization:
- Color Variations: Use contrasting shades for an ombre or striped effect.
- Size Adjustments: Increase or decrease the number of rows until it fits your cushion perfectly.
- Multifunctionality: Create multiple squares, stitch them together, and transform them into tablecloths, blankets, or wall hangings.
Special Techniques Used:
- Magic Ring: Helps keep the center tight and adjustable.
- Segment Formation: Closes 3 stitches together for definition.
- Corner Creation: Keep 90-degree increments in corners by using chain spaces strategically.
Important Remarks:
By the end, your Cushion Cover will feature a striking, geometric square design with a balanced aesthetic and functional durability. Remember to work patiently to ensure alignment with the fabric.
Conclusion:
This Crochet Cushion Cover pattern is a beginner-friendly yet creative way to elevate your home décor. Whether you want a rustic accent or a vibrant pop of texture, the natural yarn and design provide plenty of room for personalization. With simple techniques and thoughtful details, it's an engaging project suitable for all skill levels.