
Simplify festive storage using the Free Crochet Pudding Basket Pattern for a charming basket that adds sweet style to your holiday décor.
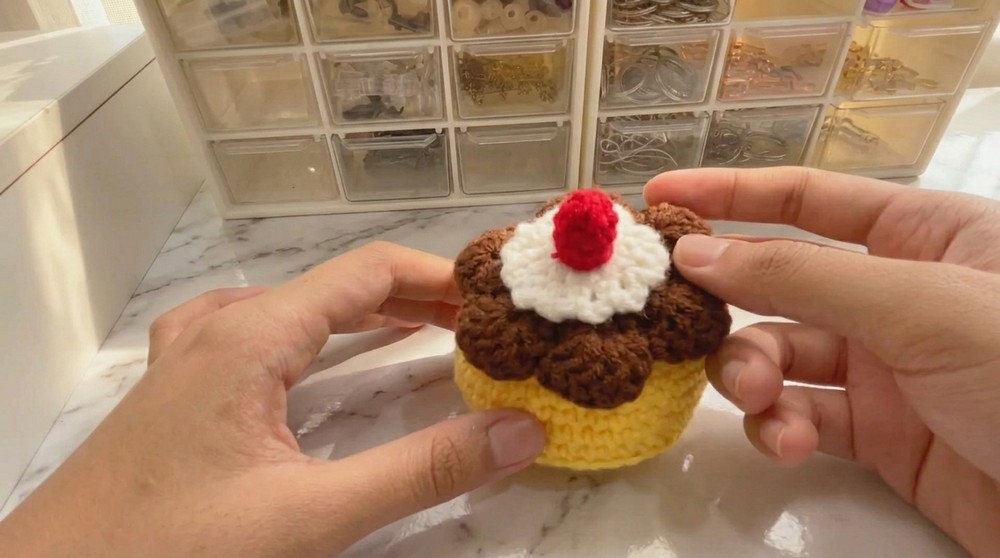
Who says desserts can only be eaten? With this crochet pudding basket pattern, you'll whip up the cutest little creation a cozy basket that looks like a delicious treat. It's got a bright yellow base, a drippy chocolate top, fluffy whipped cream, and a bright red cherry to complete the look. Perfect as a gift, decoration, or just a fun project to make, this crochet pattern is as playful as it gets!
Elegant free crochet pudding basket pattern for decorative touches
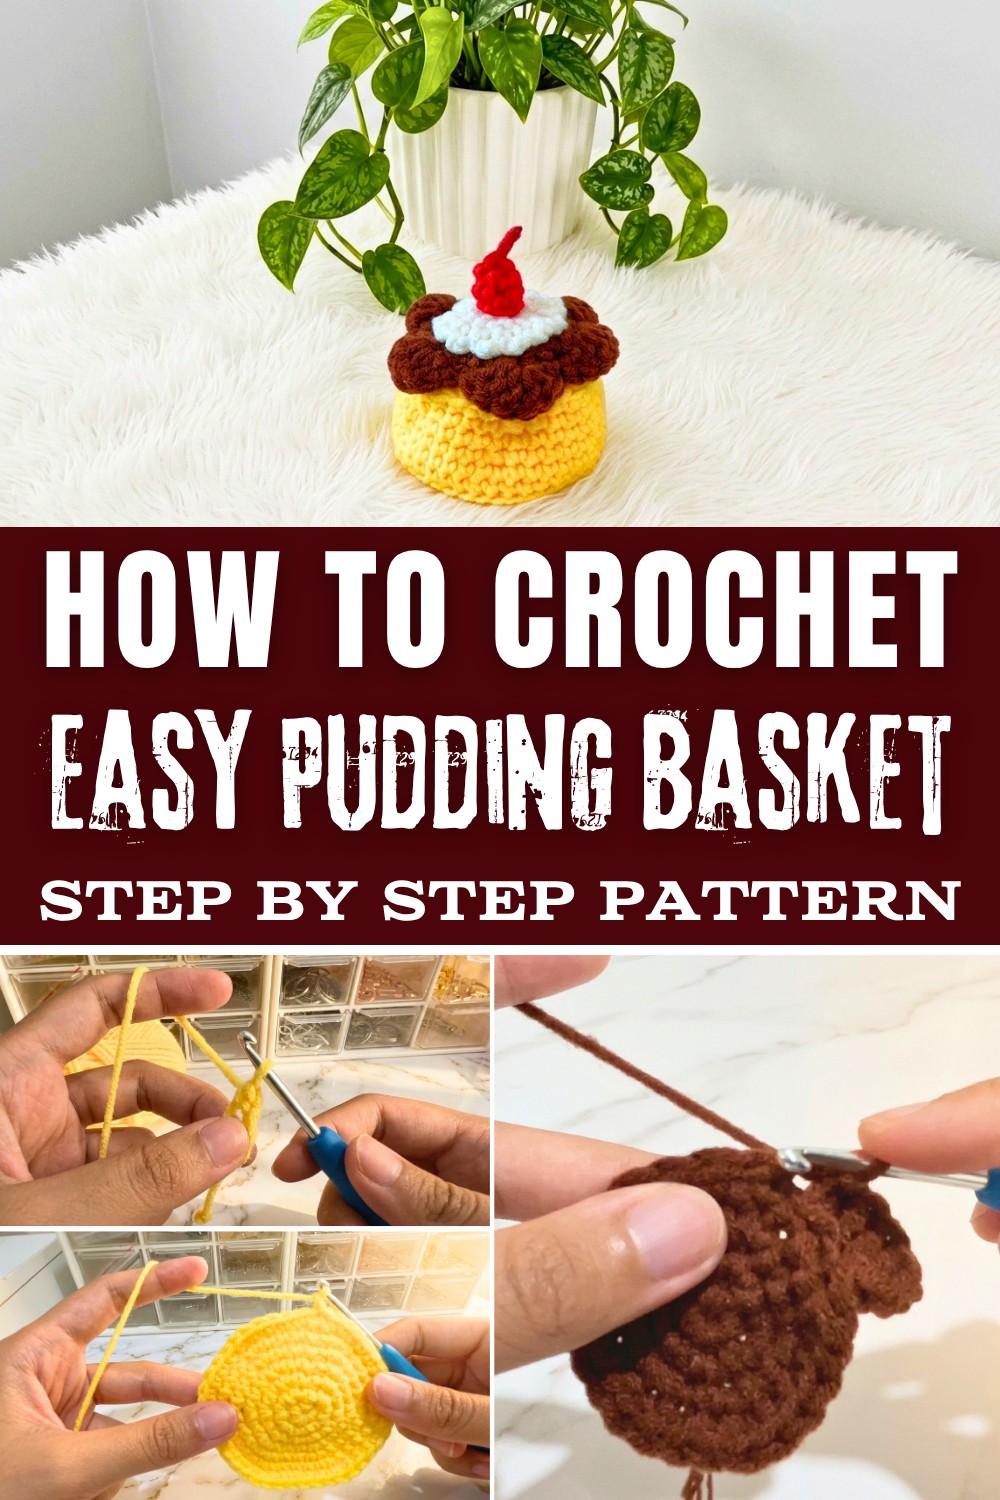
You'll use simple crochet techniques like single crochet (sc), magic ring (MR) to start neatly, and back loop only (BLO) for texture. These steps help you crochet realistic layers, from the chocolate drips to the cherry on top. The instructions are beginner-friendly but include enough creative details to keep advanced crocheters hooked. Plus, once you try this, you can use the same skills to make tiny cupcakes, ornaments, or anything you can dream up.
What makes this pattern exciting:
- Learn how to shape designs by increasing and decreasing stitches.
- Add texture and style using back loop only techniques.
- Assemble different pieces to create one amazing design.
- Experiment and use these ideas in other projects like amigurumi or home décor.
Ready to create something fun? Grab your yarn and hook, and let's make something unique and adorable.

Skill Level & Terminology
- Skill Level: Advanced Beginner
(You should be comfortable with working in the round, making magic rings, increases, and decreases.) - Terminology: US crochet terms
Materials & Tools
- Yarn:
- Light worsted / DK or similar weight yarn in:
- Yellow or beige (pudding basket)
- Brown (chocolate top)
- White (whipped cream)
- Red (cherry)
- Light worsted / DK or similar weight yarn in:
- Hook:
- Crochet hook size suitable for your yarn (commonly 3.0-3.5 mm or E/4-F/5 for amigurumi).
- Notions / Tools:
- Stitch marker (to mark the first stitch of each round)
- Scissors
- Yarn needle (for weaving in ends, if you prefer sewing)
- Hot glue gun or fabric glue (as in the video, used to assemble parts)
- Optional: a little stuffing for the cherry, if you want it more rounded
Gauge
Exact gauge is not critical for this decorative item, but for reference:
- Make a small swatch in single crochet (sc) in the round:
- Aim for about 5-6 sc per 2.5 cm (1 in).
- Your stitches should be snug enough so that holes are minimal.
If your piece turns out much larger or smaller than expected, adjust hook size (smaller hook for tighter, smaller work; larger hook for looser, larger work).
Abbreviations (US Terms)
- MR - Magic ring (magic circle)
- ch - chain
- sc - single crochet
- dc - double crochet
- sl st - slip stitch
- inc - increase (2 sc in same stitch)
- dec - decrease (single crochet 2 stitches together)
- st(s) - stitch(es)
- BLO - back loop only
Special Stitch Instructions
- Magic Ring (MR):
Form a loop with yarn, hold it, insert hook into loop, yarn over, pull up, ch 1 (if needed), then work the required number of stitches into the loop. Pull tail to close. - Increase (inc):
Work 2 sc into the same stitch. - Decrease (dec) - single crochet two together:
- Insert hook into the next stitch, yarn over, pull up a loop.
- Insert hook into the next stitch, yarn over, pull up another loop.
- Yarn over and pull through all loops on hook.
- Back Loop Only (BLO):
Instead of inserting the hook under both top loops of the stitch, insert it only under the back loop (the loop farthest from you).
Finished Size
Using DK/light worsted yarn and a 3.0-3.5 mm hook, the finished pudding basket with toppings will be approximately:
- Height: 7-10 cm (including cherry)
- Diameter of basket top: about 6-8 cm
(These sizes can vary depending on yarn and hook.)
The Pattern
Part 1: Pudding Basket (Base)
Round 1:
- Start with MR, work 6 sc in MR, pull tight to close.
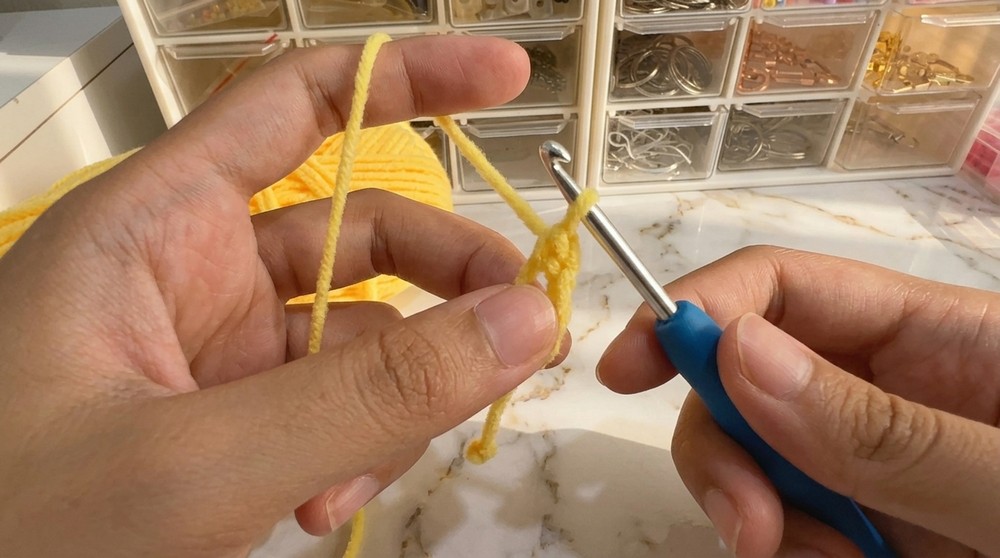
- Sl st to first sc to join. (6 sts)
Round 2:
- Ch 1, 2 sc in each st around (inc in every stitch). (12 sts)
Round 3:
- Ch 1, (1 sc in next st, 2 sc in next st) repeat around. (18 sts)
- Use stitch marker on the first sc of the round.
Round 4:
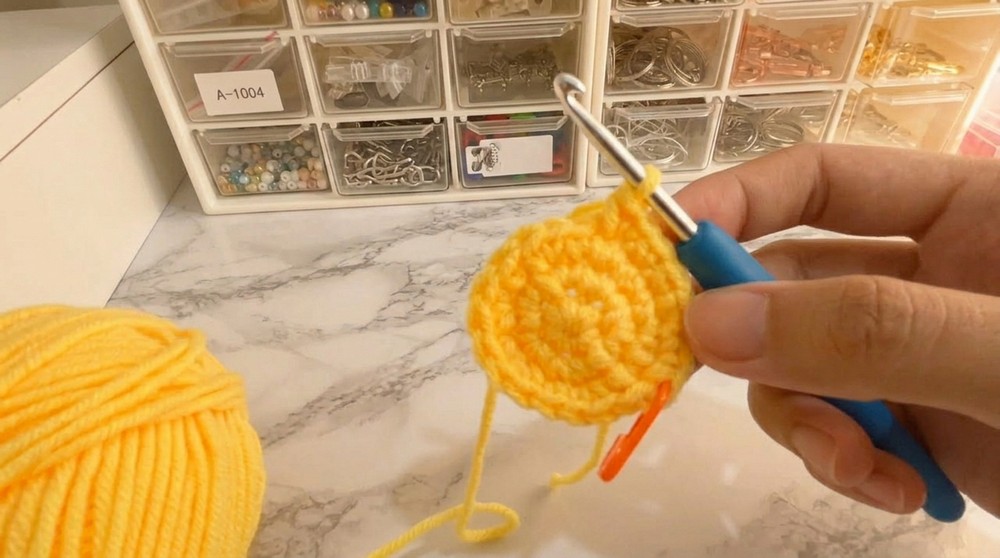
- Ch 1, (1 sc in next st, 1 sc in next st, 2 sc in next st) repeat around. (24 sts)
Round 5:
- Ch 1, (1 sc in each of next 3 sts, 2 sc in next st) repeat around. (30 sts)
Round 6:
- Ch 1, (1 sc in each of next 4 sts, 2 sc in next st) repeat around. (36 sts)
Round 7:
- Ch 1, (1 sc in each of next 5 sts, 2 sc in next st) repeat around. (42 sts)
Round 8 (BLO):
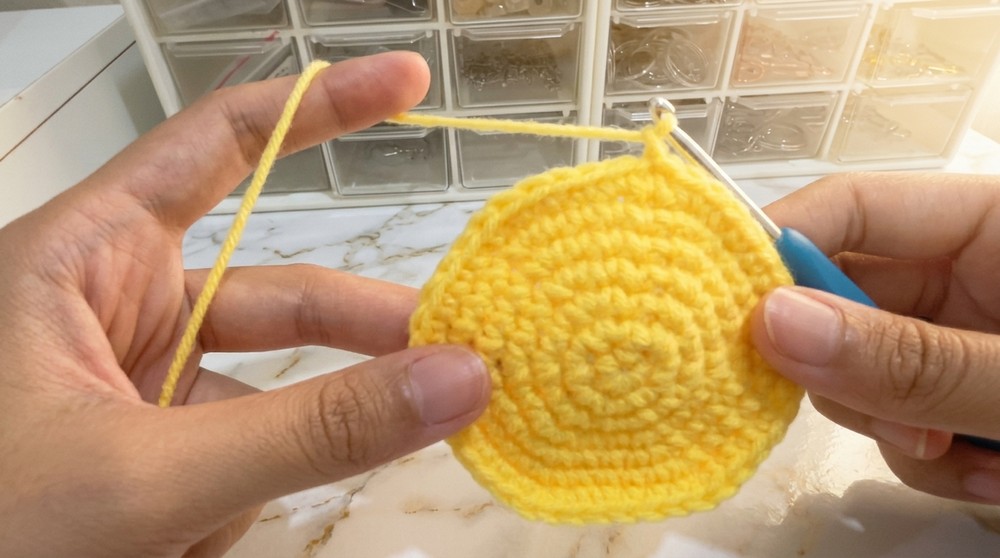
- Ch 1, work 1 sc in BLO of each st around. (42 sts)
Rounds 9-10:
- For each round: Ch 1, 1 sc in each st around. (42 sts each round)
Round 11:
- Ch 1, (1 sc in each of next 5 sts, dec over next 2 sts) repeat around. (36 sts)
Round 12:
- Ch 1, 1 sc in each st around. (36 sts)
Round 13:
- Ch 1, (1 sc in each of next 4 sts, dec over next 2 sts) repeat around. (30 sts)
Round 14:
- Ch 1, 1 sc in each st around. (30 sts)
Finishing the basket:
- After Round 14, ch 1, cut yarn, and weave in ends with a yarn needle.
(Pudding Basket):
You start with a magic ring and keep adding stitches to make a flat circle. Then you work around to form the sides of the basket, first going in the back loops to create an edge. After a few straight rounds, you decrease to slightly shape the upper part. When you reach the last round, you cut the yarn and hide it.
Part 2: Chocolate Top Pudding
Round 1:
- MR, work 6 sc in MR, pull tight.
- Sl st to first sc. (6 sts)
Round 2:
- Ch 1, 2 sc in each st around. (12 sts)
Round 3:
- Ch 1, (1 sc in next st, 2 sc in next st) repeat around. (18 sts)
Round 4:
- Ch 1, (1 sc in next st, 1 sc in next st, 2 sc in next st) repeat around. (24 sts)
Round 5 (BLO decorative drips):
- Ch 1.
- In BLO, (6 dc in same st, skip 1 st, sl st in next st, skip 1 st) and repeat this pattern around:
- Work 6 dc in BLO of 1 st,

- sk 1 st,
- sl st in next st,
- sk 1 st, then repeat 6 dc in BLO of next st, etc., until you form "drips" all around.
- Work 6 dc in BLO of 1 st,
- Sl st to first sc (or base stitch) to finish.
- Ch 1, cut yarn, weave in or leave a small tail if you prefer to glue instead of sew.
(Chocolate Top):
Make a small flat circle the same way as the basket's start. On the last round, you switch to double crochet in the back loops and make clusters of six tall stitches. Between these clusters, you skip stitches and slip stitch to create a wavy, dripping chocolate edge. Then you cut the yarn and secure it.
Part 3: Whipped Cream
Round 1:
- MR, work 6 sc in MR, pull tight. (6 sts)
Round 2:
- Inc around: 2 sc in each st (6 times). (12 sts)
Round 3 (ruffled edge):
- Ch 3, sl st in next st;
- Repeat: ch 3, sl st in next st around.
(You will create little loops all around the edge.) - Sl st to finish, cut yarn and weave in, leaving a small tail if you want to sew instead of glue.
(Whipped Cream):
You form a small flat circle like before. Then you make small "loops" by chaining three and then joining them into the next stitch with a slip stitch, all around. This creates a ruffled, whipped cream effect. Cut the yarn and secure it.
Part 4: Cherry
Round 1:
- MR, work 6 sc in MR, pull tight. (6 sts)
Round 2:
- Ch 1, 1 sc in each st around. (6 sts)
Round 3:
- Ch 1, 1 sc in each st around. (6 sts)
- You may add a tiny bit of stuffing if desired.
- Sl st to next stitch, cut yarn, and weave in end (or leave tail for sewing).
For non-pattern readers (Cherry):
Make a very small ball by doing six stitches in a magic ring and then two rounds of single crochet without increasing. This forms a tiny round cherry. You can put a bit of stuffing inside if you want it more rounded. Cut the yarn and secure it.
Assembly & Finishing
-
Prepare pieces:
- Basket base
- Chocolate top pudding
- Whipped cream
- Cherry
-
Attach the chocolate top to the basket:
- Center the chocolate top on the open end of the basket.
- You can either:
- Use a hot glue gun to carefully glue the chocolate top to the basket, or
- Sew it in place using the yarn tail and a yarn needle.
-
Attach the whipped cream:
- Place the whipped cream in the center of the chocolate top.
- Glue (or sew) it down securely.
-
Attach the cherry:
- Place the cherry on top of the whipped cream.
- Glue (or sew) it firmly in place.
-
Finishing:
- Make sure all glue is dry and secure.
- Trim any visible yarn ends.
- Shape your pudding gently with your hands.
Pattern Summary & How to Start
You begin each part with a magic ring and work in rounds using single crochet (sc) for shaping the basket, chocolate disk, cream base, and cherry. The pattern uses increases to widen shapes and decreases to slightly taper the basket. The chocolate top uses double crochet (dc) in back loop only (BLO) to create decorative drips. The whipped cream uses chain (ch) loops and slip stitches (sl st) for a ruffled edge.
Stitches used in the whole pattern:
- Magic ring (MR)
- Chain (ch)
- Single crochet (sc)
- Double crochet (dc)
- Slip stitch (sl st)
- Increase (inc: 2 sc in same st)
- Decrease (dec: sc2tog)
- Back loop only (BLO) sc and dc
You can start by making the basket first, then the chocolate top, then the whipped cream, and finally the cherry, and then assemble them as described above.