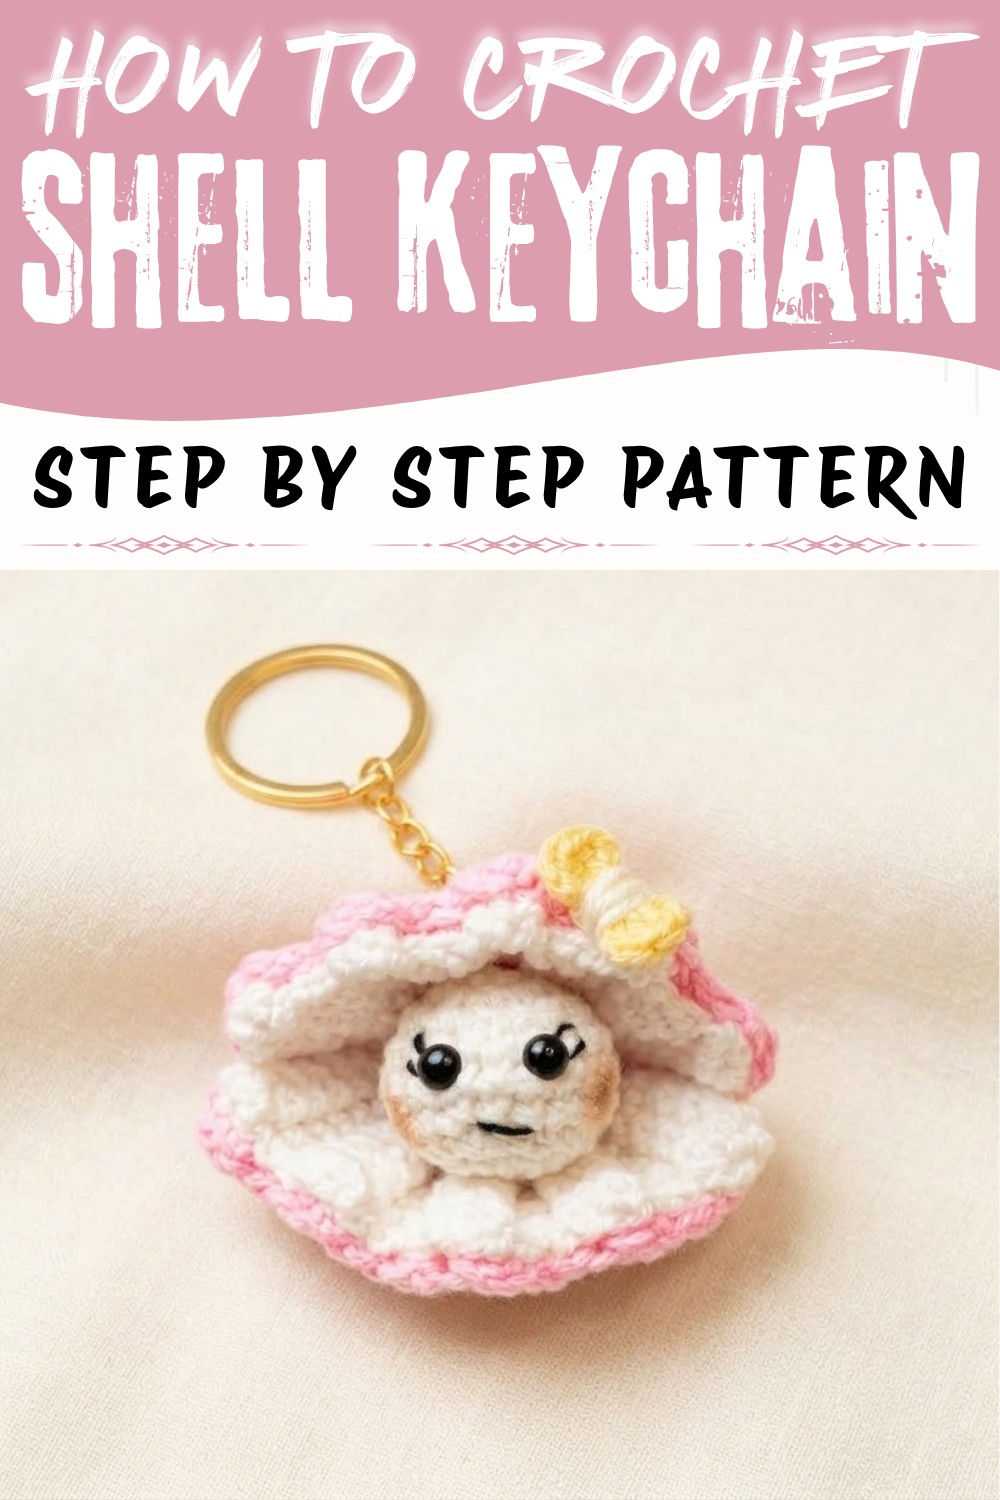
Give your bag a beachy touch with this Crochet Shell Keychain Pattern, a tiny seashell inspired accessory that is fun to carry every day.
Sometimes the smallest accessories hold the greatest charm. Carrying a little piece of the beach with you, a delicate treasure that sparks joy every time you reach for your keys. This is exactly what makes a Crochet Shell Keychain such a delightful item. Thanks to the detailed tutorial by Ati crochet, enthusiasts and beginners alike can create this charming keychain with ease using the Crochet Shell Keychain Pattern featured in the video. This pattern brings a fresh twist to the usual keyring, combining practical use with aesthetic appeal.
Sweet Crochet Shell Keychain Free Pattern To Add A Coastal Touch
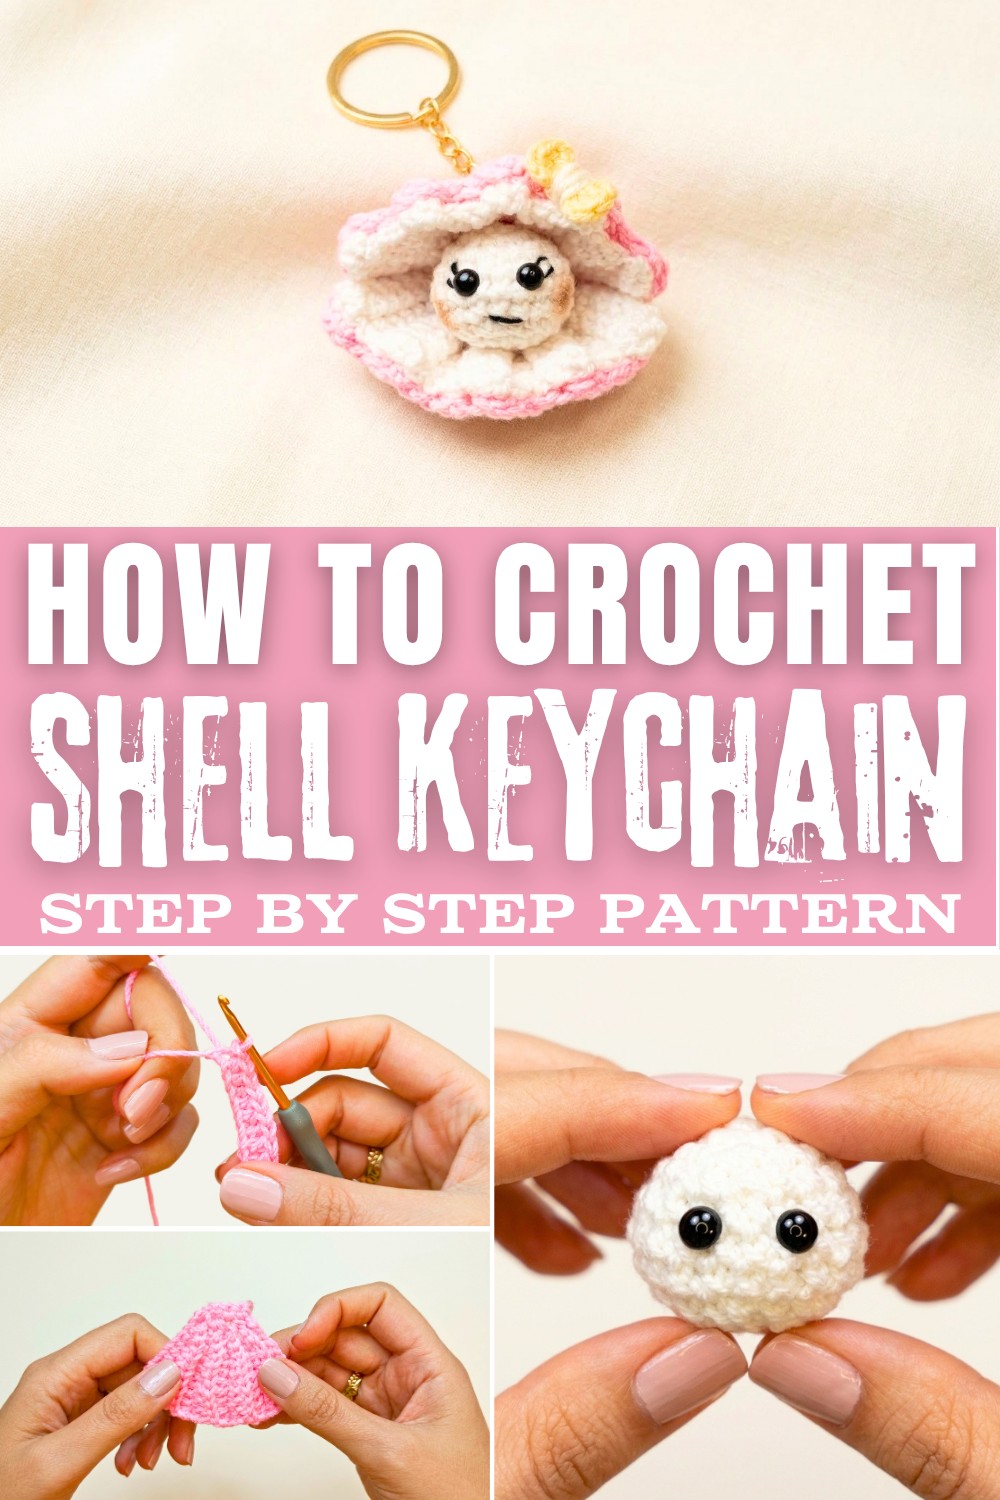
This keychain is not just an accessory; it is a tiny work of art that offers multiple uses. It makes a perfect gift for friends or family-versatile, thoughtful, and easy to personalize with colors and patterns. Its decorative value extends beyond keys too; it can brighten up bags, backpacks, or even be clipped to a zipper pull. The gentle texture and compact size make it both tactile and convenient to carry around.
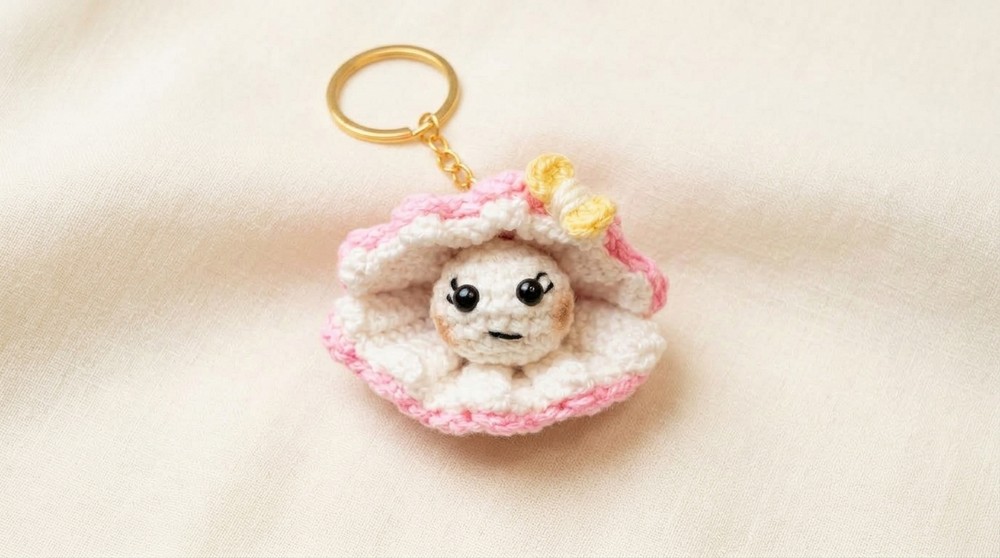
Visually, the project mimics the graceful curves and ridges of an ocean shell. The soft yarn creates a plush, inviting texture that feels lovely in your hands. The shape is rounded and layered, giving it a three-dimensional effect that stands out without overwhelming the senses. Its style is timelessly coastal yet modern, fitting effortlessly with various tastes and preferences. The main standout design feature is its shell-like pattern that captures natural beauty in a subtly sophisticated way. Whether you're a beach lover or someone who simply appreciates unique, charming details in everyday items, this little shell keychain will surely steal your heart.
Crochet Shell Keychain Free Pattern
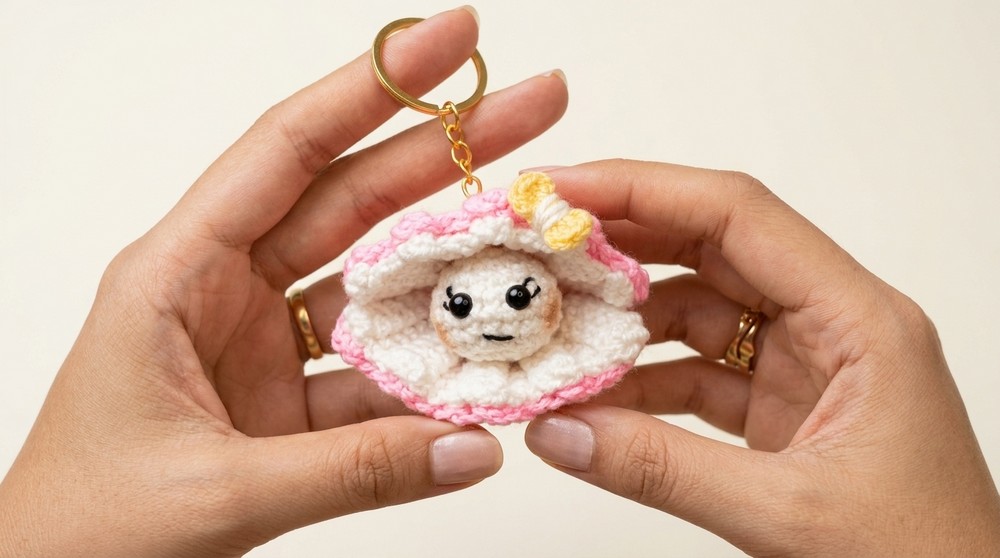
A whimsical accessory can brighten up any day. This amigurumi shell and pearl keychain features a realistic shell form, an adorable "pearl" inner ball with a cheerful face, and a dainty decorative detail to add charm. Soft, tactile, and compact enough for bags or keys, this project uses accessible materials and fundamental stitches, making it practical for a broad spectrum of skill levels. Each section is crafted separately and assembled for a neat finish. This step-by-step guide provides structure for consistency and easy customization. Choose your favorite colors to personalize the keychain or gift it to a fellow crochet enthusiast.
Quick Overview Of Pattern
- Crochet the shell using alternating rows of textured stitches for the realistic wavy effect.
- Create the pearl or inner ball featuring simple shaping and an embroidered or safety-eyed face.
- Make a mini decorative element to embellish the shell.
- Assemble all components and add keychain hardware for a functional, cheerful accessory.
Notes
- Stitches are worked primarily in the back loop for added texture, especially on the shell.
- Carefully count stitches in each row and round, as amigurumi requires precise shaping.
- Fiberfill is needed for stuffing the "pearl" securely.
- Any non-mercerized 5-ply cotton or acrylic works well for small projects like this.
- Keyring can be replaced with a bag charm hook for alternative uses.
- Gauge is not strict, but your keychain's final size will vary by personal tension.
Skill Level
- Beginner to Easy Intermediate
- Basic familiarity with standard crochet stitches (sc, hdc, dc, sl st), working in rounds, and making magic rings is recommended.
Materials
- Yarn: 5-ply cotton or acrylic in chosen color(s): one for the shell and one for the pearl/inner piece.
- Crochet Hook: 2.5 mm
- Safety Eyes: 5 mm (or black sewing thread for embroidering eyes)
- Fiberfill: Small amount for stuffing
- Keyring/Keychain Hardware: 1 set
- Yarn Needle: For weaving in ends and sewing pieces
- Scissors
Measurements / Sizing
- Shell Width: Approximately 2.5-3 inches (6-7.5 cm)
- Pearl Diameter: About 1 inch (2.5 cm)
- Total Length (with keyring): Around 4 inches (10 cm)
Note: Final sizes may vary depending on yarn thickness and personal tension.
Gauge
Gauge is not critical for this project. If you want a precise fit, aim for about 6 sc per 1 inch (2.5 cm) in a round.
Stitch Abbreviations
- ch: chain
- sl st: slip stitch
- sc: single crochet
- hdc: half double crochet
- dc: double crochet
- inc: increase (2 sc in the same stitch)
- dec: decrease (sc 2 together)
- st(s): stitch(es)
Special Stitches
- Magic Ring (MR): Form a tight, adjustable center for crocheting in the round-ideal for amigurumi.
- Back Loop Only (BLO): Insert your hook into the back loop of the stitch only, leaving the front loop unworked. This creates a subtle ribbed texture, especially useful for shells.
The Crochet Pattern
Shell Pattern (Make 4, 2 pink, 2 white)
Foundation:
- Begin with a slip knot.
- Chain 12.
Round 1
- Starting from the 3rd chain from the hook:
- Work 4 double crochet (dc) stitches.
- Then work 3 half double crochet (hdc) stitches.
- Next, work 2 single crochet (sc) stitches.
- Finish with 1 slip stitch (sl st) in the last chain.
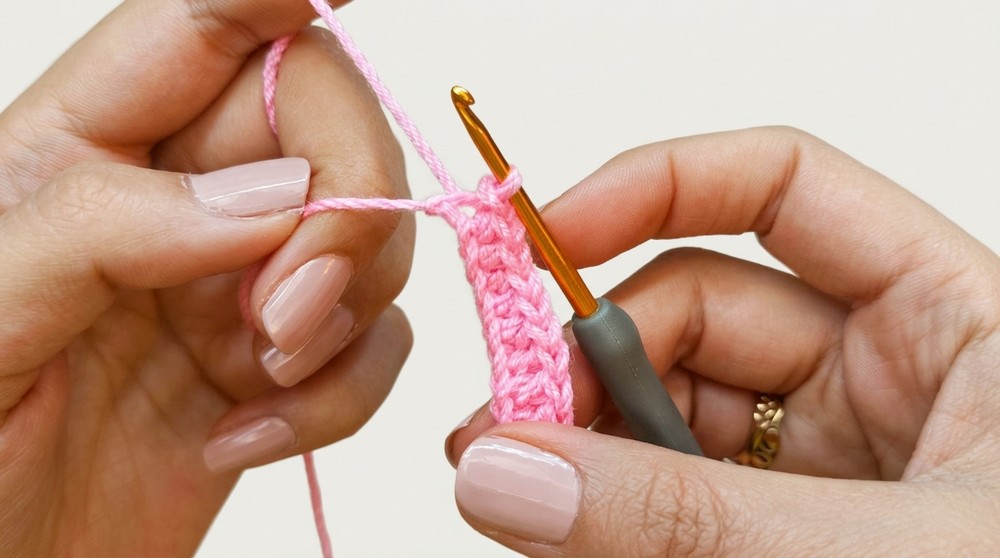
Round 2
- Chain 1, turn the work.
- Working in the back loops only (BLO):
- Work 1 slip stitch (sl st).
- Next, 2 single crochet (sc).
- Then 3 half double crochet (hdc).
- Finish with 4 double crochet (dc).
Round 3
- Chain 2, turn the work.
- Working BLO:
- Work 4 double crochet (dc).
- Next, 3 half double crochet (hdc).
- Then 2 single crochet (sc).
- Finish with 1 slip stitch (sl st).
Round 4
- Chain 1, turn the work.
- Working BLO:
- 1 slip stitch (sl st)
- 2 single crochet (sc)
- 3 half double crochet (hdc)
- 4 double crochet (dc)
Rounds 5-9
- Repeat Rounds 3 and 4, alternating as above, until a total of 9 rounds are completed.
- Each new row/round starts with the appropriate chain (either ch 1 or ch 2), turn, and use only back loops to maintain texture.
Finishing the Shell Base
- Chain 1.
- Work 3 decreases across the flat/bottom edge (use single crochet decrease: sc2tog).
- Chain 1, then work 3 single crochet (sc) across to neatly finish the shell's base row.
- Fasten off, leaving a long tail if using it to stitch the shell partially closed or to the pearl later.
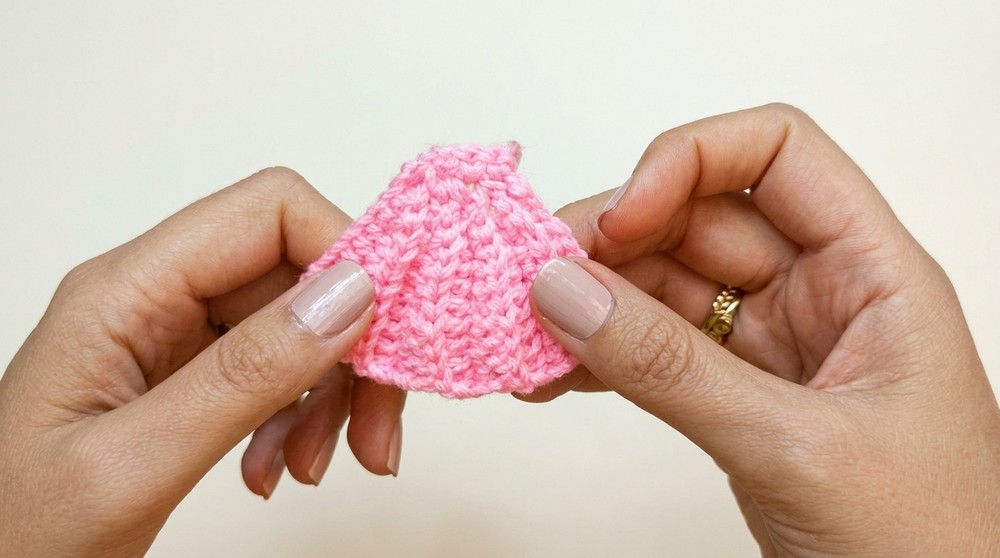
Assembly
- Glue the outer pink shell and inner white shell.
Inner Pearl / Ball Pattern
Round 1
- Begin with a magic ring (MR).
- Work 6 single crochet (sc) into the ring.
- Slip stitch (sl st) to join. (6 stitches)
Round 2
- Chain 1.
- Work 6 increases (inc) (2 sc in each st around).
- Slip stitch to join (12 stitches total).
Round 3
- Chain 1.
- (1 sc, 1 inc) repeat 6 times (i.e., 1 sc in next st, 2 sc in next st), around.
- Slip stitch to join (18 stitches).
Rounds 4-7
- Chain 1 at the start of each round.
- Work 1 single crochet (sc) in each stitch around (18 stitches per round).
- Slip stitch to join at the end of each round.
Round 8
- Chain 1.
- (1 sc, 1 dec) repeat 6 times (1 single crochet, then single crochet decrease).
- (12 stitches remain.)
- Insert 5 mm safety eyes between stitches (as preferred for face position).
- Stuff the pearl firmly with fiberfill.
Round 9
- Chain 1.
- Work 6 decreases (sc2tog) evenly around, until (6 stitches remain).
- Fasten off, weave in remaining tail securely.
Face Emberiodery
- Insert 5mm eyes in a suitable position.
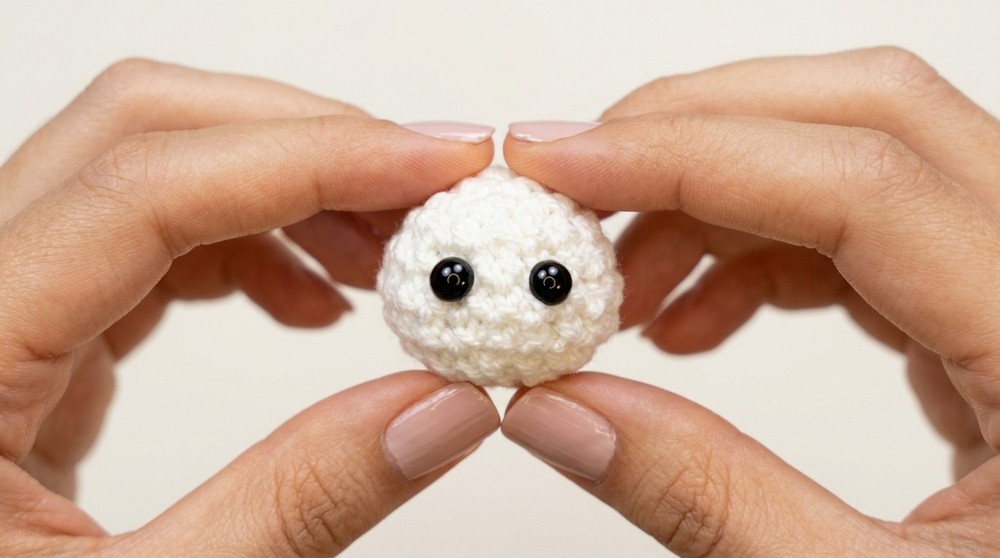
- Sew eyelashes and mouth with black thread.
- Add blush on cheeks.
Mini Decorative Bow
Base
- Start with a magic ring (MR).
Petals/Details
- Into the ring, work the following sequence two times:
- Chain 2.
- 2 double crochet (dc).
- Slip stitch (sl st).
- Gently pull the ring tight so the petals curl up, resembling a tiny flower or sea accent.
- Secure and fasten off, leaving a tail for attachment.
Assembly & Finished Size
- Assembling the Keychain:
- Position the finished pearl inside the shell, ensuring the face is visible.
- Using a yarn needle, stitch the bottom of the pearl inside the base of the shell, anchoring gently around the edge for stability.
- Secure the decorative bow onto the top or side of the shell as desired.
- Attach the keychain hardware to the apex of the shell using the yarn tail or a small ring.
- Finished Size:
- The assembled ornament measures about 2.5-3 inches in width, with the pearl about 1 inch in diameter and the complete keychain extending approximately 4 inches including hardware.
Conclusion and Ending Words
A thoughtful, cheerful keychain featuring a pearl inside its crocheted shell adds a splash of handmade charm to everyday accessories. The project showcases simple color and stitch variations, offering flexibility for matching personal style or festive themes. Tactile and visually delightful, this small item fits easily in a bag or pocket, while the secure structure withstands daily carrying. The clearly outlined steps encourage both new and experienced crocheters to experiment further-adjust sizes, make matching sets, or embellish with beads. Whether gifted or kept, the finished amigurumi shell keychain stands as a testament to careful workmanship and playful design.