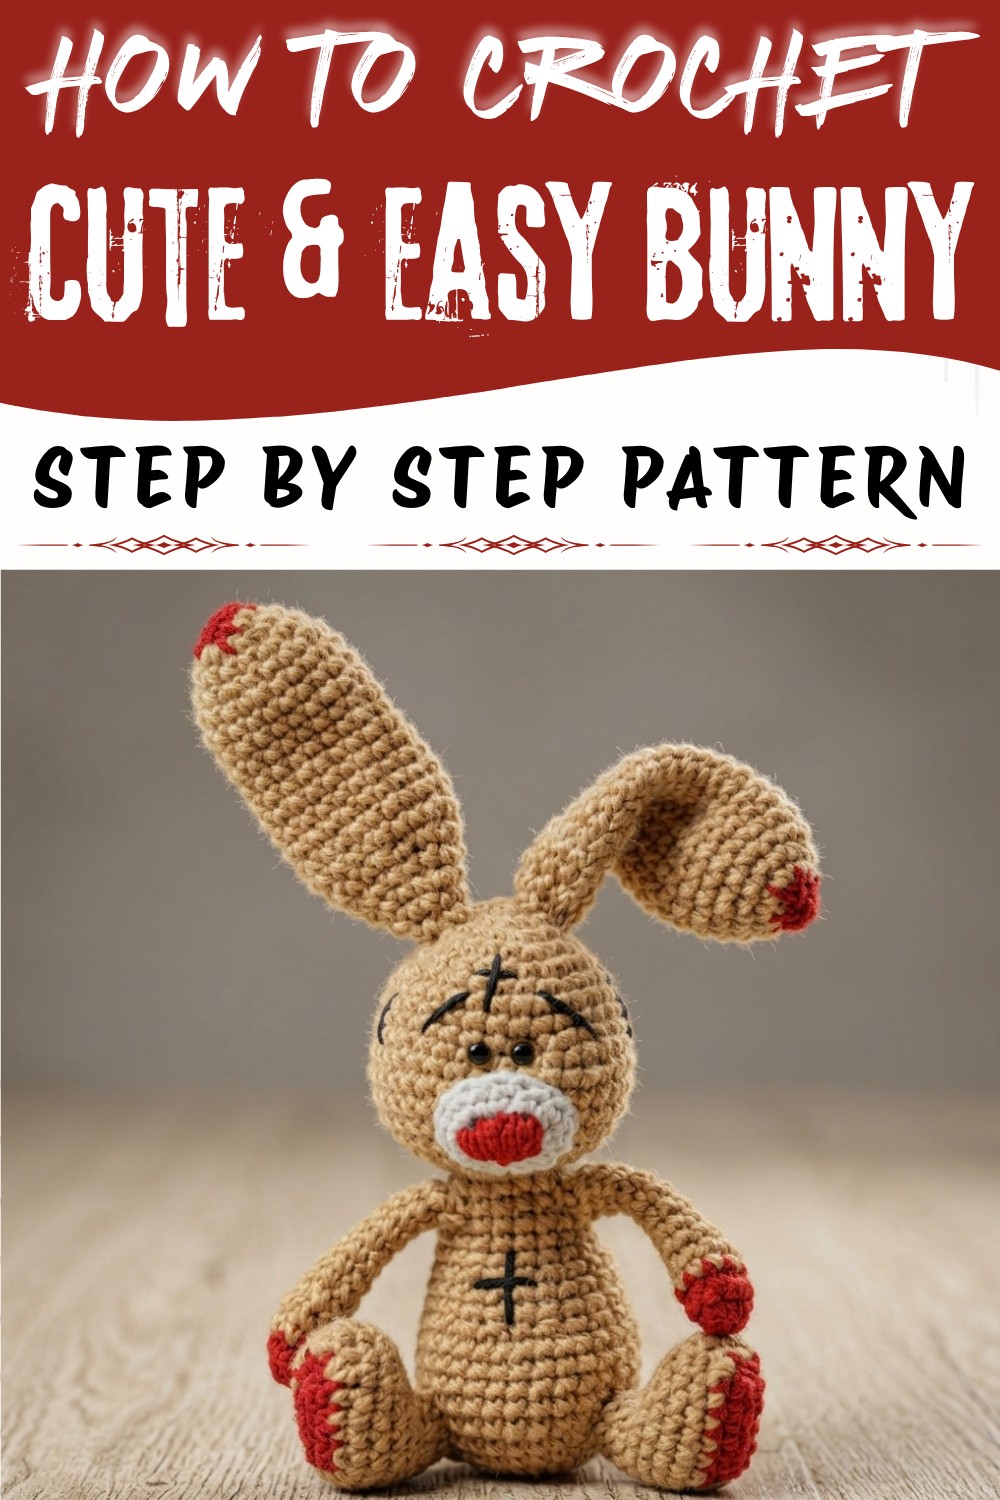
Fill your collection with personality using this Crochet Beaten-Up Bunny Pattern and display this lovable friend on a shelf or desk.
A sweet and lovable bunny with a cozy, vintage style adds a warm touch to any room. This soft, gentle design fits nicely in children's rooms or spaces needing a bit of charm. The Crochet Beaten-Up Bunny Pattern, with full credit to Nancy A Crochet channel, brings a homemade feel that suits spring, Easter, or thoughtful gifts for friends and family.
Little Crochet Beaten-Up Bunny Free Pattern for a Quirky Keepsake
This bunny works well as a decoration on shelves, desks, or as a cuddly companion during quiet moments. It pairs nicely with soft blankets, pastel colors, and wooden furniture, helping to create a friendly and inviting atmosphere. The bunny's gentle look complements other handmade items and children's toys, making it a versatile addition to various spaces.
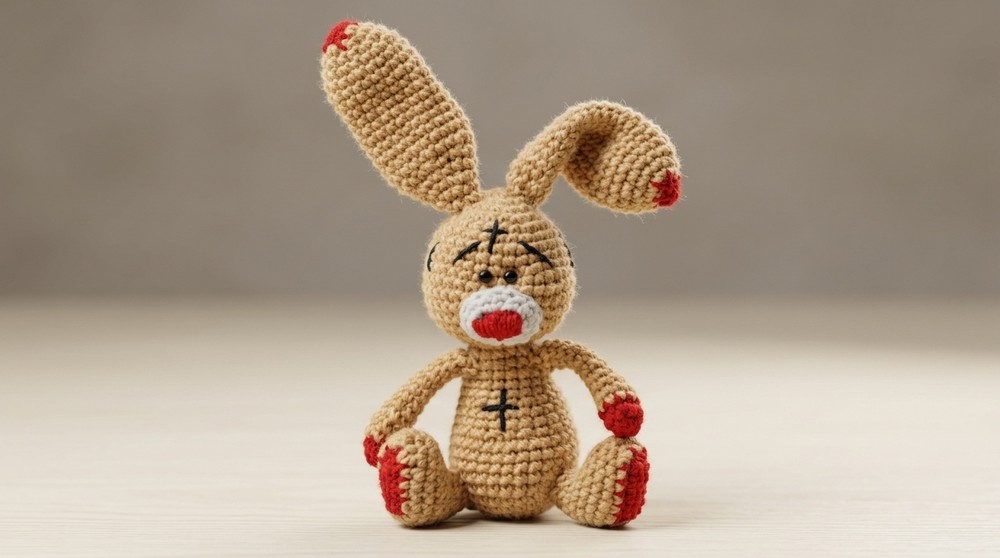
The texture of this bunny is particularly inviting. Soft yarn combined with carefully worked stitches creates a tactile surface with light bumps and ridges that appeal to both the eye and the touch. These subtle variations in texture give a sense of depth, making the bunny feel both comforting and interesting to hold or display. Its slightly floppy ears and a sweet, thoughtful face add to its charm, evoking the feeling of a "well-loved" companion.
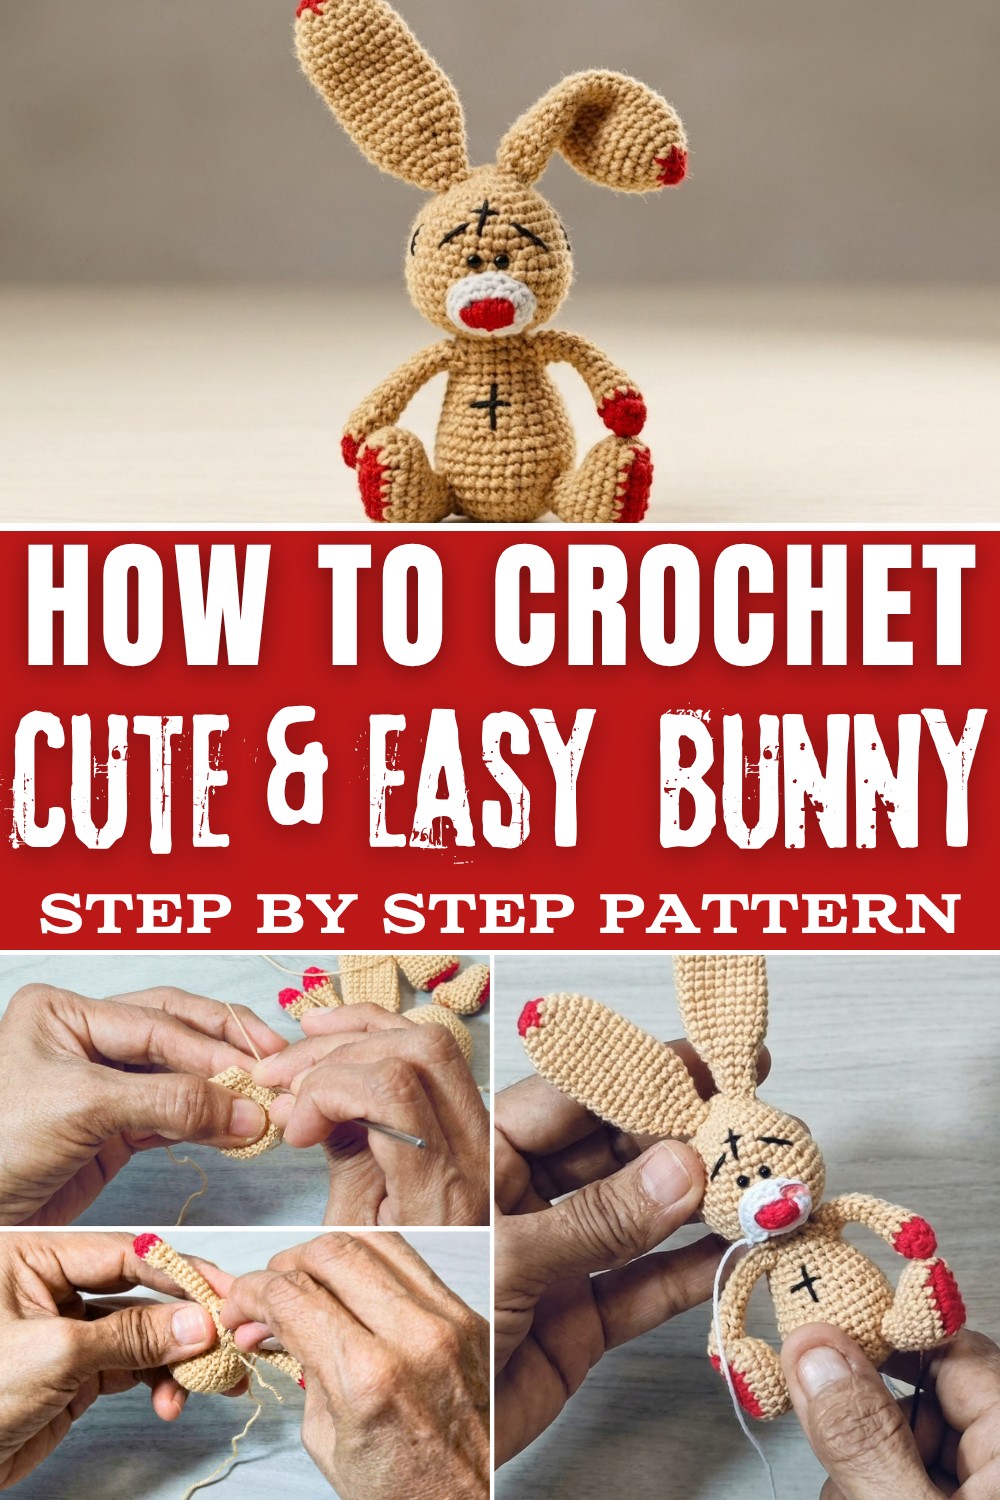
One of the most distinctive features of this design is the beaten-up yet endearing appearance, which gives it a nostalgic vibe. Slight imperfections in shape and stitch work are intentional, creating a unique character that feels like a treasured keepsake with a history. The bunny looks as though it has been hugged many times, making it an inviting presence in any room.
The combination of softness, texture, and a worn-in look makes this bunny stand out as a heartwarming accent. Whether placed in a child's nursery, on a cozy couch, or given as a thoughtful present, this pattern adds a personal and charming touch. Its approachable style fits well with relaxed, homey environments and adds warmth wherever it sits. This project offers something special for anyone who appreciates gentle, timeless designs with character and comfort.
cute Crochet Beaten-Up Bunny Free Pattern
Small details, classic proportions, and soft yarn combine to shape this amigurumi bunny into a charming handmade companion. The process moves step by step through every part, from the rounded head and elongated ears to the subtle shaping of shoes and flexible arms. Clear construction methods focus on reliable amigurumi techniques and smooth transitions, ensuring every element comes together smoothly. Attention to features such as embroidered expressions and softly stuffed limbs helps achieve a figure with character and presence. Using minimal materials in favorite shades, it is possible to achieve a finished bunny suitable for gifts or personal collections. Detailed instructions support new and experienced makers as they assemble each section into a cohesive piece that holds both visual appeal and sentimental value.
Quick Overview of the Pattern
- Ears are worked first in white and body color, then shaped with gradual decreases.
- Arms are crocheted in two tones and slightly flattened, left unstuffed for flexibility.
- Shoes and legs are joined as one piece, featuring rounded toes with color changes.
- The head and body are both worked in the round from the top down, shaped by gradual increases and decreases for natural contours.
- Arms are attached using both stitching and internal wire to enable realistic posing.
- Embroidery thread is used for face and scar features, allowing further personalization.
Notes
- Work the pattern in a spiral unless otherwise specified; use a stitch marker to keep track of rounds.
- Avoid overstuffing the ears and arms-these are designed to remain soft or unstuffed for natural flexibility.
- When closing small rounds (such as at the tip of the ears or arms), fasten off and weave ends gently to keep the shaping smooth.
- Safety eyes or beads should be sewn securely, especially for toys intended for small children.
- Transitioning from shoe to main body color on the legs provides a clear contrast for the bunny's "shoes."
- Using craft wire in the arms is optional but adds play value.
Skill Level
- Intermediate Beginner:
- Some experience with magic rings, increasing, decreasing, color changes, and working in the round is required. Embroidery skills for facial expression recommended.
Materials
- Yarn: Fine (fingering-weight) cotton yarn in three colors:
- Main color (e.g., blue)
- White or a contrasting pale shade for inner ears and hands
- Red or blue for shoes
- Black embroidery thread for features, eyebrows, and scars
- 1.0 mm crochet hook
- Small safety eyes or black seed beads
- Thin floral/craft wire (for arm poseability)
- Synthetic fiberfill stuffing
- Stitch markers
- Tapestry needle
- Scissors
Measurements / Sizing
- Finished size: Approximately 10-12 cm (4-4.5 inches) tall when seated, slightly taller standing.
- This can be adjusted by changing yarn weight or hook size.
Gauge
- Gauge is not critical for amigurumi, but for reference:
- 7-8 stitches per 2 cm in single crochet using 1.0 mm hook and fine cotton yarn.
Stitch Abbreviations
- sc = single crochet
- inc = increase (2 sc in one stitch)
- dec = decrease (sc two stitches together)
- MR = magic ring/circle
- ch = chain
- sl st = slip stitch
- st = stitch
Special Stitches
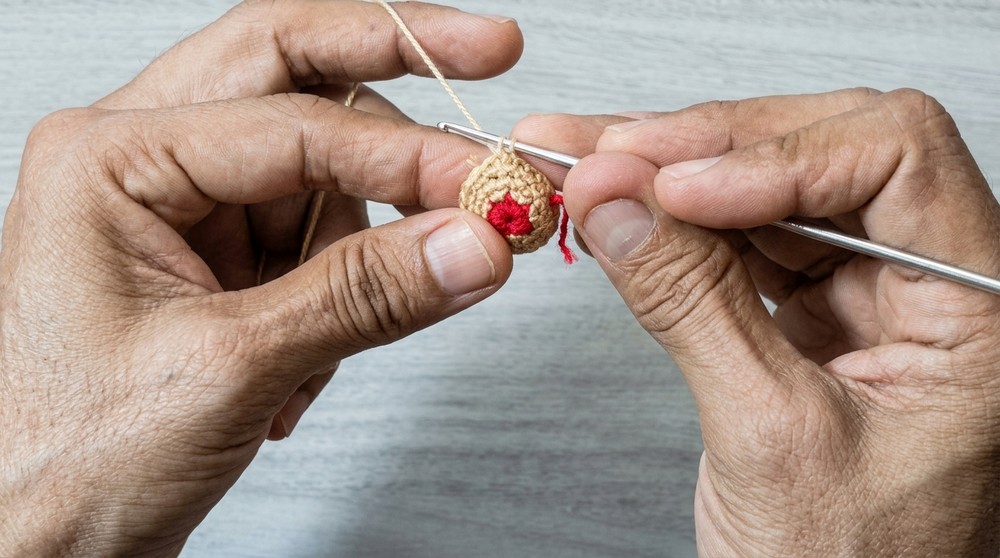
- Magic Ring (MR): Form a loop, insert hook, yarn over, pull up a loop, ch 1, then work stitches into the loop; pull tail to tighten.
- Invisible Decrease (dec): Insert hook into front loop only of next two stitches, yarn over, pull through both front loops, yarn over and pull through 2 loops on hook.
The Crochet Pattern
Ears (Make 2)
- Round 1: With white yarn, MR, work 6 sc [6]
- Round 2: Switch to main color, 2 sc in each st around [12]
- Round 3: 1 sc in each st [12]
- Round 4: (1 sc, 1 inc) x6 [18]
- Rounds 5-16: 1 sc in each st around [18, 12 rounds]
- Round 17: (1 sc, 1 dec) x6 [12]
- Round 18: 1 sc in each st [12]
- Round 19: (2 sc, 1 dec) x3 [9]
- Round 20: (1 sc, 1 dec) x3 [6]
- Rounds 21-22: 1 sc in each st [6]
- Fasten off, leaving a long tail for sewing. Do not stuff.
Arms (Make 2)
- Round 1: White yarn, MR, work 6 sc [6]
- Round 2: (2 sc, 1 inc) x2 [8]
- Rounds 3-4: Switch to main color, 1 sc in each st [8 per round]
- Round 5: 2 dec, 4 sc [6]
- Rounds 6-12: 1 sc in each st [6 per round]
- Fasten off. Do not stuff. Flatten each arm flat.
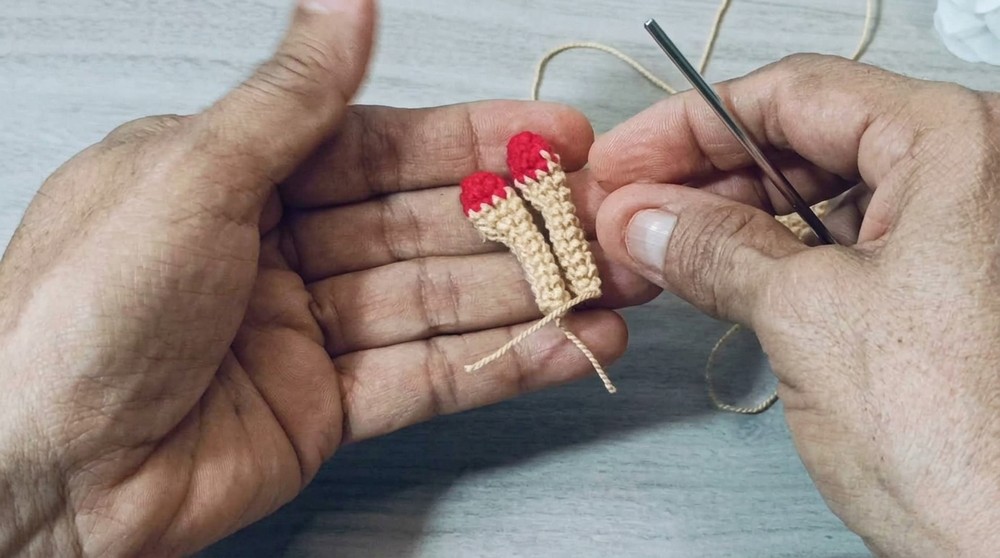
Shoes and Legs (Make 2)
- Round 1: Shoe color, MR, work 6 sc [6]
- Round 2: 1 inc, 4 sc, 3 sc in last st; Turn, 3 sc along other side, 1 sc in last st [12]
- Round 3: Main body color, 2 inc, sc along side, 3 inc at toe, sc along side, 1 inc [20]
- Rounds 4-5: 1 sc in each st [20 per round]
- Round 6: 5 sc, 5 dec, 5 sc [15]
- Round 7: 4 sc, 4 dec, 3 sc [11]
- Rounds 8-9: 1 sc in each st [11 per round]
- Stuff the shoes lightly, then fasten off.
Head
- Round 1: Main color, MR, work 6 sc [6]
- Round 2: 6 inc [12]
- Round 3: (1 sc, 1 inc) x6 [18]
- Round 4: (2 sc, 1 inc) x6 [24]
- Round 5: 1 sc in each st [24]
- Round 6: (3 sc, 1 inc) x6 [30]
- Rounds 7-8: 1 sc in each st [30 per round]
- Round 9: (4 sc, 1 inc) x6 [36]
- Rounds 10-13: 1 sc in each st [36 per round]
- Round 14: (4 sc, 1 dec) x6 [30]
- Round 15: (3 sc, 1 dec) x6 [24]
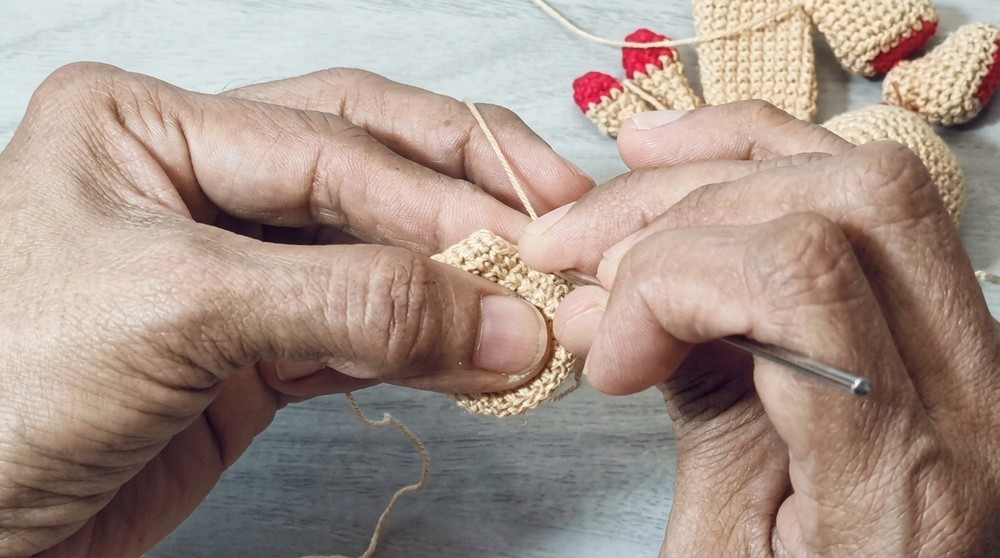
- Round 16: (2 sc, 1 dec) x6 [18]
- Begin stuffing the head firmly with fiberfill at this stage.
- Round 17: (1 sc, 1 dec) x6 [12]
- Round 18: 6 dec [6]
- Fasten off, weave in end.
Body
- Round 1: Main color, MR, work 6 sc [6]
- Round 2: 6 inc [12]
- Round 3: (1 sc, 1 inc) x6 [18]
- Round 4: (2 sc, 1 inc) x6 [24]
- Round 5: (3 sc, 1 inc) x6 [30]
- Rounds 6-11: 1 sc in each st [30 per round]
- Round 12 (Belly shaping): (1 sc, 1 dec) x6, 12 sc [24]
- Rounds 13-14: 1 sc in each st [24 per round]
- Round 15: (2 sc, 1 dec) x6 [18]
- Stuff body, placing extra fiberfill in front for a plump belly.
- Rounds 16-17: 1 sc in each st [18 per round]
- Round 18 (Attach Arms):
- Attach first arm: 2 sc through both arm and body
- Chest: 6 sc
- Attach second arm: 2 sc through both arm and body
- Back: 8 sc [18]
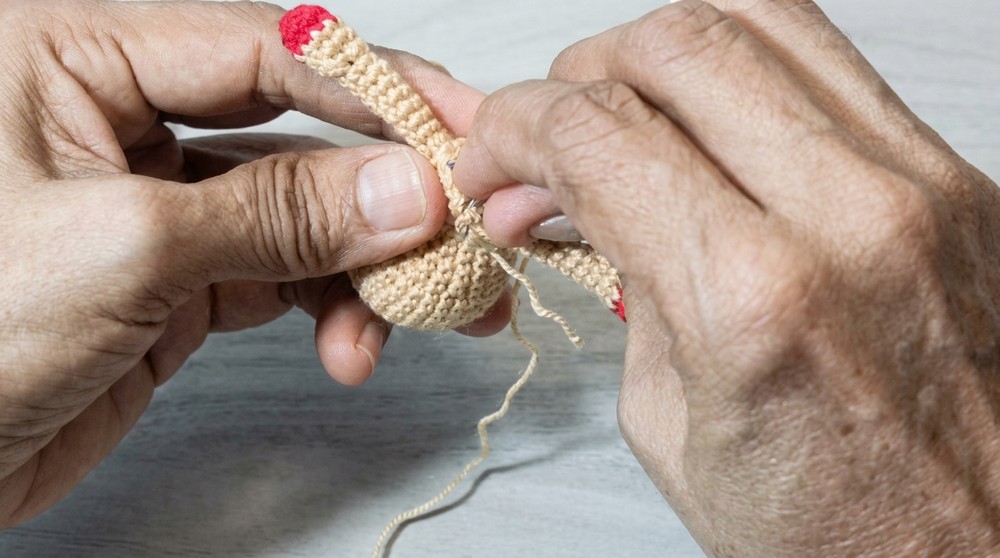
- Round 19: 3 dec (first arm area), 4 sc (chest), 3 dec (second arm area), 6 sc (back) [12]
- Round 20: 2 dec, 3 sc, 2 dec, 5 sc [8]
- Fasten off, leaving a tail for sewing to head.
Assembly & Finished Size
- Eyes & Expression: Using thread, indent eye sockets at Round 9 of the head. Attach safety eyes or sew seed beads securely in the indentations.
- Embroidery: Sew diagonal scar details and eyebrows with black embroidery thread.
- Arm Poseability: Cut floral wire; thread through upper body and both arms to allow movement. Ensure no wire ends protrude.
- Attach Ears: Sew to the top of the head, near Round 2, shaping for a natural look.
- Attach Head to Body: Stitch body to bottom of head; reinforce seam securely.
- Attach Shoes: Sew the leg pieces to the bottom of the body. Adjust angle for sitting or standing pose.
Certainly! Here's a formatted step-by-step Snout Pattern for your amigurumi rabbit, with assembly tips:
Snout Pattern
Step 1: Starting Chain
- Create a slip knot.
- Chain 4.
Round 1
- Work single crochets along the chain.
- In the final chain stitch, make 3 single crochets to turn the corner.
Turning
- Continue working down the other side of the chain with 2 single crochets.
- Place 2 single crochets in the last stitch to complete the turn.
Step 4: Round 2 (Increase)
- Place your stitch marker at the beginning.
- Work 1 increase (2 sc in one stitch).
- Work single crochets along the side.
- At the pointed tip, work 1 increase.
Step 5: Final Round
- Join with a slip stitch.
- Work 1 single crochet in each stitch around, creating the base of the snout (18 stitches total).
Assembly Tip
- Cut your yarn, leaving a long tail for sewing.
- Use colored embroidery thread (such as red) to stitch mouth details onto the snout before sewing.
- Sew the finished snout securely onto the face beneath the eyes.
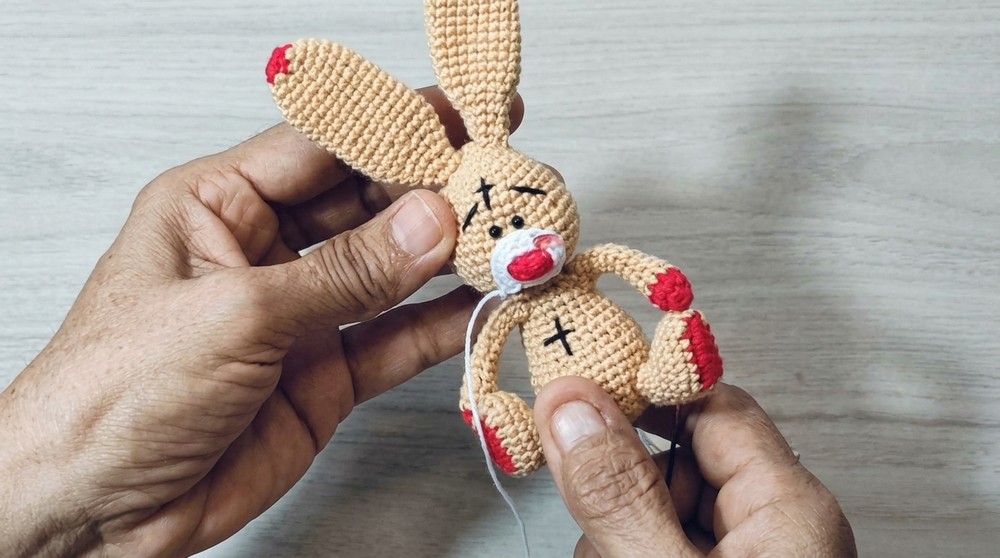
- Final shaping: Adjust stuffing and seams as needed for symmetry and shape.
- Finished size: 10-12 cm (4-4.5 inches) tall.
Conclusion
This project results in a small figure that reflects patience, careful assembly, and an appreciation for purposeful detail. The finished bunny holds its form with sturdy shaping, poseable arms, and securely attached components, allowing it to withstand gentle handling or serve as a decorative keepsake. Features such as securely sewn eyes and expressive embroidery add charm and individuality. Instructions guide each stage methodically, enhancing confidence from the opening round to the last seam. With time spent on each section, a rewarding sense of accomplishment emerges as the bunny takes shape and achieves its intended style. Whether made for gifting or display, the completed piece stands as a testament to attentive handiwork and thoughtful finishing.