
You won't find many bags in the shop that feel special and made just for you. That's why making your own with a Free Crochet Drawstring Bag Pattern is such a good idea. This drawstring bag is easy to crochet, and anyone even kids can make it with yarn and a hook.
The bag is shaped like a small pouch and closes with a drawstring at the top. Just pull the string, and your treasures are safe inside. The shell stitch makes a gentle, wavy pattern that looks beautiful and feels soft. You can add charms or buttons to make your bags unique.
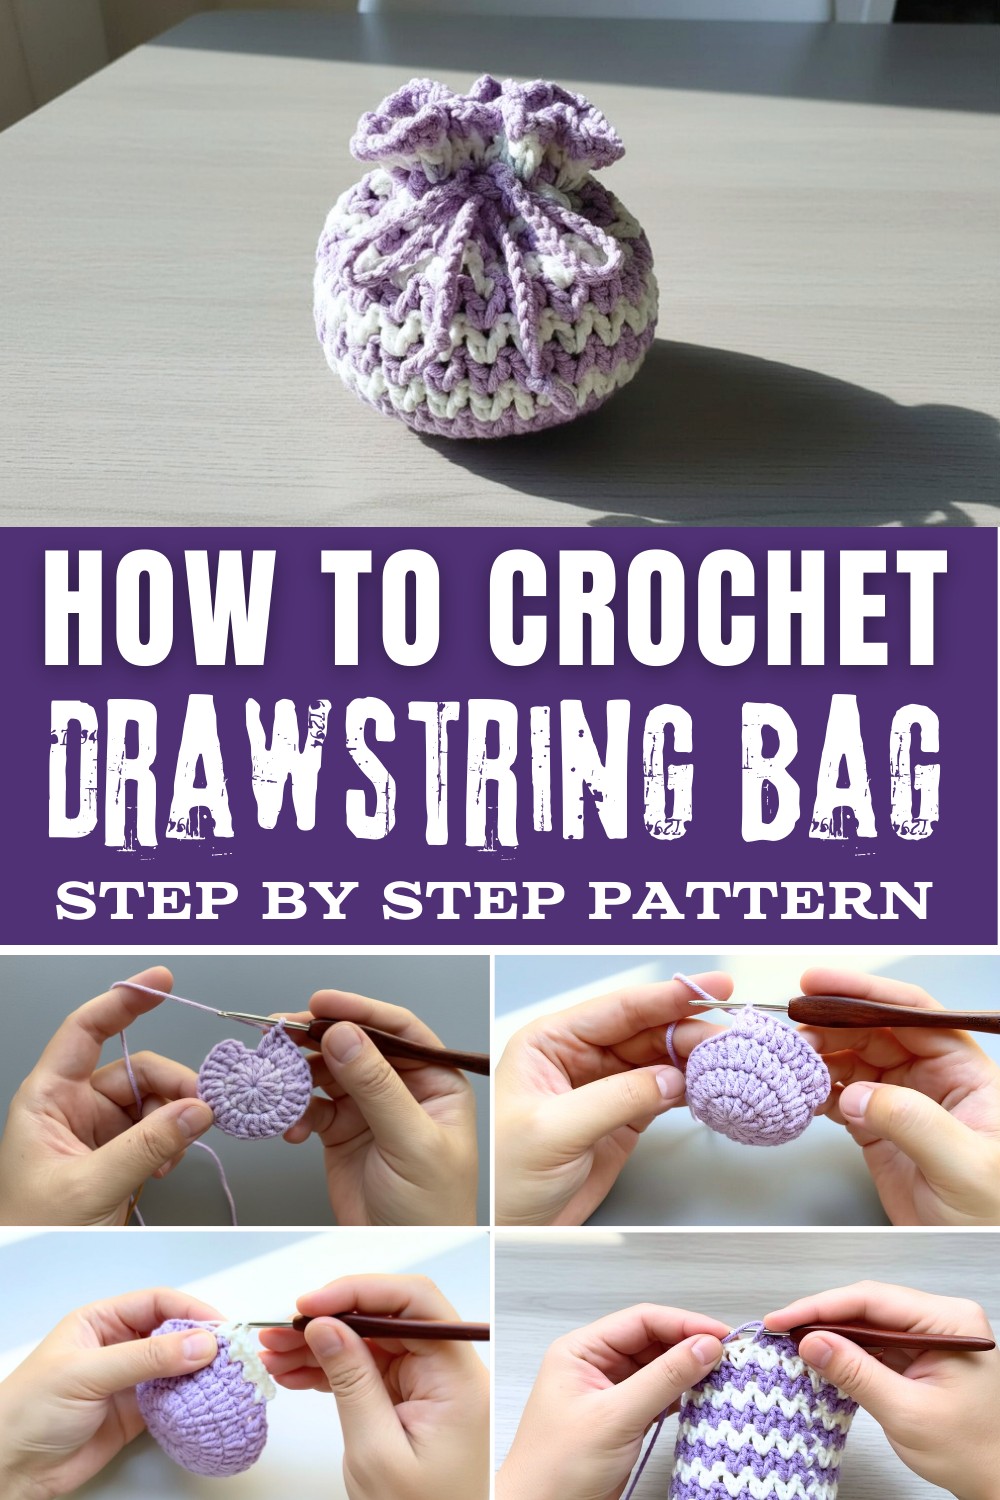
There are so many things you can do with this bag. It can hold your toys, snacks, crayons, or coins. You can use it as a gift bag, a soap pouch, or even a small purse. The bag is light and handy, so you can carry it anywhere you like. You get to choose your favorite colors for the bag lavender, white, yellow, or even use two colors for stripes. If you want your bag bigger or smaller, just start with more or fewer chains. After finishing, the bag is about seven inches tall and five inches wide.
Crocheting this bag is simple if you use a 3.5mm hook and soft cotton yarn. The shell stitch is the special part, making the bag look wavy and nice. Making this drawstring bag feels like magic, and soon you'll have something to show off. It's fun and easy to make for yourself or as a present for someone you care about.
Materials Needed:
- Yarn: 5-ply cotton yarn in your chosen colors (single or multi-color combination).
- Hook: 3.0mm crochet hook.
- Tapestry needle (for weaving ends and sewing the drawstring).
- Scissors
- Stitch markers (optional, to keep track of critical sections).
Gauge:
Gauge can vary slightly depending on your tension. For this pattern:
- Approximation: 12 double crochets (dc) = 2 inches in rounds.
- Ensure consistent tension as this will help maintain the bag's shape.
Finished Size:
The finished bag will measure approximately 6-7 inches tall and 5-6 inches wide. You can adjust the size depending on personal preferences (instructions for adjustments included in customization tips below).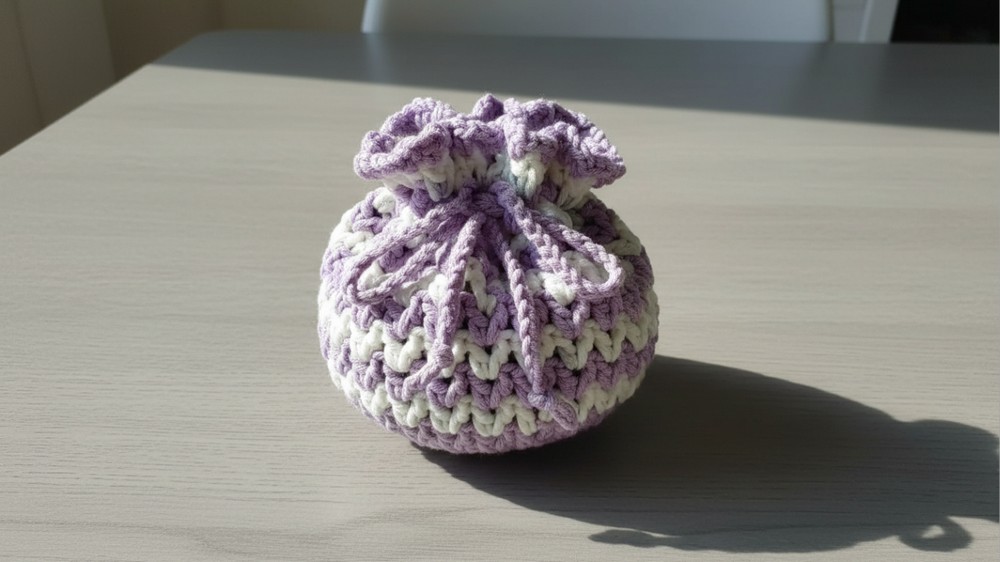
Tips for Success:
- Tighten the starting circle of the base securely to avoid gaps at the bottom.
- Keep your tension even throughout rounds to ensure consistent shaping.
- Feel free to experiment with yarn color changes to create a unique styling pattern.
Customization Ideas:
- Size: Adjust the number of rounds for the base or height for a larger/smaller bag.
- Drawstring: Instead of crocheting, use a ribbon, cord, or braided yarn for the drawstring closure.
- Decorations: Add tassels, beads, or appliqué designs for extra flare.
Pattern Instructions:
Below is the step-by-step guide for the crochet drawstring bag, complete with easy-to-follow stitch patterns and techniques.
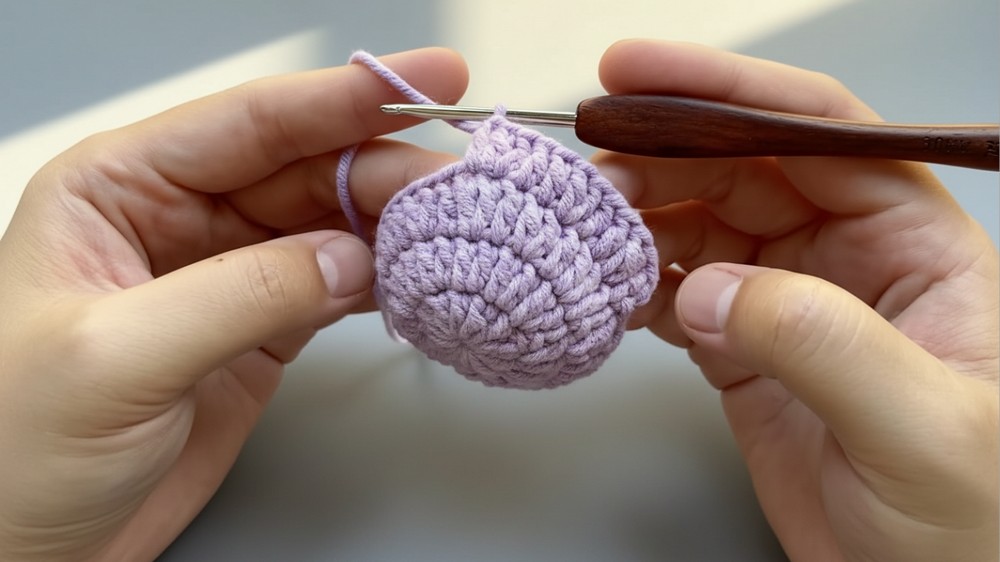
Step 1: Bag Base (Worked in the Round)
Round 1 (R1): Foundation Circle
- Begin with a slip knot and chain 3 (this counts as your first double crochet).
- Work 12 double crochets (dc) into the center of the circle.
- Slip stitch into the top of the first chain to close the round.
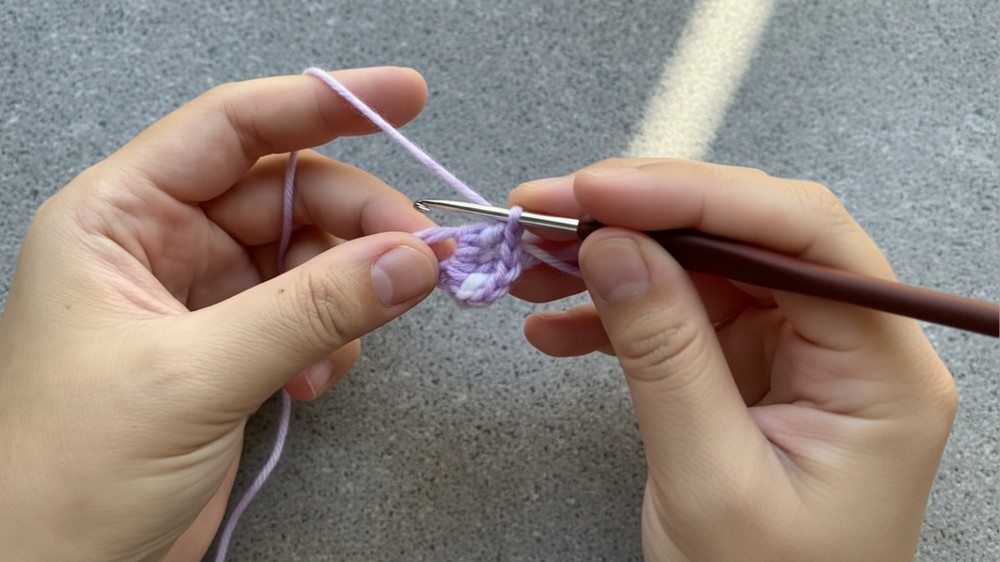
Total stitches: 12 dc
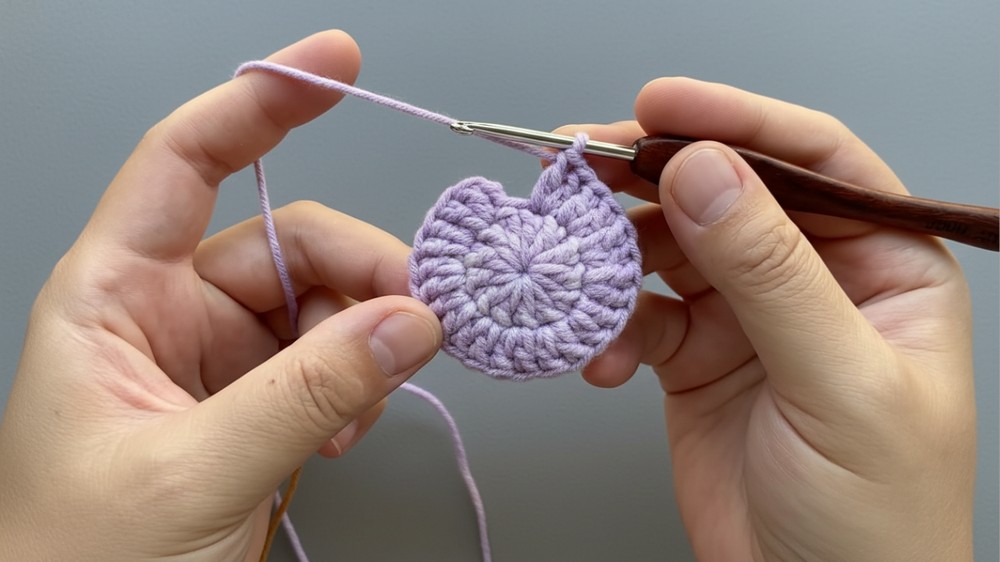
Round 2 (R2): Increasing the Circle
- Chain 2 (does not count as a stitch).
- Work 2 double crochet (dc-inc) into each stitch around.
- Slip stitch into the top of the first dc to close the round.
Total stitches: 24 dc
Round 3 (R3): Expanding the Circle
- Chain 2.
- Work 1 double crochet (dc) in the first stitch, followed by dc-inc (2dc in the next stitch).
- Repeat (dc, dc-inc) around.
- Slip stitch into the top of the first dc to close the round.
Total stitches: 36 dc
Round 4 (R4): Final Base Expansion
- Chain 2.
- Work 1 dc in the first stitch, 1 dc in the next stitch, followed by dc-inc (2dc in the next stitch).
- Repeat (dc, dc, dc-inc) around.
- Slip stitch into the top of the first dc to close the round.
Total stitches: 48 dc
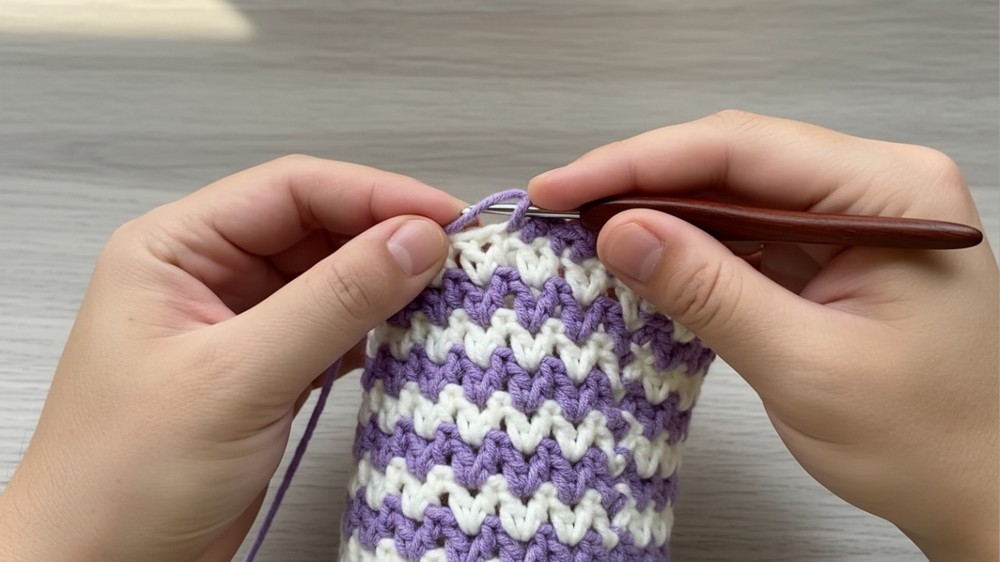
Step 2: Creating the Bag Walls
Round 5: Open Work Pattern Start
- Chain 4 (counts as 1dc + 1ch).
- Work 1dc in the same stitch.
- Skip 1 stitch, work 1dc, followed by 1ch and 1dc in the same stitch.
- Continue the pattern: (skip 1 stitch, 1dc, 1ch, 1dc in the same stitch) around.
- Slip stitch into the third chain from the starting chain to close the round.
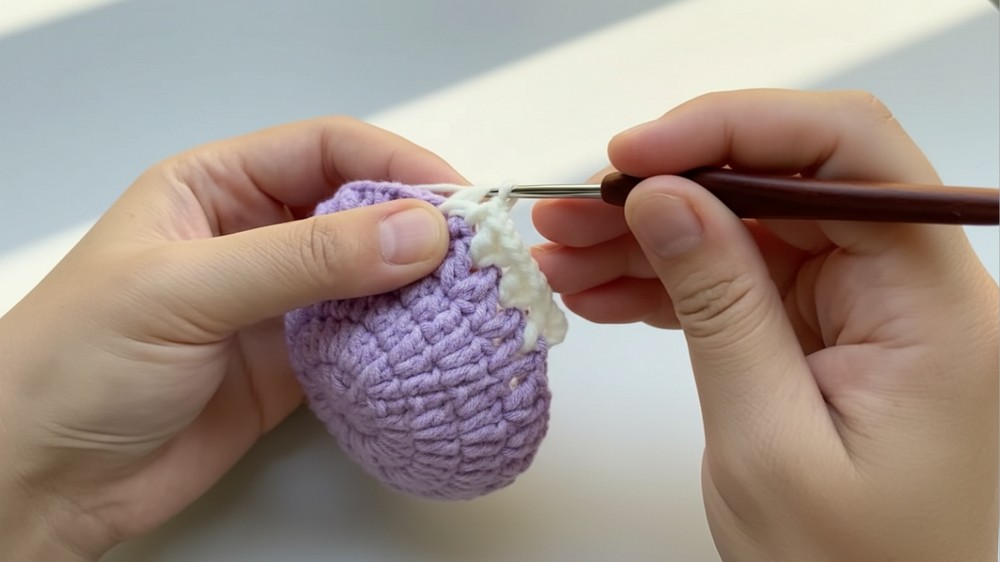
Round 6:
- Change yarn to your second color (optional).
- Slip stitch into the nearest chain space.
- Chain 4 (counts as 1dc + 1ch).
- Work 1dc in the same chain space.
- In the next chain space, work 1dc, 1ch, 1dc.
- Repeat (1dc, 1ch, 1dc) in chain spaces around.
- Slip stitch into the third chain to close the round.
Round 7:
- Change yarn (optional).
- Slip stitch into the nearest chain space.
- Chain 4 (counts as 1dc + 1ch).
- Work 1dc in the same chain space.
- Repeat (1dc, 1ch, 1dc) in chain spaces until you complete the round.
- Chain 1, then work 1 single crochet (sc).
- Chain 3, then work 1 sc in the next stitch.
Step 3: Adding the Drawstring Row
- Chain 3.
- In chain spaces around the bag, work 4 double crochets (dc) to form a popcorn stitch.
- Slip stitch to join the popcorn stitches as a continuous row.
- From the popcorn row:
- Chain 2, work 1dc in the space between two popcorn stitches.
- Chain 2, then work 1 single crochet (sc).
- Repeat the sequence (1dc, 2ch, 1sc) for each space between popcorn clusters.
Step 4: Drawstring
- Crochet a long chain (approximately 30 inches) or braid yarn for the drawstring.
- Thread the drawstring through the chain spaces of the bag, using an over-and-under method.
- Pull the drawstring on both sides to test closure, and knot securely at the ends of the drawstring. Optionally, add tassels or beads.
Conclusion and Remarks:
Your crochet drawstring bag is complete! It features a sturdy circular base, decorative walls, and a drawstring closure that is both practical and stylish. This versatile bag can be further adapted by changing colors, adding embellishments, or increasing its size.
Final Notes:
- Be sure to weave in loose ends with a tapestry needle for a clean finish.
- Block the bag lightly if needed to enhance its symmetry.
- This design is beginner-friendly yet provides room for creative adjustments to suit your style and needs.