
Bring charm to your space with a crochet tea cup pattern that's for unique decor, heartfelt gifts, or adding a cozy, playful touch to any setting.
Not all crochet projects have to be big or complicated. When I wanted to make something simple and cute for playtime, I picked the Free Crochet Tea Cup Pattern. This tiny tea cup can also be called a mini mug or playset cup, and it's perfect for everyone, even kids who are learning to crochet.
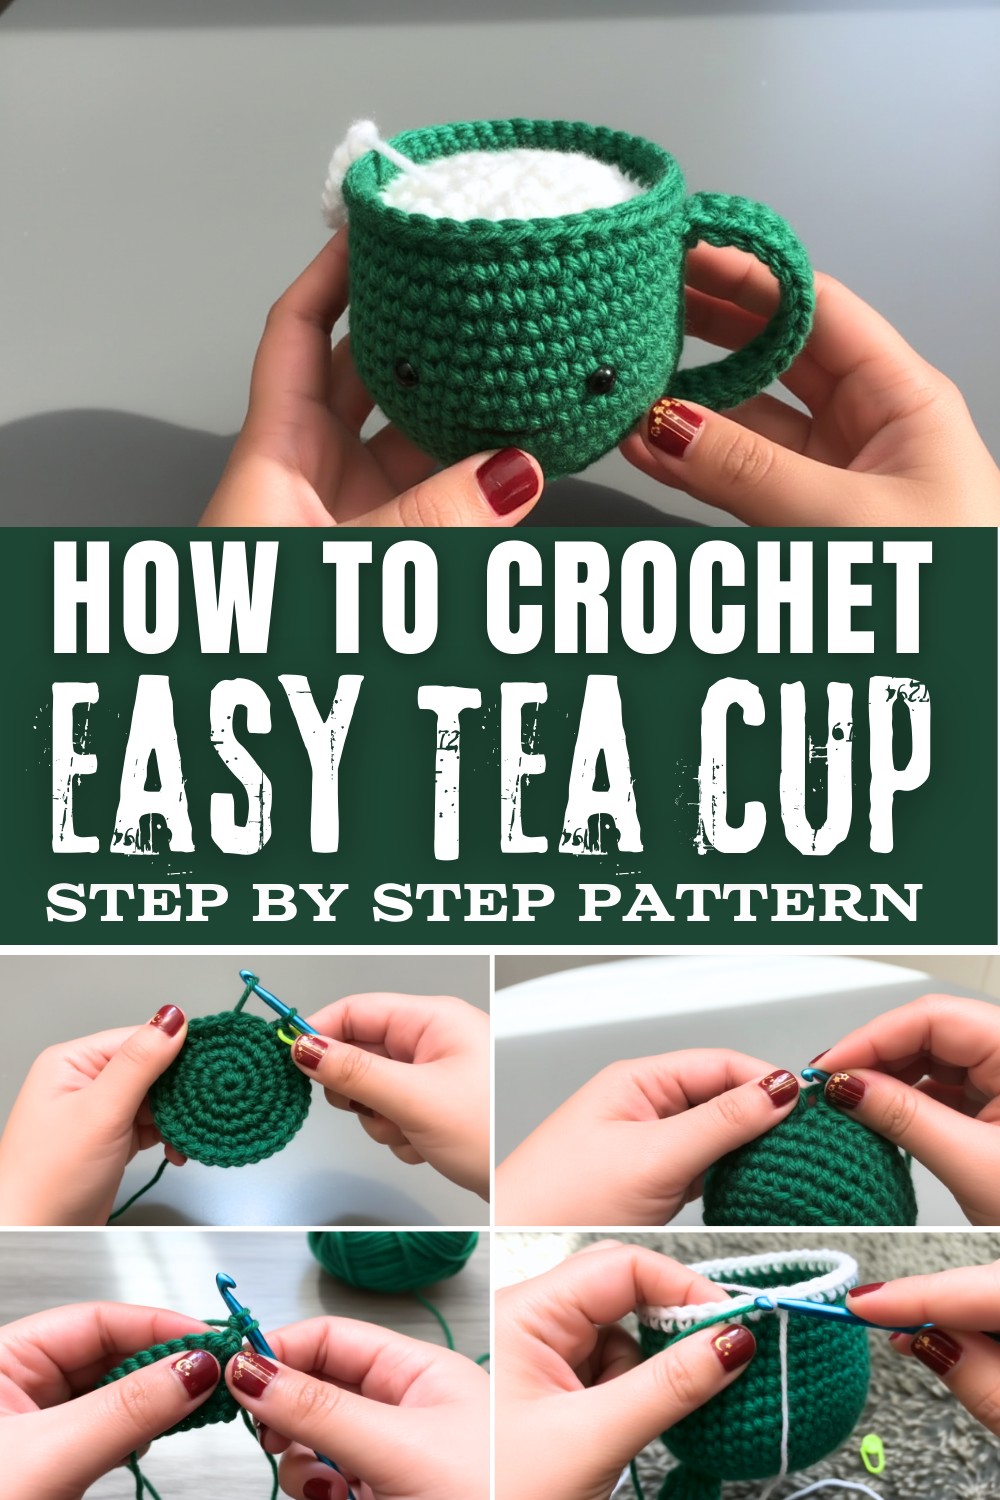
This tea cup looks sweet and cheerful, with a round base, smooth sides, and a little handle that's just right for small hands. You can make your cup any color you like: soft pastels, bright rainbow shades, or even a color to match your room or your favorite set of toys. The cup is about 2.5 inches tall and 3 inches wide, which means it can be used for pretend tea parties, doll kitchens, or as a display on a shelf.
To make this tea cup, you use DK weight yarn and a 3mm hook. The main stitch you'll use is the single crochet, which is one of the simplest stitches in crochet. There is also a special round where you stitch in the back loops only, this gives the cup rim a pretty and realistic finish. It's easy to make, even if you're just starting to learn.
From this tea cup you can make more things too, pincushions, tiny planters, desk decorations, or even use them as funny little gifts or friendship surprises. This is a good project for beginners because it uses basic stitches and simple steps. You'll have lots of fun making your own set, and soon you'll want to crochet a whole collection in different colors and sizes to share with friends!
Materials Needed
To complete your teacup project, gather the following:
- Yarn:
- Green: For the cup base and rim.
- White: For the liquid inside the cup.
- White: For the tea bag.
- Crochet Hook: 5 mm (US size H-8).
- Stitch Marker: For tracking rounds.
- Scissors: For cutting yarn.
- Embroidery Thread: For facial details (mouth).
- Safety Eyes: 8 mm or preferred size.
- Stuffing/Fiberfill: To fill the cup for structure.
- Tapestry/Threading Needle: For weaving in ends and attaching details.
Gauge
Gauge is not critical for this project, but to ensure proper proportions:
- 8 single crochet stitches (sc) x 8 rows = 2 inches.
If your gauge differs, adjust your yarn or hook size.
Special Techniques
Magic Circle:
- Used to begin the base of the cup.
Tutorial: Wrap yarn around your fingers, insert the hook into the circle, pull yarn through, chain 1, and crochet into the ring.
Working into Front and Back Loops:
- Back Loops Only: Creates raised rows for shaping.
How-To: Insert your hook through the back loop of a stitch (not both loops).
Invisible Decrease:
- Gives cleaner, smoother decreases.
How-To: Insert hook into front loops of two consecutive stitches, yarn over, and pull through, yarn over again, and pull through all three loops.
Pattern Instructions
Cup Base
- Round 1:
Begin with a magic circle. Create 8 single crochets (sc) into the circle. Slip stitch (sl st) into the first stitch to close the round. Insert your stitch marker.
(8 stitches total). - Round 2:
Work 2 sc into each stitch (increase in every stitch). 16 stitches total. - Round 3:
Alternate an increase (2 sc) in the first stitch, followed by 1 sc in the next stitch. Repeat to 24 stitches total. - Round 4:
Work 1 sc into every stitch around to maintain shape.
(24 stitches total). - Round 5:
Alternate an increase, followed by 2 sc into the next 2 stitches. Repeat until you reach 32 stitches total. - Round 6:
Work 1 sc in the back loops only. This round begins forming the teacup's body. Ensure you maintain 32 stitches total.
- Round 7:
Alternate an increase in the first stitch, followed by 3 sc into the next stitches. Repeat to end with 40 stitches total. - Rounds 8-10:
Work 1 sc into each stitch around. Continue crocheting these rounds to create the teacup's height. - Round 11:
Work 18 sc, then perform an invisible decrease. Repeat 18 sc, then do an invisible decrease. End with 38 stitches total. - Rounds 12-16:
Continue working 1 sc into each stitch to maintain consistent shape.
(38 stitches total).
Cup Handle
- Chain 17:
Begin crafting the handle by chaining 17. Adjust the chain length for customized handle size. - Row 1:
Single crochet into the second chain from the hook and continue across the chain.
- Rows 2-4:
Chain 1 at the start of each row, turn your work, and single crochet across. - Fasten Off:
Cut yarn and secure the ends. Attach the handle to the cup securely with sewing or knotting, as shown in the tutorial.
Tea Bag
- Chains + Rows:
- Chain 5.
- Single crochet into the next 4 stitches for Row 1.
- Chain 1, turn work, and single crochet rows until the tea bag is shaped. Alternate decreases in Rows 5 & 6.
- Fasten Off:
Leave a long tail for attaching the tea bag to the teacup edge. Use yarn or embroidery thread.
Liquid Section (Brown Yarn)
Rounds:
- Attach brown yarn to the back loops only of the last row of the cup body.
- Work decreasing rounds:
- Round 1: Decrease after every 3 stitches to 30 stitches total.
- Round 2: Decrease after every 2 stitches to 22 stitches total.
- Round 3: Decrease after every stitch to 14 stitches total.
- Insert stuffing before fully closing.
- Close the circle completely using a threading needle. Use tight pulls to secure.
Cup Rim (Optional)
Using yellow yarn:
- Front Loops Only: Return to the front loops of the last round on the cup and single crochet around.
- Once complete, fasten off and weave in ends invisibly for a neat finish.

Finished Size
The final teacup will approximately measure 4 inches in height and 3.5 inches in diameter, making it a cute tabletop decoration or playful gift item.
Customization Tips
- Handle Size:
- Adjust the chain length for larger or smaller handles based on the teacup's design.
- Expression:
- Embellish the teacup with embroidery for custom facial expressions such as blush, smiles, or winks.
- Liquid Color:
- Use different yarn colors for creative beverage effects (e.g., green for matcha, creamy beige for latte).
- Tea Tag:
- Stitch or embroider logos on the tea bag for a playful touch.
Conclusion and Final Remarks
Once complete, your crocheted teacup is a charming and creative piece bound to garner compliments. Whether made as a gift or decoration, it's sure to impress. The detailed pattern provides room for customization while ensuring your teacup comes together beautifully.