
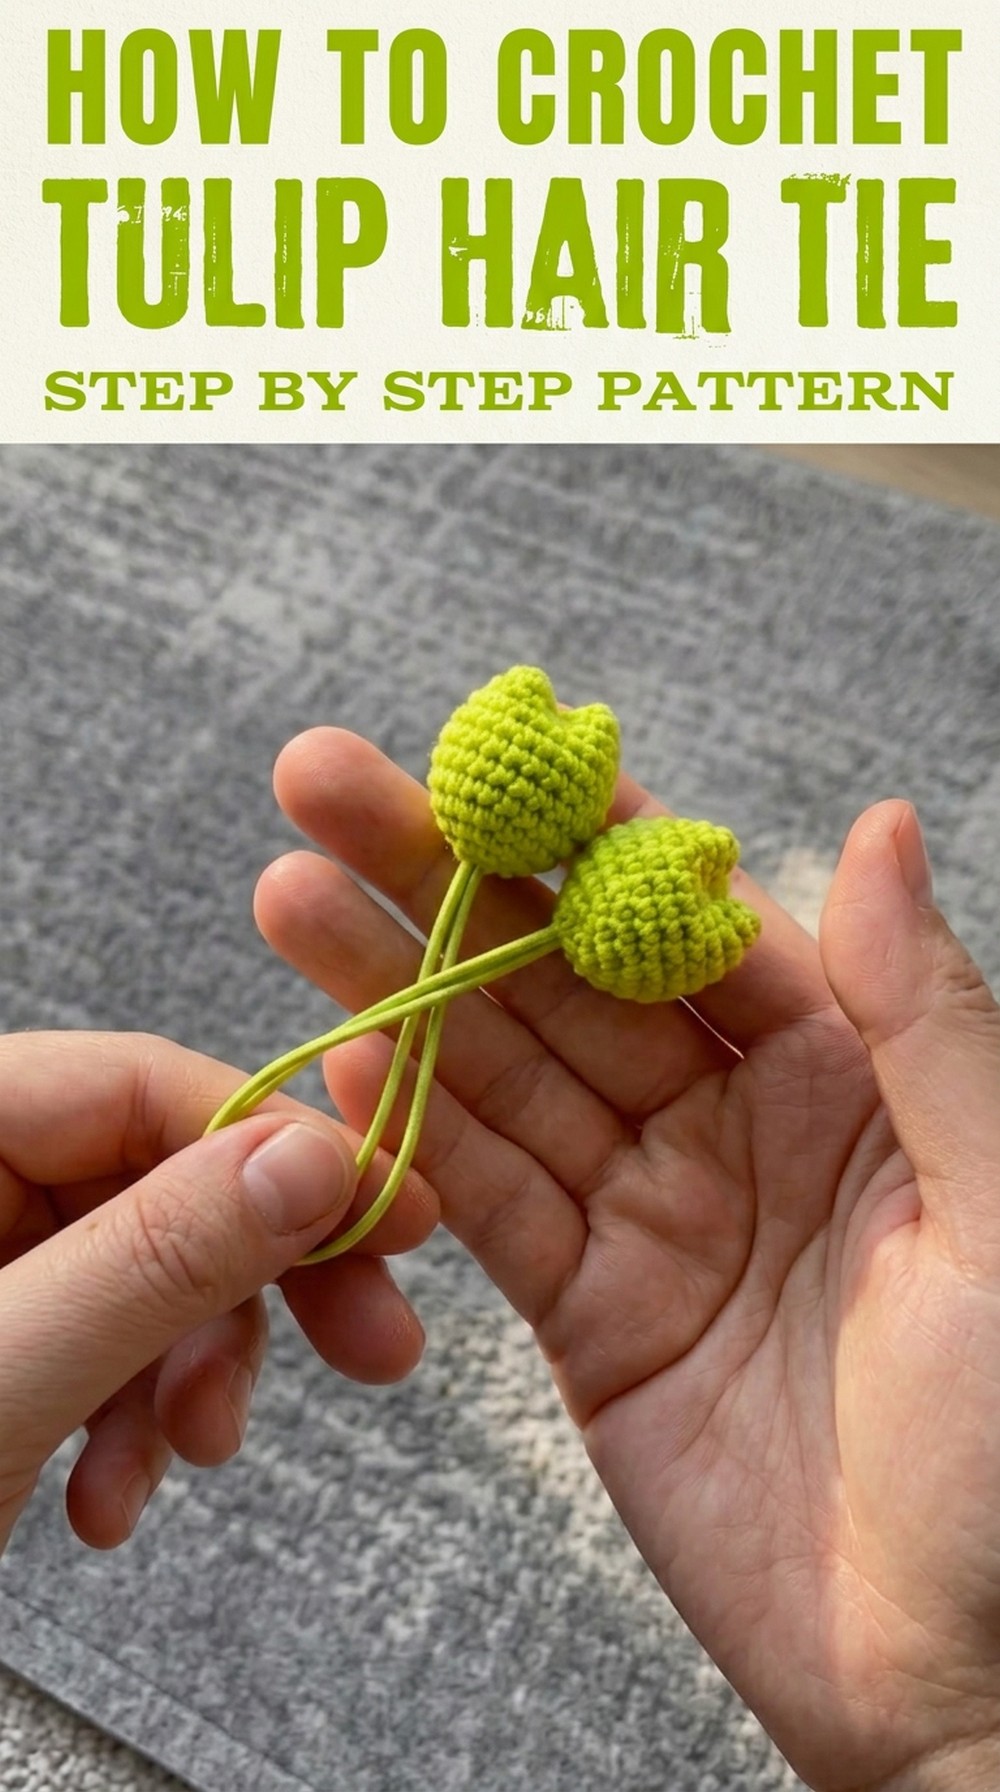
Give your hairstyle a playful twist with a crochet tulip hair tie that's equal parts charming and practical. This small yet striking design transforms an ordinary hair elastic into a blooming accessory that stands out. Perfect for experimenting with vibrant yarn colors and learning simple shaping techniques, it's an ideal project for both beginners and seasoned crocheters.
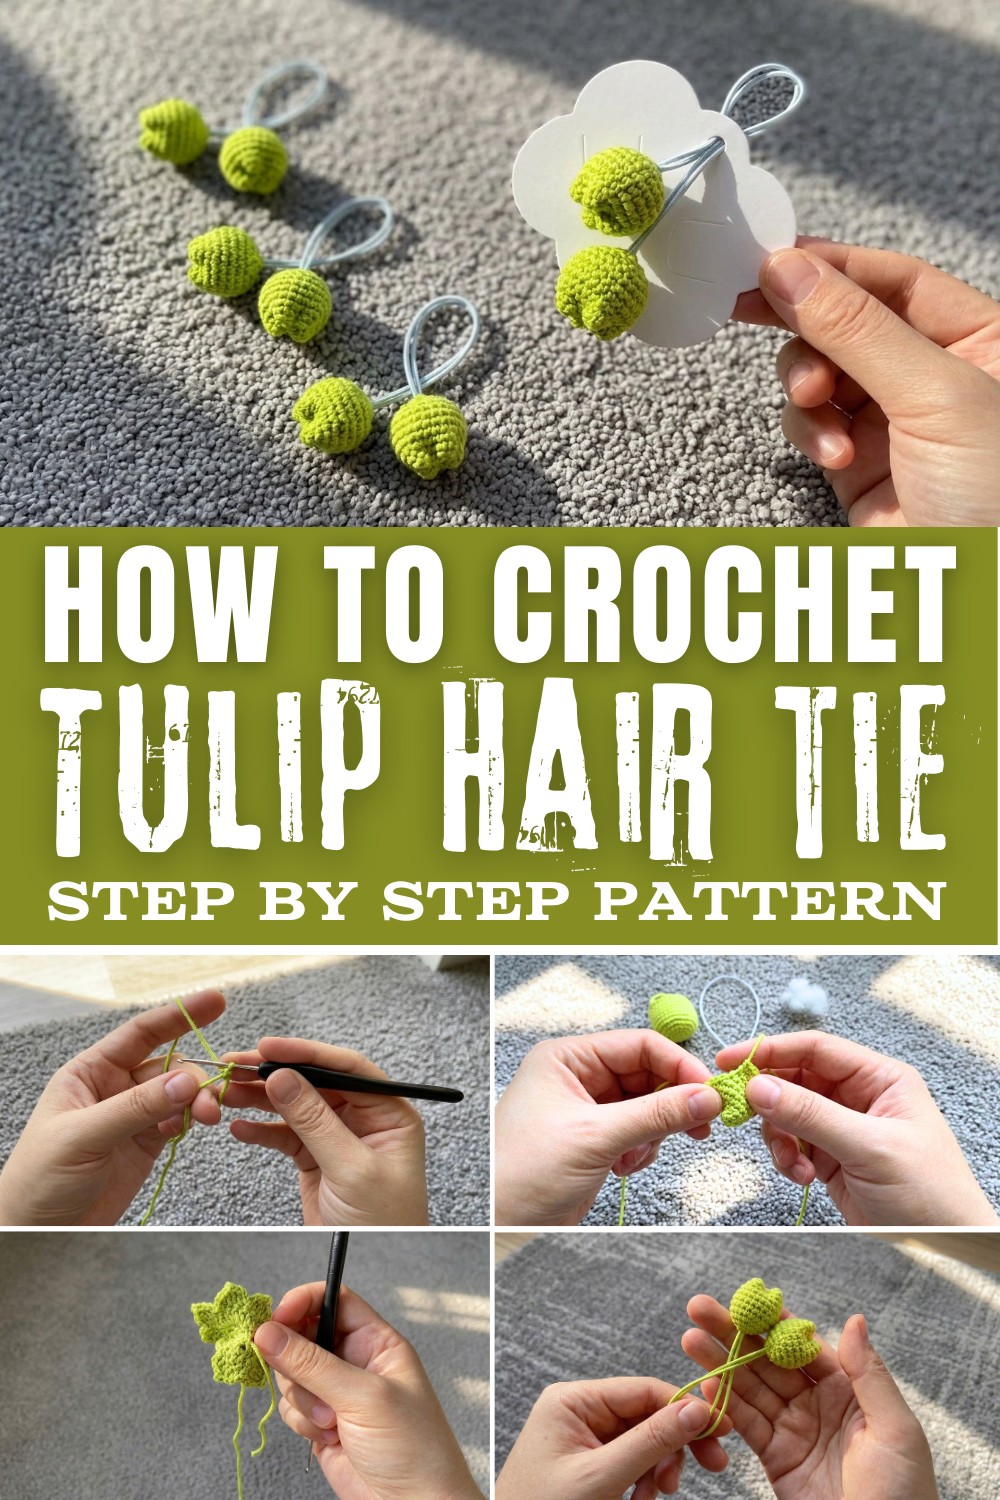
Using just a bit of leftover yarn, it comes together quickly, making it great for last-minute gifts or personal flair. The tulip design adds a touch of elegance to everyday looks and pairs beautifully with casual or dressy outfits. A flower that never fades, this hair tie brings a little handcrafted joy to your style all year round.
Skill Level
Beginner to Intermediate: This pattern uses basic stitches primarily worked in rounds and includes simple assembly techniques, making it beginner-friendly while offering room for skill enhancement.
Finished Size
- Tulip Diameter: ~2 inches (5 cm).
- Hair Tie Length: Adjustable based on the size of the elastic tie used (~20 cm recommended).
Materials Required
- Yarn:
- 4-ply cotton yarn in your desired tulip color.
- You may also use a contrasting green shade for leaves or experiment with different colors.
- Crochet Hook: 2.5-3 mm crochet hook (depending on your yarn weight and preferred tension).
- Hair Tie (Elastic Band): Approx. 20 cm long. Choose a sturdy and durable hair tie for long-lasting use.
- Tapestry Needle: For sewing the tulip pieces and attaching them to the hair tie.
- Scissors: To cut yarn.
Gauge
Gauge is not critical for this project, as sizing can vary based on hook size, yarn weight, and personal tension. Approximate gauge is:
- 10 single crochet stitches and 8 rows = 2 inches.
Pattern Instructions
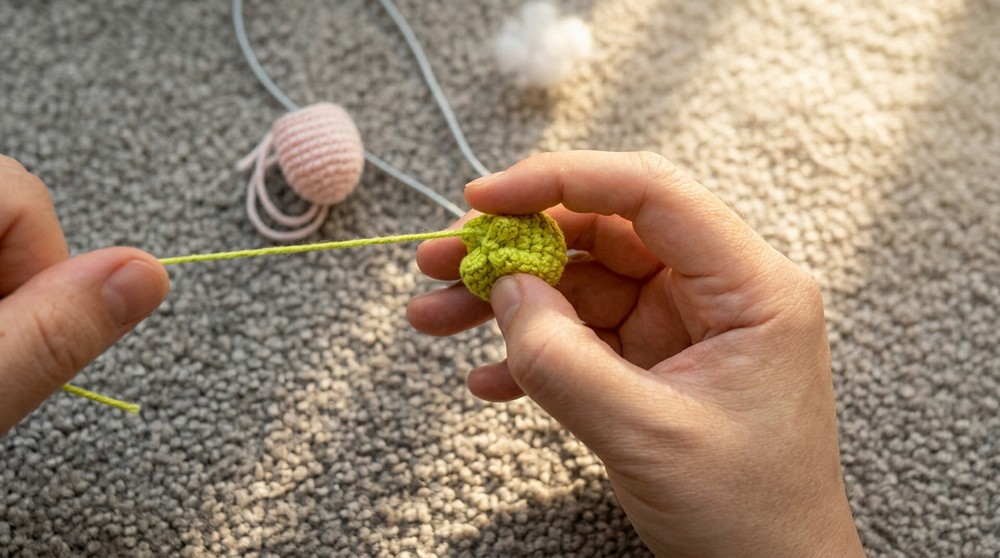
Step 1: Crochet the Tulip Components
You will need to create two identical tulip pieces for this hair tie. These pieces will be sewn together to encase the elastic band later.
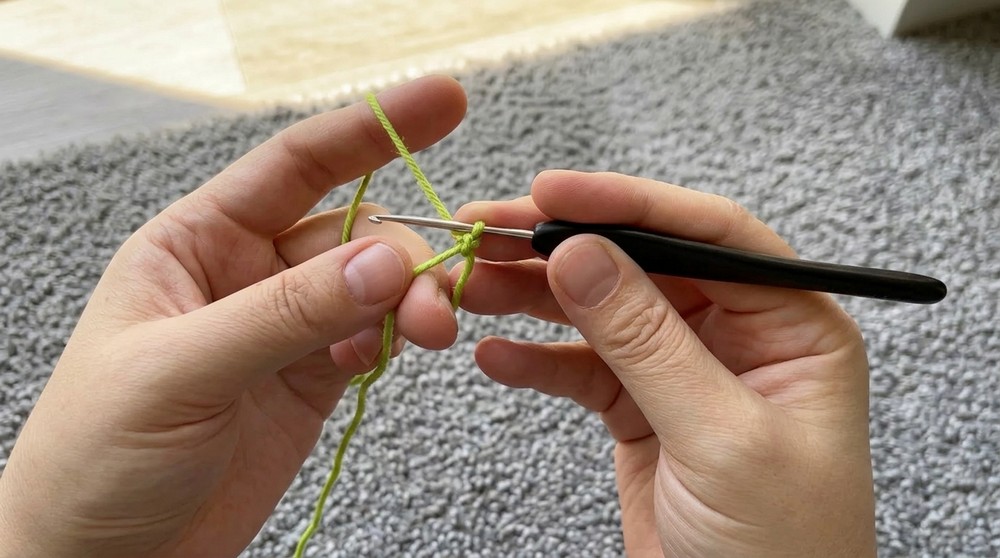
Round 1 (Magic Circle Base)
- Create a magic loop.
- Work 6 single crochets (sc) into the magic loop.
- Pull the yarn tail to tighten and close the loop.
- Join the round with a slip stitch (sl st) into the first single crochet.
- Chain 1 (ch 1) to begin the next round.
Round 2
- Work 2 single crochets (2 sc) into each stitch around (this is an increase round).
- You should now have 12 single crochet stitches (12 sc) in total.
- Join with a sl st into the first stitch.
- Chain 1 (ch 1) to begin the next round.
Round 3
- Follow this increase pattern: (1 single crochet, 1 increase) in the first stitch. Repeat (sc, inc) six times around the round.
- You should now have 18 single crochet stitches (18 sc) in total.
- Join with a sl st into the first stitch.
- Chain 1 (ch 1) to begin the next round.
Round 4
- Follow this pattern: (1 single crochet, 1 increase, 1 single crochet) in the first stitch. Repeat (sc, inc, sc) six times around the round.
- You should now have 24 single crochet stitches (24 sc) in total.
- Join with a sl st into the first stitch.
- Chain 1 (ch 1) to begin the next round.
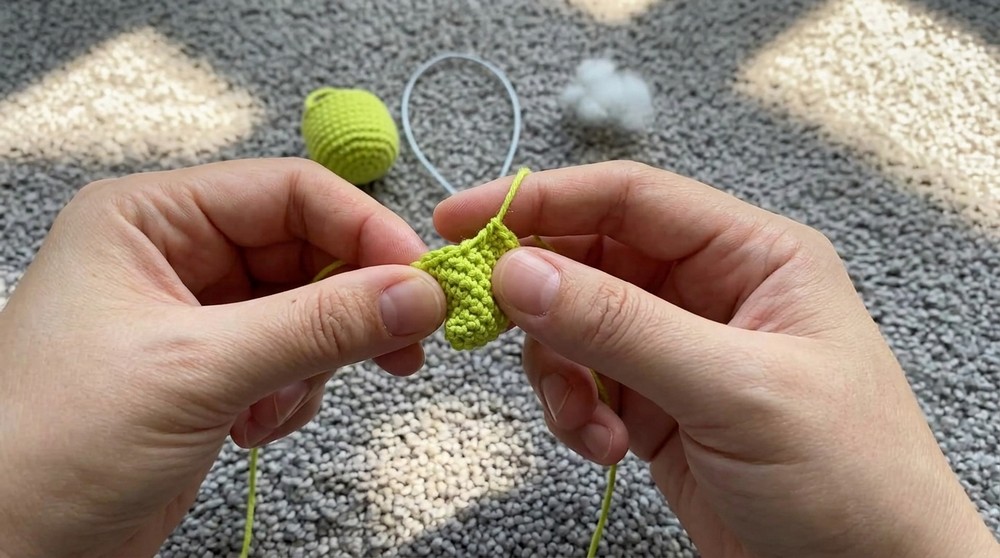
Rounds 5-10
- Work 1 single crochet (sc) into each stitch around.
- Maintain the stitch count of 24 single crochets (24 sc) for every round.
- After completing Round 10, join with a sl st and chain 1 (ch 1).
Finish the Tulip Piece
- Leave a long tail (~12 inches/30 cm) for sewing later.
- Fasten off securely.
Repeat the Entire Process to Crochet the Second Tulip
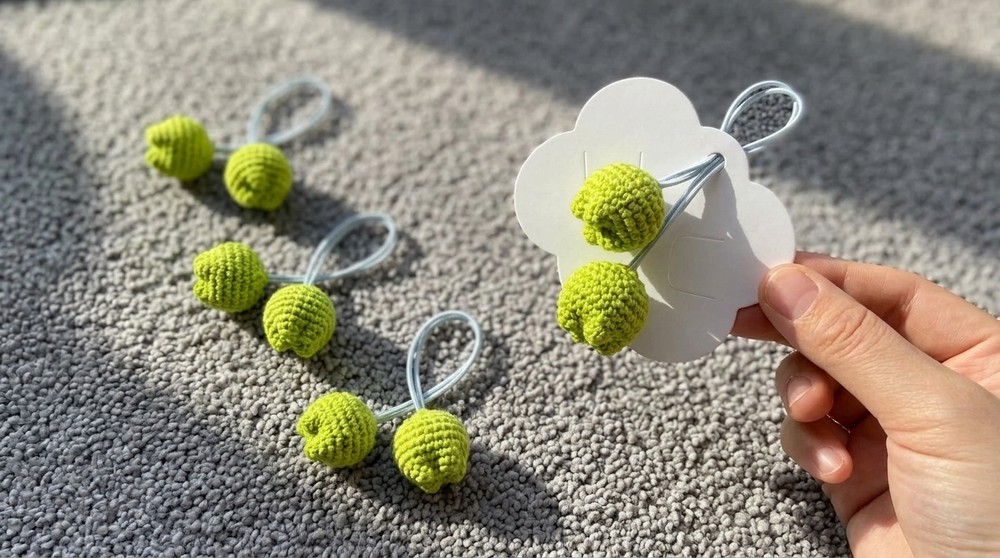
You should now have two identical tulip pieces.
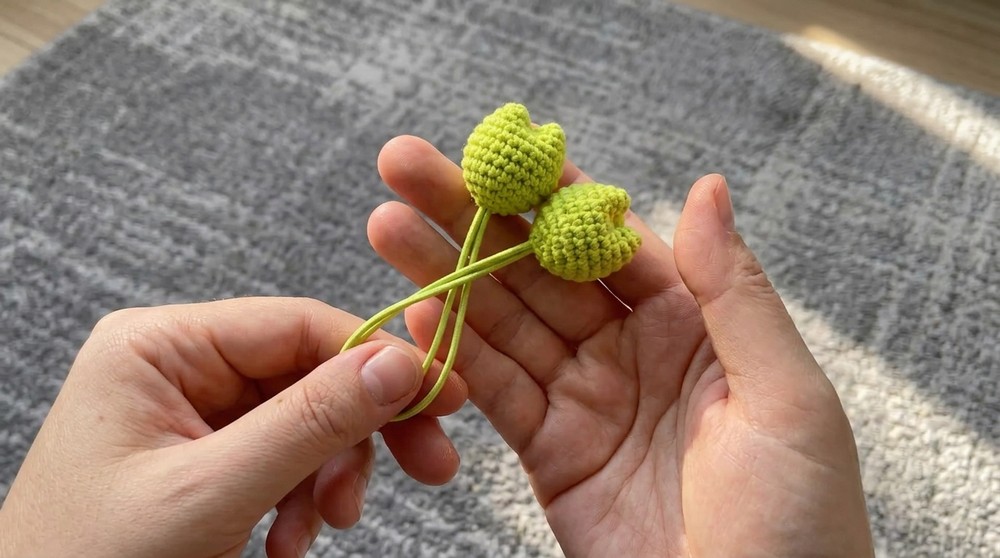
Step 2: Assembly
- Position the Hair Tie:
- Place the hair tie between the two tulip pieces. Ensure the elastic band sits snugly at the center of the tulip components.
- Sew the Tulip Pieces Together:
- Use a tapestry needle and the long tail from one tulip piece to sew the two pieces together.
- Stitch through the outer loops of the tulip edges, making sure the stitches are tight and neat.
- As you sew, ensure that the hair tie is fully encased between the two pieces.
- Secure the Assembly:
- Once the sewing is complete, tighten the last stitch and weave in any loose ends using the tapestry needle.
- Trim any excess yarn for a tidy finish.
Optional Step: Adding Leaves
For added enhancement, you can crochet small leaves and attach them to the tulip or the sides of the hair tie.
Simple Leaf Pattern
- Chain 6 (ch 6).
- In the second chain from the hook, work:
- 1 single crochet (sc).
- 1 half double crochet (hdc) in the next chain.
- 1 double crochet (dc) in the next chain.
- 1 half double crochet (hdc) in the next chain.
- 1 single crochet (sc) in the last chain.
- Chain 2 (ch 2), then slip stitch into the last chain to form a point.
- Fasten off and leave a tail for sewing.
You can sew a leaf to either side of the tulip or directly onto the hair tie for a decorative touch.
Finishing the Pattern
- Final Touches:
- Inspect your work to ensure all stitches are secure.
- Check that the hair tie is firmly in place and the tulip pieces are neatly sewn.
- Wear or Gift:
- Your Crochet Tulip Hair Tie is now ready to use or gift to a loved one!
- Your Crochet Tulip Hair Tie is now ready to use or gift to a loved one!
Customization Suggestions
- Color Variations:
- Use a gradient or variegated yarn for tulip petals.
- Experiment with complementary shades for the hair tie and the petals.
- Size Changes:
- For a larger tulip, continue adding increase rows before working the straight rounds.
- For a daintier tulip, stop after Round 2 or Round 3.
- Embellishments:
- Add small beads or sequins to the tulip center for extra flair.
- Embroider small stitches to create whimsical swirls on the petals.
Tips to Maintain the Pattern
- Secure Stitches:
- Ensure you join the tulip pieces tightly to prevent the hair tie from slipping out.
- Durability:
- Use strong elastic bands for a hair tie that will withstand regular use.
- Cotton yarn is ideal due to its durability and ability to hold shape over time.
- Blocking:
- Lightly block the tulip before assembly to give the petals a clean, professional look.
Conclusion
Your Crochet Tulip Hair Tie is now complete! This project is ideal for adding a handmade touch to your hair accessories or creating thoughtful gifts for loved ones. Its elegant design and functional detail make it both practical and chic. Whether you gift it or wear it yourself, this accessory is sure to garner compliments.