
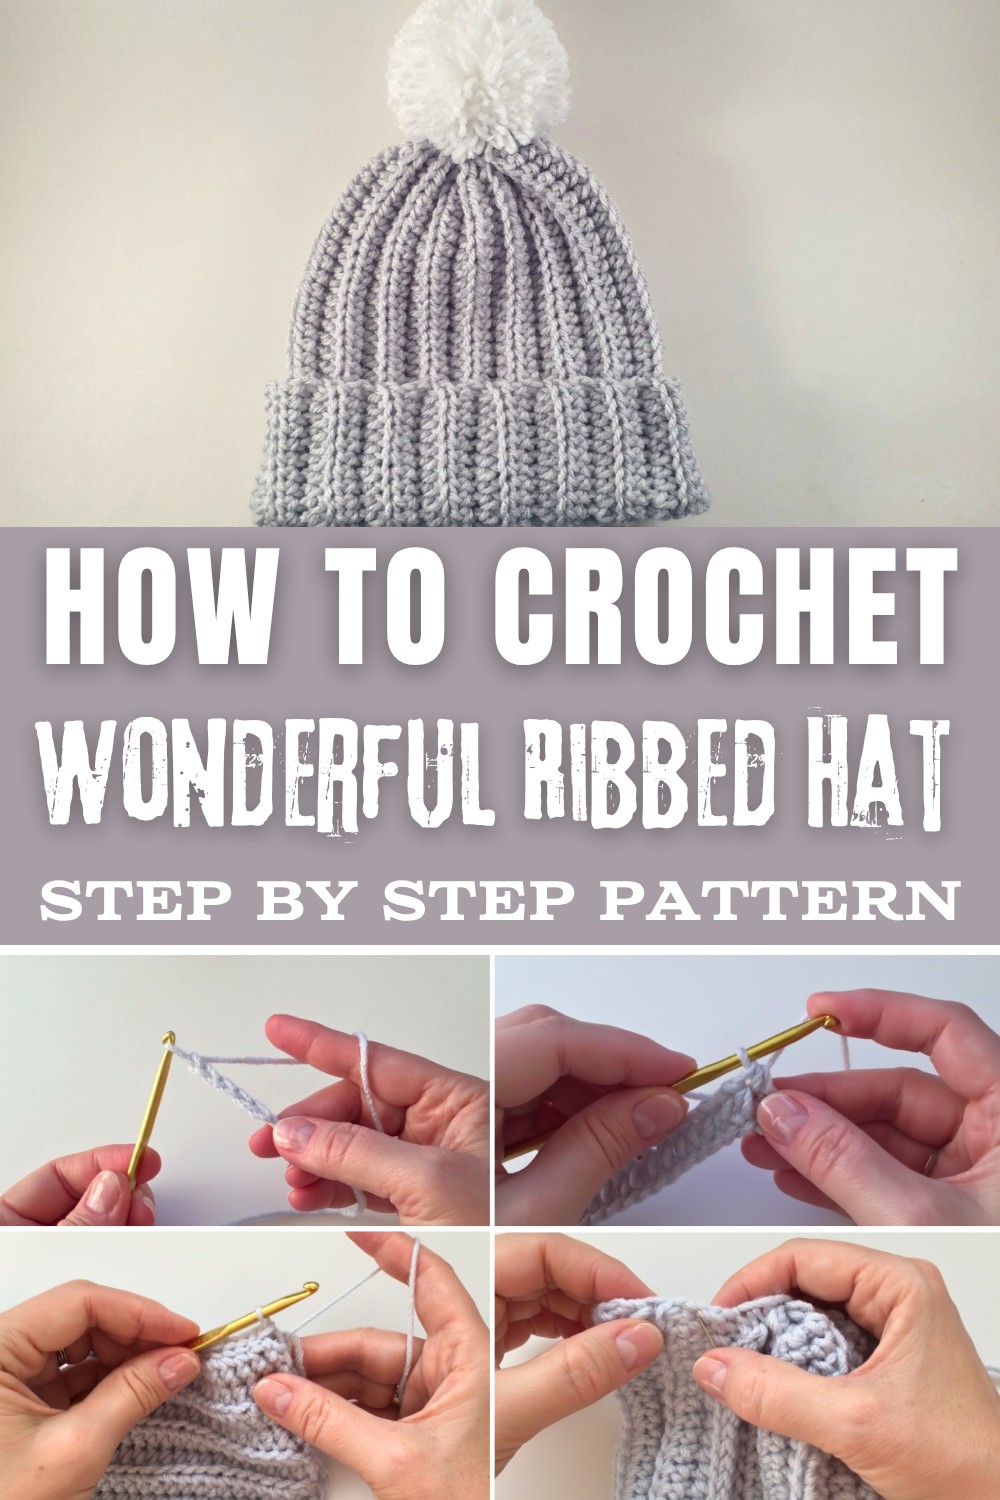
Try this Free Crochet Ribbed Hat Pattern to create a warm yet lightweight hat with a professional ribbed texture, perfect for casual outings or gifting.
This ribbed hat looks neat, modern, and suits any age, from kids to adults. The Free Crochet Ribbed Hat pattern shows how to build the hat in a very easy way, step by step, so even a beginner can follow along. You start by working a long strip for the height of the hat, then go back and forth in rows. Each row uses simple stitches in the back loop to give that soft, stretchy ribbed look that hugs the head nicely.
Free Crochet Ribbed Hat Pattern for the Entire Family
When the strip is finished, it is folded into a tube and joined up one side, so the seam is hardly visible. Then the top is pulled tight with the yarn end to close it, giving a rounded, tidy shape. You can leave it plain for a clean, classic style, or tie on a pom‑pom at the top for a fun touch.
This hat is warm, comfortable, and fits many head sizes because the ribbing stretches. It works well for daily wear, cold walks, school, work, or as a simple gift. The finished hat looks tidy and smooth, with clear ribs running up and down, giving a stylish look while still being very easy to follow and finish.
Step-by-Step Crochet Pattern: Ribbed Hat
Skill Level
Beginner to Intermediate: Involves basic stitches such as half double crochet, slip stitches, and sewing for closure.
Finished Size
- Fits most adult head sizes.
- Adjustable circumference: Approximately 17-20 inches (44-50 cm).
- Adjustable height: Chain 30-36 cm (12-14 inches) for a regular hat or longer for a slouchy effect.
Materials
- Yarn:
- Medium-weight (#4) yarn (100% acrylic recommended).
- Suggested brands: Red Heart, Bernat Premium, or Craft Smart Yarn.
- Hook Size:
- 5.0 mm Crochet Hook
- Additional Supplies:
- Scissors
- Darning Needle: For weaving in ends and joining.
- Optional: Pom-pom maker or cardboard for a pom-pom.
Key Abbreviations (US Terminology)
| Abbreviation | Description |
|---|---|
| ch | Chain |
| hdc | Half Double Crochet |
| sl st | Slip Stitch |
| BLO | Back Loop Only |
Special Notes
- Customizable Height: Adjust the number of chains in your foundation chain to modify the height of the hat.
- Tension Consistency: Maintain an even tension to ensure the ribbed texture is uniform.
- Pom-pom: Adding a pom-pom is optional; the hat works beautifully without one.
Pattern Instructions: Crochet Ribbed Hat
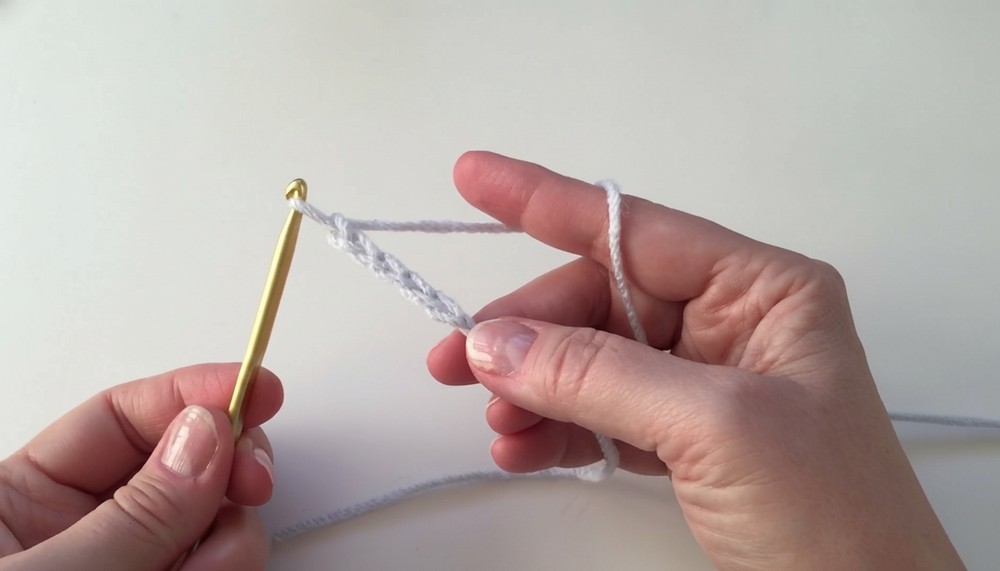
Step 1: Start with the Foundation Chain
Foundation Chain:
- Begin with a slip knot.
- Chain 12-14 inches (30-36 cm):
- For regular fits, chain 12 inches (30 cm).
- For a slouchy hat, chain 14 inches (36 cm) or longer.
- For regular fits, chain 12 inches (30 cm).
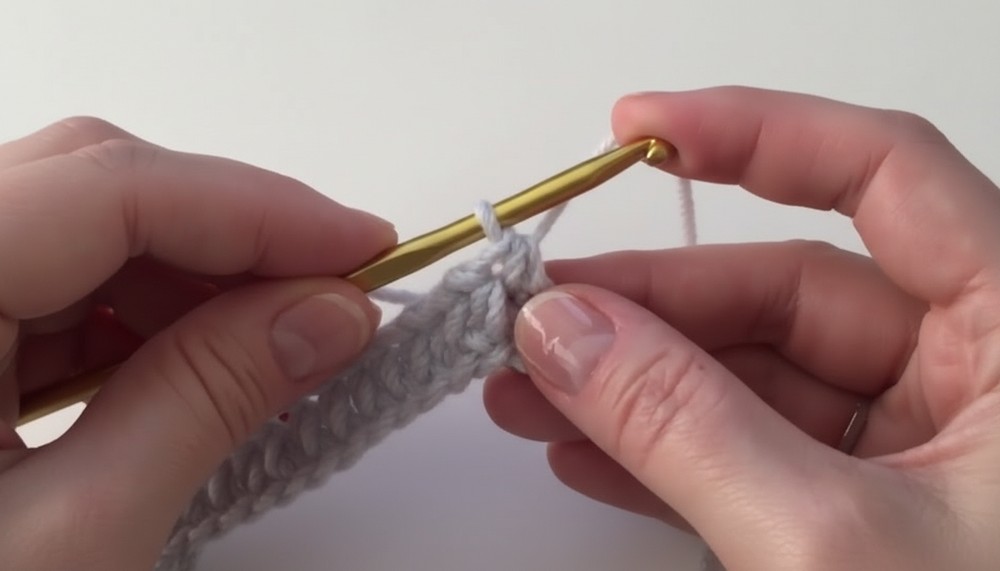
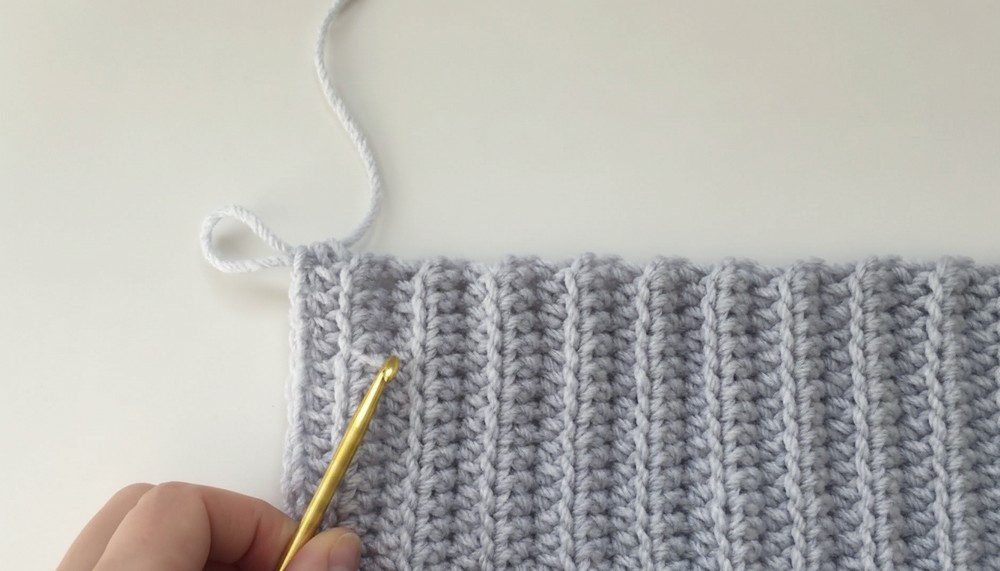
Step 2: Work Half Double Crochet Rows
Row 1:
- Start in the 3rd chain from the hook:
- Yarn over, insert hook into the 3rd chain, pull up a loop.
- Yarn over and pull through all three loops on the hook (hdc).
- Repeat hdc into each chain across.
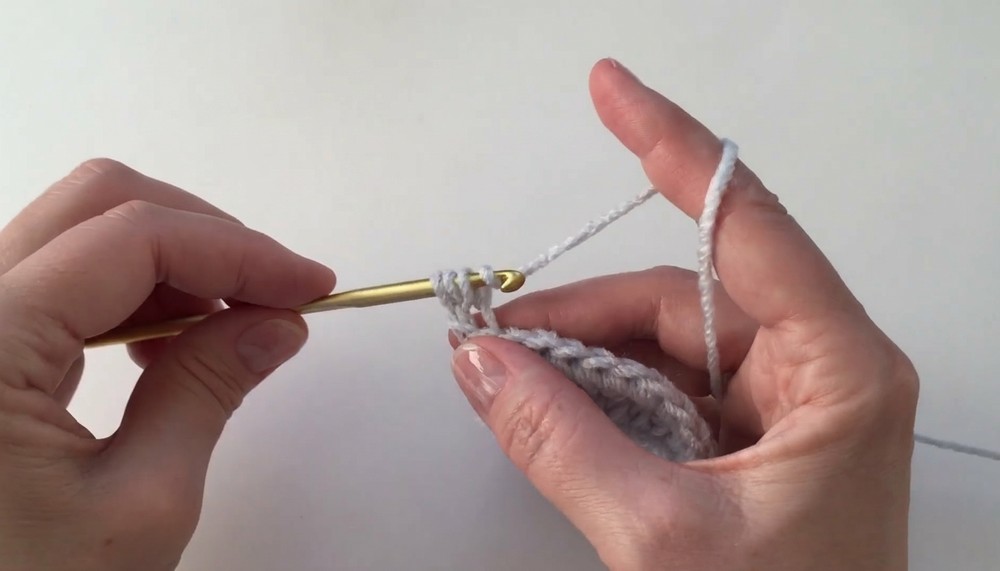
Row 2 (Start Ribbed Pattern):
- Chain 1 and turn.
- First Stitch:
- Yarn over and work hdc into the back loop only (BLO) of the first stitch.
- Continue working hdc in BLO across the row.
- Ensure you do not miss the last stitch, which may be tucked behind.
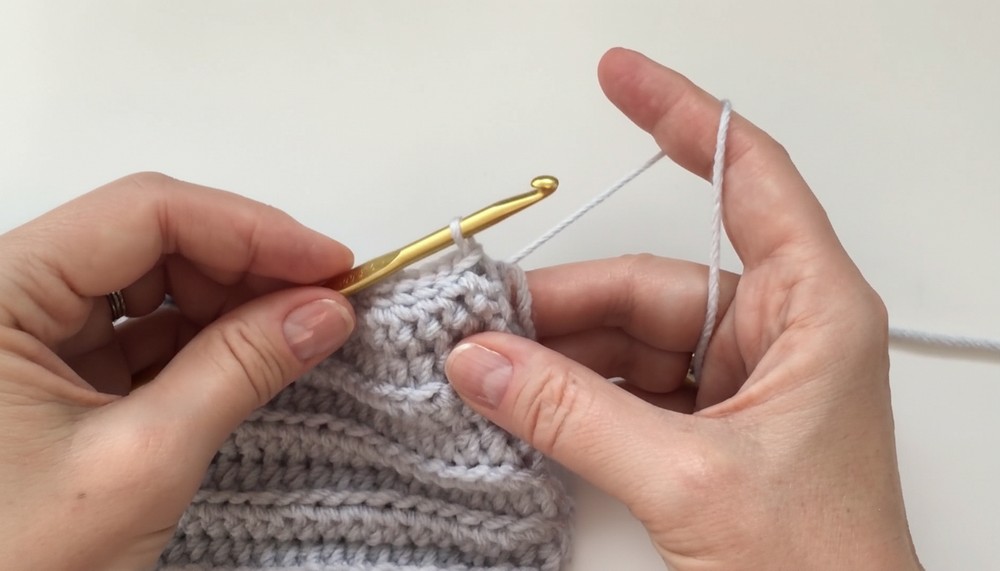
Repeat Row 2:
- Continue working hdc in BLO rows for the entire piece.
- For a snug fit, keep the width between 17-20 inches (44-50 cm) or until the strip fits comfortably around the head.
- Always end with an even number of rows.
Step 3: Seam the Rectangle into a Tube
Slip Stitch Seam:
- Fold the rectangle in half, aligning the edges.
- Insert your hook into the last hdc on one side and the corresponding chain space on the other.
- Slip Stitch:
- Pull through both layers and through the loop on your hook.
- Repeat this process across the edge.
- Pull through both layers and through the loop on your hook.
- Ensure no stitches are skipped for a seamless join.
Step 4: Gather the Top of the Hat
Close the Crown:
- Leave a 20-inch (50 cm) tail when cutting the yarn.
- Using a darning needle, weave in and out of the top edge of the hat.
- Ensure to catch each row for an even closure.
- When finished weaving, pull snugly to gather the edges into a closed circle.
- Tie the yarn to the beginning tail and secure with stitches to close the gap completely.
Step 5: Optional Pom-Pom
Attach Pom-Pom:
- Prepare the Pom-Pom:
- Use either a pom-pom maker or create one using cardboard. Choose your preferred method.
- Secure the Pom-Pom:
- Insert your crochet hook into the crown center, pulling each of the pom-pom ties through opposite sides of the center.
- On the inside of the hat, tie the pom-pom ties securely.
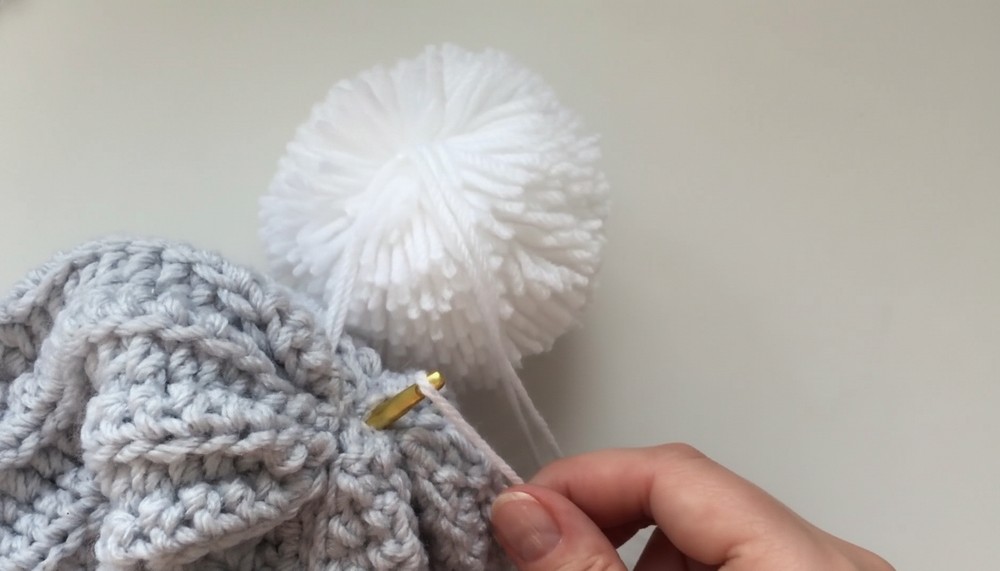
- Weave in and trim any excess yarn.
Finishing Touches
- Check: Ensure all ends are securely woven in.
- Turn the Hat Right Side-Out: The ribbed texture should appear neat, and the seam will be discreet on the inside.
- Styling: Add embellishments, stitch designs, or use colorful yarn to personalize.
Conclusion
Congratulations! You've completed your Crochet Ribbed Hat. This timeless design offers flexibility in style-it can be worn snugly or as a slouchy fashion statement. Customizable for all ages, it's a quick and rewarding project for gifting or personal use.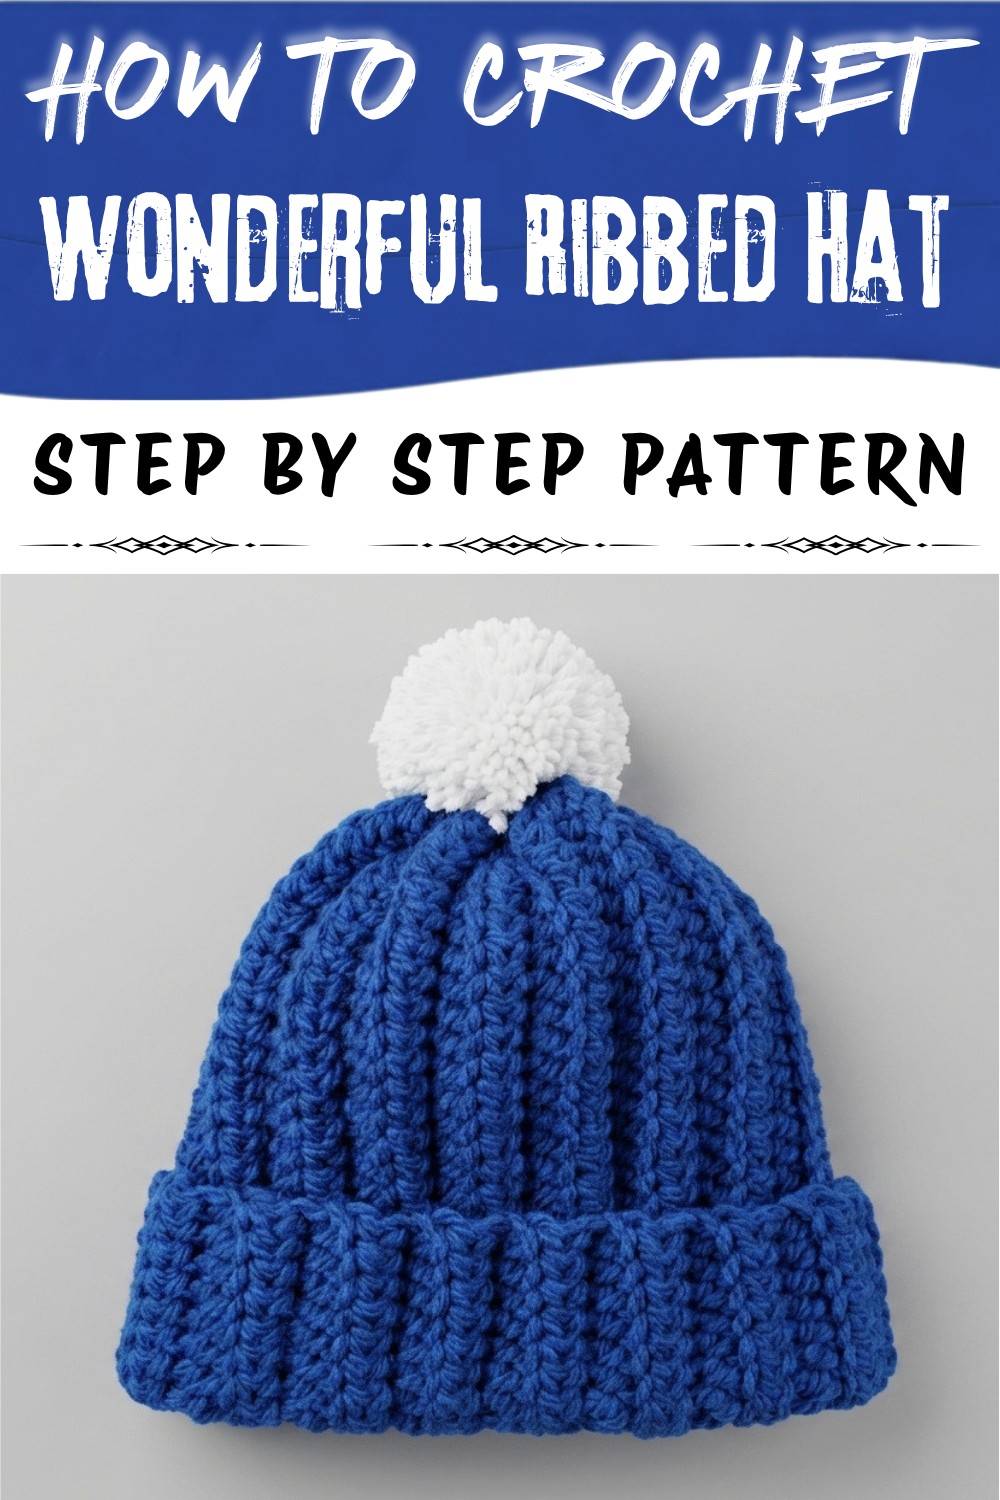
Pattern Corrections (If Needed)
- Ensure proper stitch count on each row for shape uniformity.
- If the seam appears uneven, ensure stitches are aligned when slip stitching.
Tips for Success
- Uniform Stitch Count: Avoid missing stitches on the edges to keep the ribbed design consistent.
- Adjust the Height: Add or reduce the foundation chain length for shorter or taller hats.
- Use Soft Acrylic Yarn: Softer yarn ensures a comfortable fit, especially for children.