
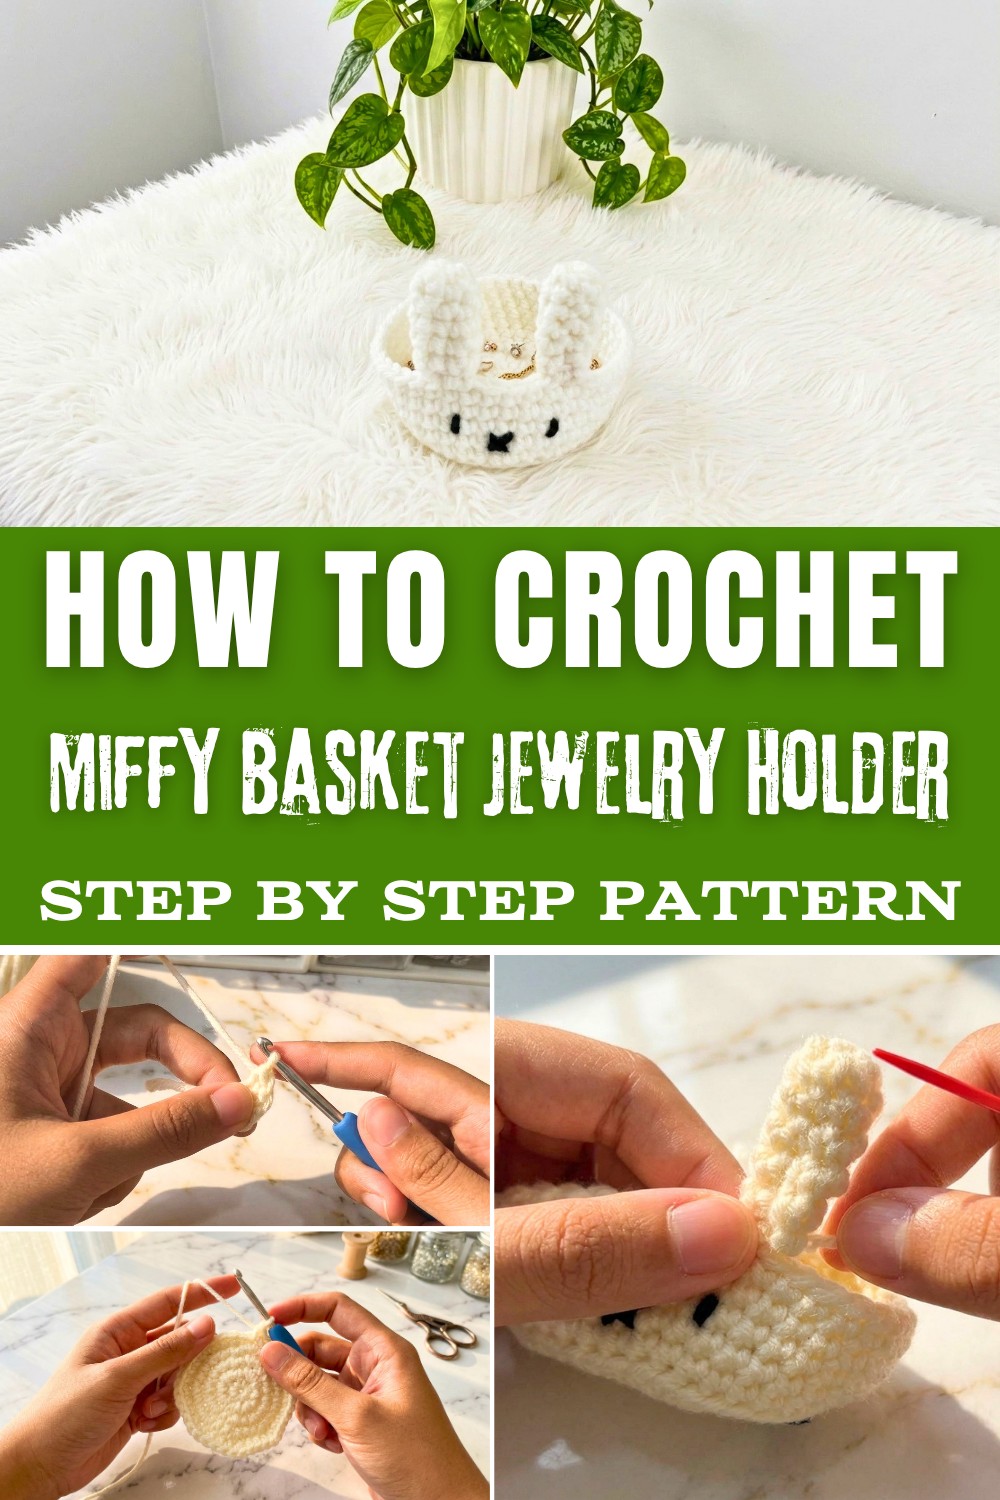
Stitch a playful Crochet Miffy Basket Jewelry Holder and keep jewelry tidy while a bunny basket sparks fun and creative charm in any room.
Organizing your accessories has never been cuter. A Crochet Miffy Basket Jewelry Holder Pattern is the perfect blend of charm and functionality, allowing you to create an adorable, bunny-inspired basket to store rings, earrings, bracelets, and other trinkets. With the iconic Miffy character in mind, this pattern is not just practical but also a decorative piece that adds personality to your room or dresser.
Free & Fun Crochet Miffy Jewelry Holder for Everyday Use
Whether you use soft pastels for a minimalist vibe or bold colors for a playful twist, the design can easily reflect your style. This crochet project is ideal for intermediate crocheters who enjoy working on small, detailed creations but is simple enough for beginners ready to challenge themselves. It's a delightful gift idea for friends who love unique, handmade items or for kids who adore whimsical storage solutions.
Mii-Inspired Jewelry Holder Crochet Pattern
Materials
- Worsted weight (medium) yarn:
- Main color for base and ears
- Black yarn or embroidery floss for facial features
- Crochet hook: 3.5-4.0 mm (US E or G), or size appropriate for your yarn
- Darning/yarn needle: for sewing and embroidery
- Stitch marker
- Scissors

Gauge
- Not critical for this project; use a hook that produces firm stitches with your yarn to create a stable base.
- Finished base size: About 4" (10 cm) diameter if using worsted yarn and 4.0 mm hook.
Special Techniques
- Magic ring (MR)
- Back loop only (BLO) single crochet for vertical sides
- Slip stitch join
- Counting stitches and using a stitch marker
Pattern
Jewelry Holder Base
1:
- Begin with a magic ring.
- Chain 1 (does not count as a stitch).
- 8 single crochet (sc) in the ring.
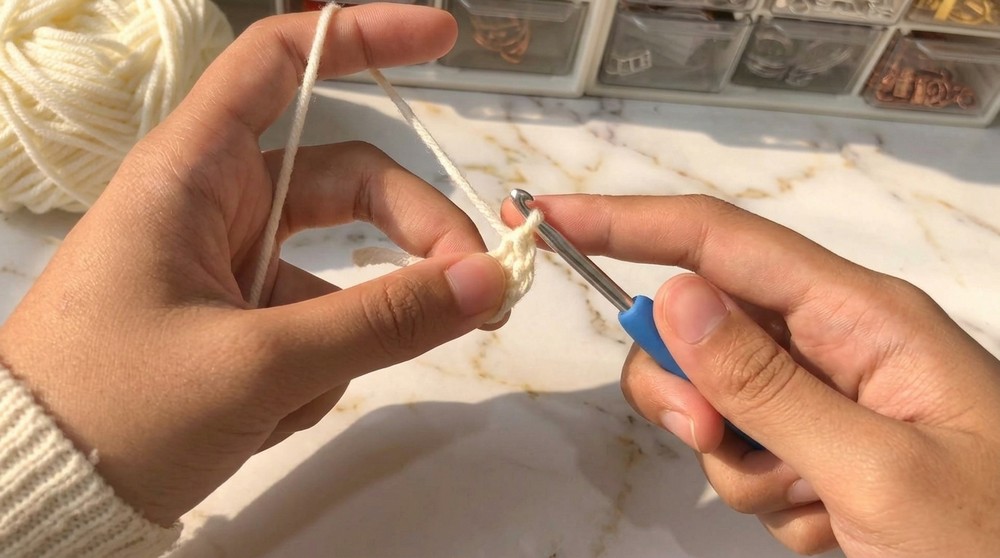
- Pull yarn tail to close the ring tightly.
- Slip stitch (sl st) to first sc to join.
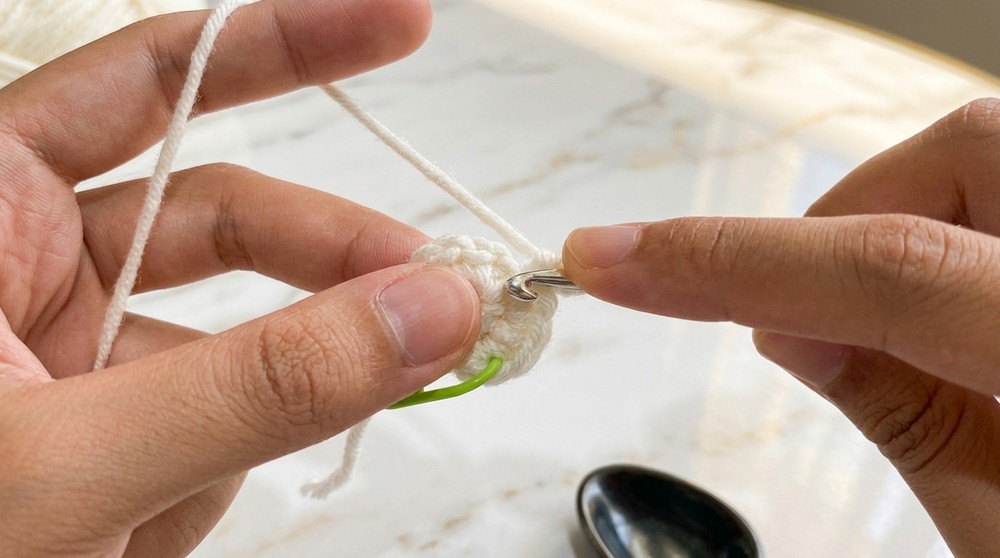
2:
- Chain 1.
- Place stitch marker in first sc.
- In same stitch, work 2 sc.
- Repeat 2 sc in each stitch around (increase in every stitch).
- Finish round: 16 sc.
- Slip stitch to first sc to join.
3:
- Chain 1.
- Place stitch marker.
- Pattern: [1 sc in next stitch, 2 sc in next stitch] repeat around.
- Should alternate 1 sc, inc, 1 sc, inc, etc.
- At end: 24 sc.
- Slip stitch to first sc to join.
4:
- Chain 1.
- Place stitch marker.
- Pattern: [1 sc in next stitch, 1 sc in next stitch, 2 sc in next stitch] repeat around.
- Should alternate 1 sc, 1 sc, inc, 1 sc, 1 sc, inc, etc.
- At end: 32 sc.
- Slip stitch to first sc to join.
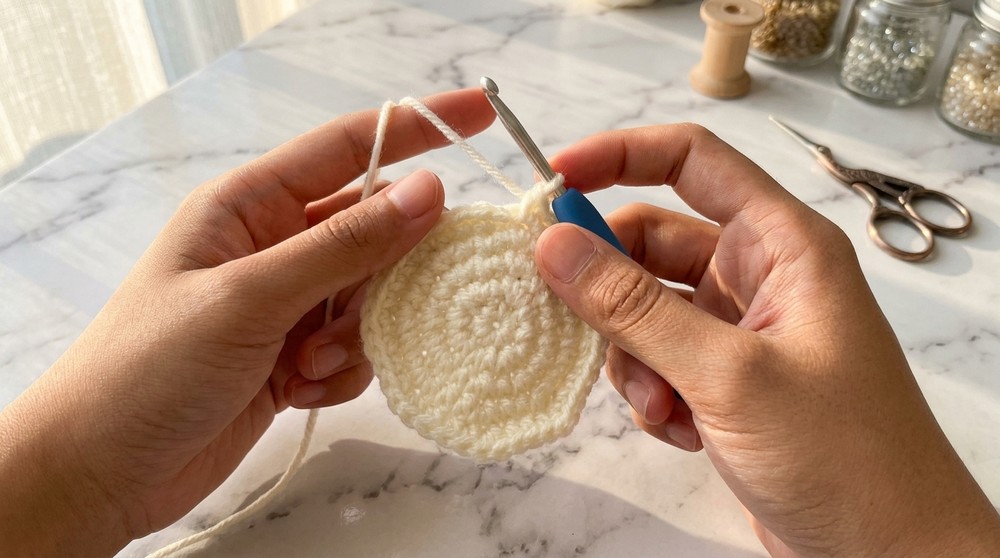
5:
- Chain 1.
- Place stitch marker.
- Pattern: [1 sc, 1 sc, 1 sc, 2 sc in next stitch] repeat around.
- At end: 40 sc.
- Slip stitch to first sc to join.
6 (Forming Side Walls - Back Loop Only):
- Chain 1.
- Place stitch marker.
- Work sc in BLO (back loop only) of each stitch around-this creates a sharp edge and starts the vertical sides.
- At end: 40 sc.
- Slip stitch to first sc to join.
7-10 (Build Height):
- For every round, chain 1, sc in BLO around.
- Place stitch marker at start of each round.
- Repeat for a total of 4 rounds.
- At end of each round: 40 sc.
- Slip stitch to first sc to join at end.
- If taller sides are preferred, add more rounds as desired.
Finish:
- After final round, cut yarn and pull through last stitch.
- Weave in end with yarn needle.
- Set aside.
Mii Jewelry Holder Ears (Make 2)
1:
- Magic ring.
- Chain 1.
- 4 sc in ring.
- Pull to close.
- Slip stitch to first sc to join.
2:
- Chain 1.
- [1 sc in next stitch, 2 sc in next stitch] repeat around.
- At end: 6 sc.
- Slip stitch to first sc to join.
3:
- Chain 1.
- 1 sc in each stitch around (6 sc).
- Slip stitch to first sc to join.
- Repeat as needed for desired ear height (6-9 additional rounds).
Tip: For longer ears, add more rounds.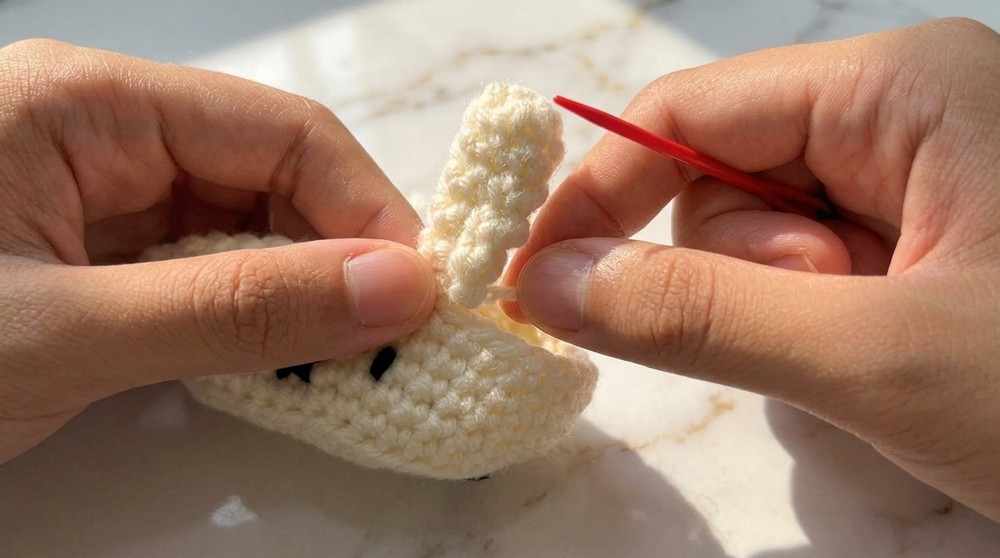
Finish:
- Cut yarn, leaving a long tail for sewing.
- Use yarn needle to sew ears closed along the edges, if desired, and shape before attaching.
Face Embroidery
- Use black yarn, embroidery floss, or thread.
- Eyes:
- Count 2 rounds down from top edge of holder.
- Insert needle at appropriate position for first eye, skip one round down for lower part of eye, repeat for second eye (space them evenly, about 5 stitches apart).
- Secure yarn at back of work.
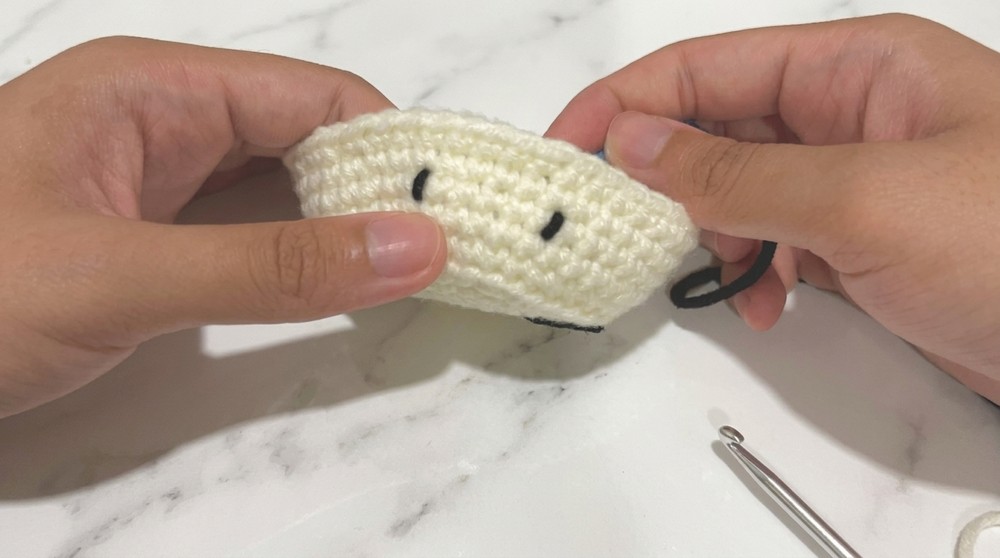
- Mouth ("Cross"):
- One round below eyes, create a small "x" or cross shape.
- Adjust to ensure it is centered and visible.
- Secure yarn at back and cut any excess.
Assembly
- Sew each ear to holder above the eyes (centered horizontally).
- Use stitch marker or pins to test placement before sewing.
- Securely stitch through both ear and base, going back and forth a few times.
- Weave in yarn tails and trim excess.
Tips & Customization
- Height Adjustment: To increase or decrease holder height, add or subtract side rounds.
- Color Variation: Try pastel, bold, or striped colors for personalization.
- Ear Shape: Make ears longer or rounder by increasing or decreasing rounds or adding shaping.
- Usage: This holder is ideal for rings, earrings, or small trinkets-add a little padding for pin storage if desired.
Finished Size
- Base: Approx. 4" (10 cm) diameter
- Height: Approx. 1.5-2" (4-5 cm)
- Ears: Proportional to base, about 1.25" (3 cm) long
- Size may vary depending on yarn and hook choice.
Conclusion & Remarks
This jewelry holder is simple yet adorable, resembling a classic Mii character with joyful ears and charming embroidered features. The sturdy walls and base form a perfect place for storing jewelry or small items, and the project can be completed in a short time. Adjust for your favorite colors or modify features for unique personalities!