
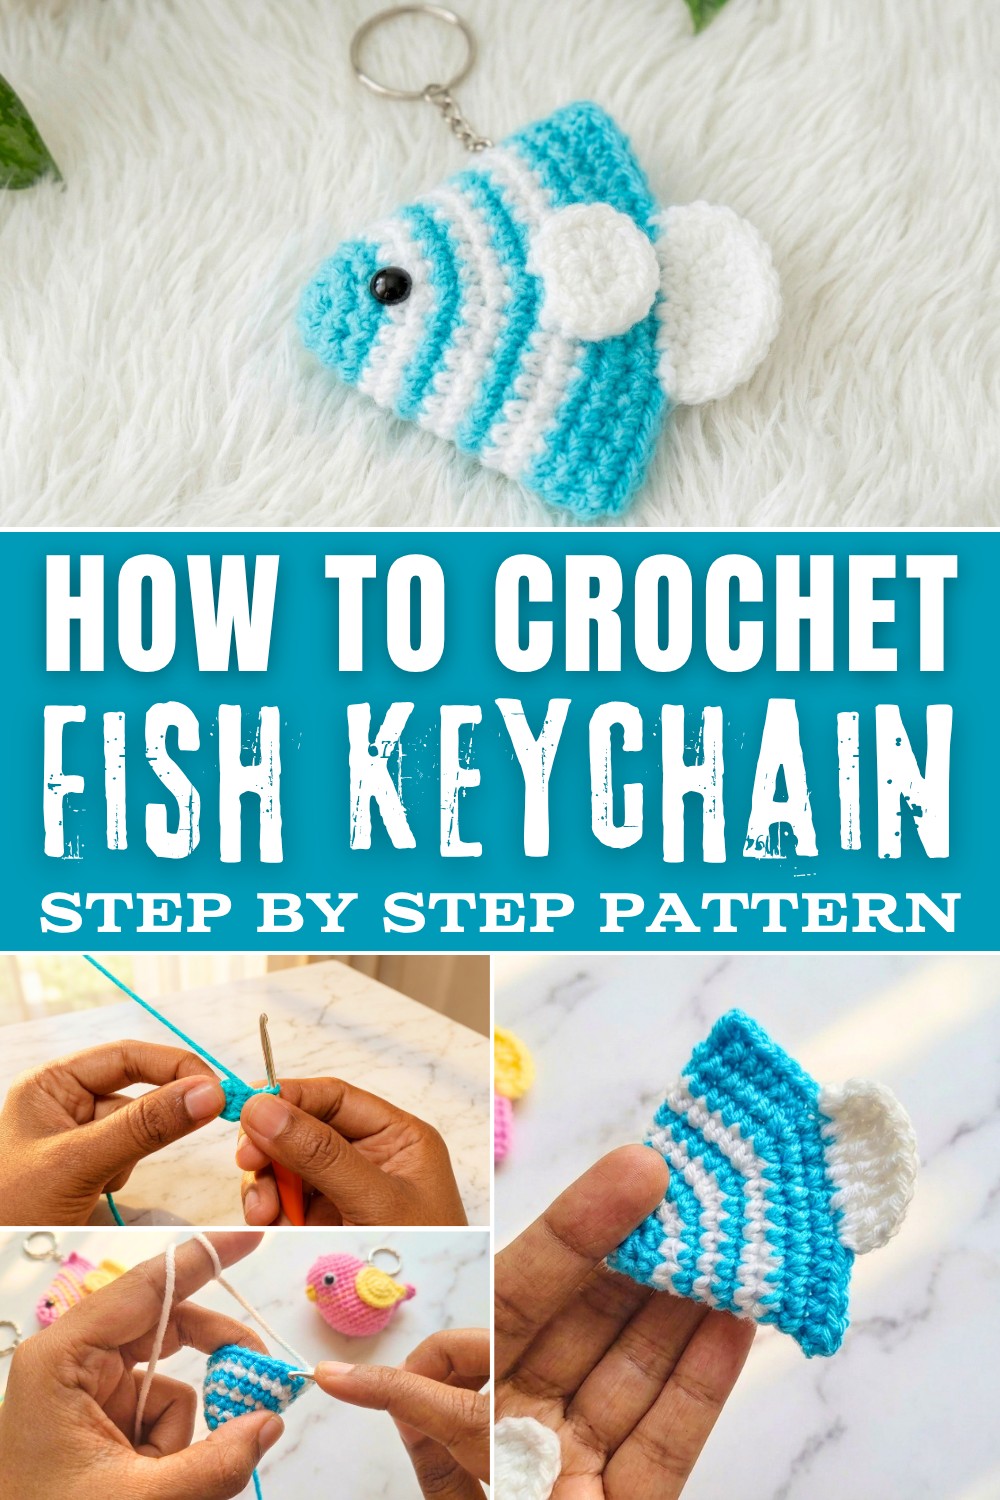
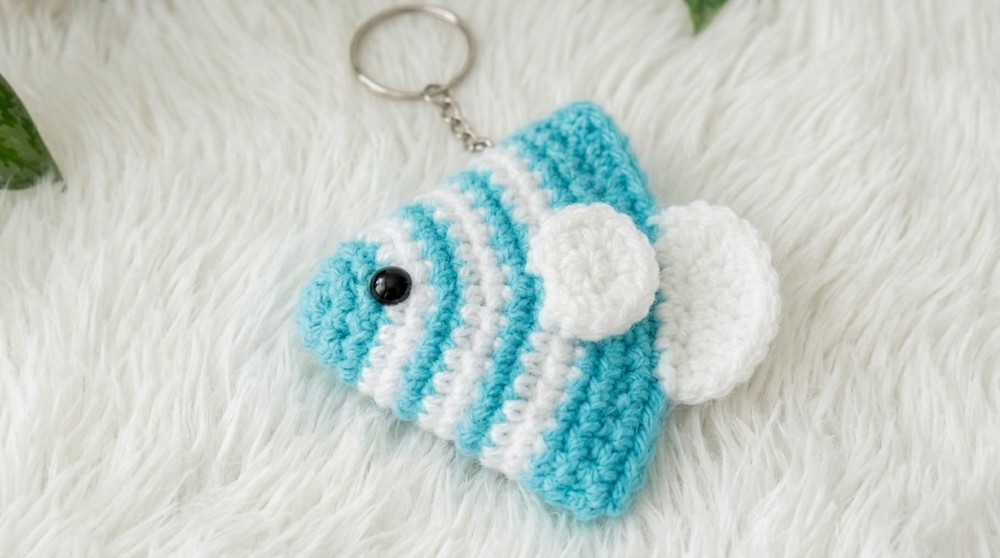
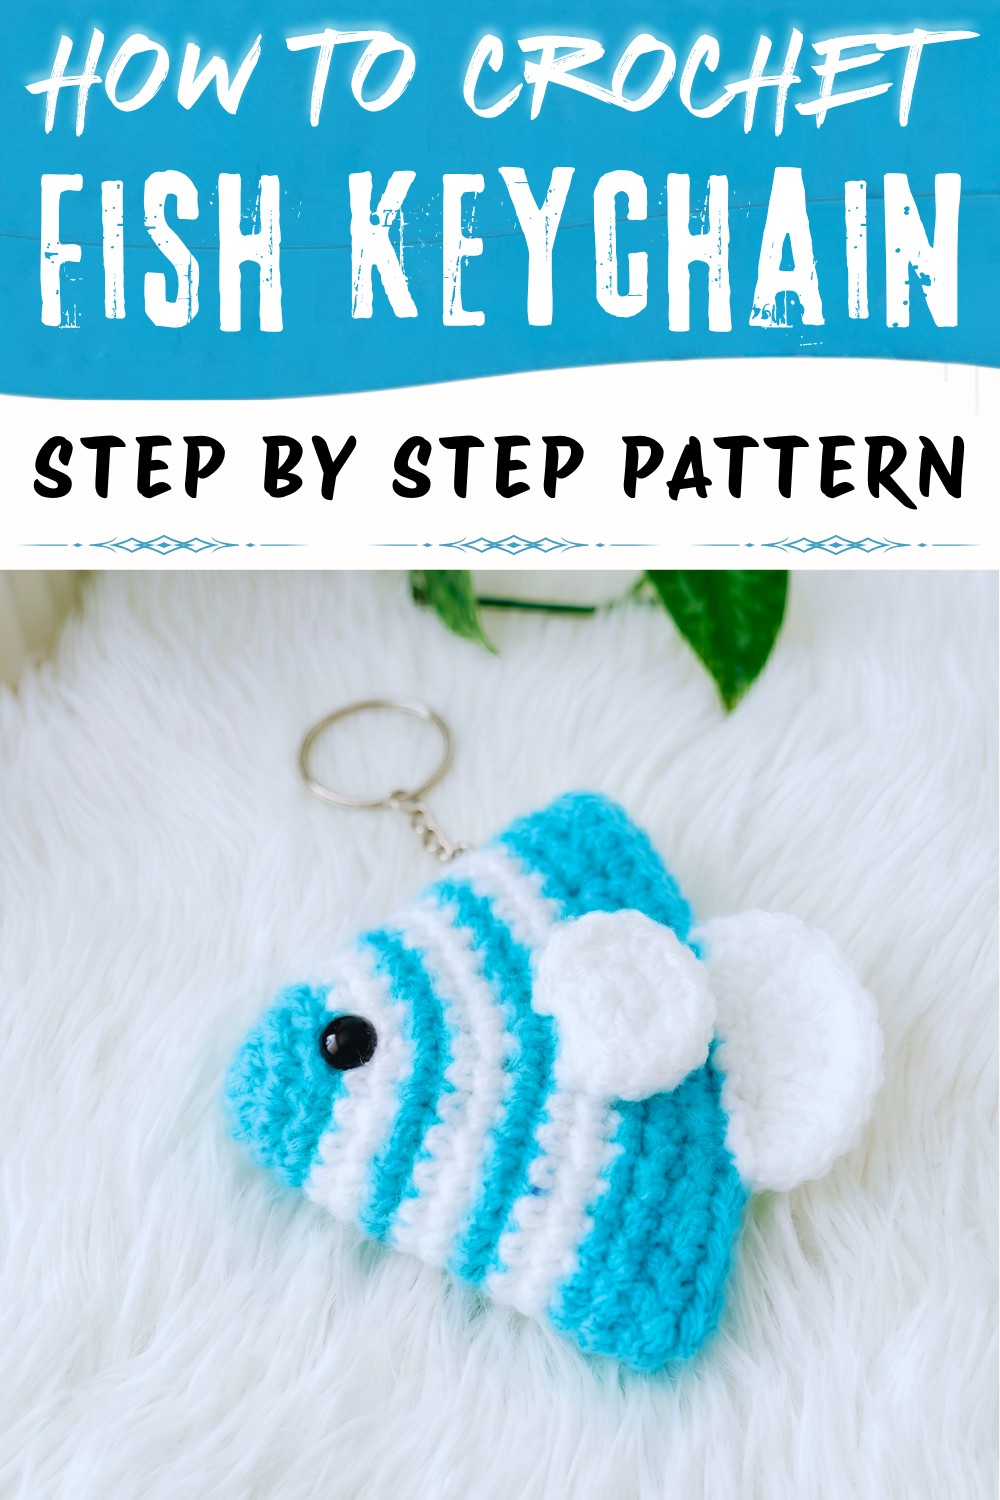
Spruce up your keys with this fun and easy Free Crochet Fish Keychain Pattern, the perfect mix of practicality and handmade charm.
One of my recent favorite crochet projects was this cheerful fish keychain pattern, and I can't wait to share how simple yet fun it is to create. Using soft milk cotton yarn in playful blue and clean white color combinations, this pattern comes together beautifully, showcasing lovely vibrant stripes that make the fish pop. Adding tiny black beads for the eyes brings the design to life, giving it a adorable finish. What I love most is how practical it is-this cute fish isn't just a decorative piece, but also perfect to hang on bags, backpacks, or car keys for a touch of personality.
Beautiful Free Crochet Fish Keychain Pattern to Brighten Up Your Everyday Essentials
Crocheting this fish involves working with single crochet (SC) stitches, making it ideal for beginners and those looking for a quick project. The magic circle technique used to form the fish's body ensures a neat and tight start. You'll also enjoy switching between yarn colors to create eye-catching stripes. The special techniques also include double crochet (DC) and treble crochet (TR) stitches, which are used to shape the fins and tail. Once you master these stitches, they open the door to make other small items, like crochet flowers, hearts, or even mini sea creatures to pair with this fish.
What You Can Learn From This Pattern
- Working neat magic circles, perfect for making hats, baskets, or toys.
- Mastering single crochet increases and decreases to shape designs like coasters, appliqués, or amigurumi.
- Mixing and transitioning yarn colors to create striped or multicolored patterns.
- Adding fine details, such as fins or decorative accents, that elevate your small projects.
What You Can Make With These Skills
Learning the stitches and techniques from this Free Crochet Fish Keychain Pattern opens up a world of creative possibilities. Here are just a few things you can make:
- Adorable Amigurumi: Crochet other tiny animals like turtles, whales, or even mini birds using similar single crochet techniques.
- Colorful Coasters: Create round or striped coasters by experimenting with the magic circle and color changes.
- Keychains and Bag Charms: Customize different keychain designs, such as hearts, stars, or even small flowers.
- Sea Creature Collection: Make a set of ocean-inspired decorations, including starfish, jellyfish, and other cute aquatic designs.
- Decorative Accents: Use your newfound skills to add personal touches to hats, scarves, or tote bags with mini appliqués.
You'll soon find that this pattern not only helps you create a beautiful keychain but also inspires countless creative ways to use these stitches in other projects!
Customization Ideas
- Create a rainbow fish: Use a different color every 2 or 3 rows.
- Add sequins or embroidery for scales.
- Make a larger plushie by using chunkier yarn and a bigger hook, or a tiny fish by using finer yarn.
- Add blushing cheeks with pink thread or felt.
Special Techniques & Tips
- Magic circle: Ensures a neat starting point for amigurumi.
- Invisible color change: Always finish the last stitch with the new color for even stripes.
- Use stitch markers: Essential for keeping track when working in a spiral.
- Crochet flat seam: Single-crocheting through both sides creates a smooth, durable join.
- Yarn weaving: Weave tails along seams to hide them and reinforce the shape.
Crochet Fish Keychain Pattern
Materials
- Milk cotton yarn in two colors (blue and white), or any two contrasting colors of your choice
- 3 mm crochet hook (adjust if using thicker/thinner yarn)
- Flat black beads or safety eyes for eyes
- Keychain ring
- Yarn needle
- Glue gun or crochet glue (for assembling and eye attachment)
- Scissors
- Yarn/tail ends (can be used as stitch marker)
Finished Size
This fish is approximately 7-9 cm (about 3 inches) long depending on your yarn and tension, just right for a bag or keychain!
The Step-by-Step Pattern
Fish Body
Round 1:
- Make a magic circle.
- Chain 1. Work 6 single crochets (sc) into the ring.
- Pull the tail to tighten the ring.
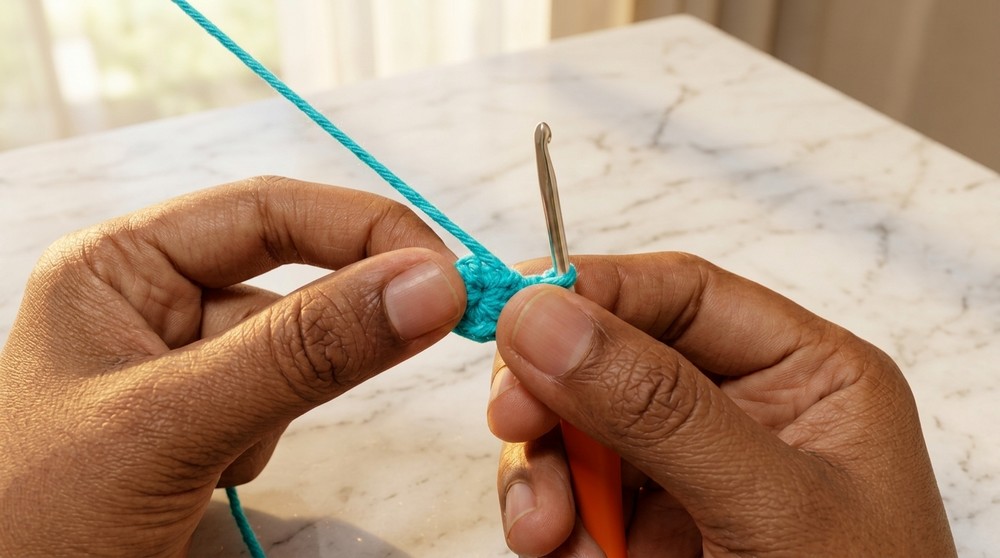
For beginners: Start by making a loop with your yarn (magic circle), chain once to secure, and then place 6 single crochets into that loop. Pull the end gently to close the hole.
Round 2:
- Work 1 sc in the first stitch,
- 2 sc in the next stitch (increase).
- Repeat (1 sc, 2 sc in next) around for the round. (9 stitches total).
Work one single crochet, then two in the next stitch, repeat until you finish the circle for gentle shaping. This round creates a slight oval, a "fishy" body!
Round 3:
- Work 1 sc in each of the next 2 stitches,
- 2 sc in the next stitch (increase).
- Repeat (2 sc, inc) around. (12 stitches total)
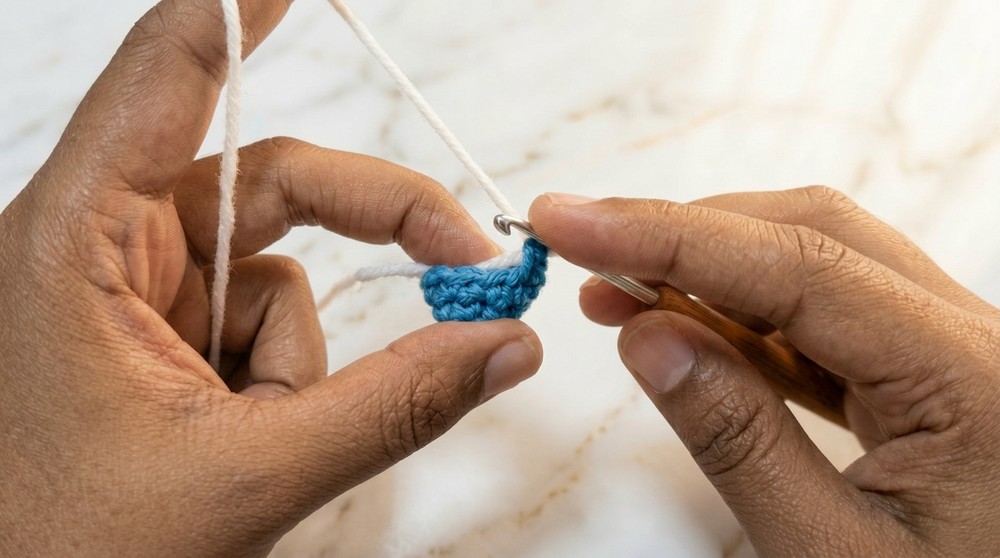
Crochet one single crochet in each of the next 2 stitches, two in the third. Repeat for a smooth body expansion.
Round 4:
- Change to white (or contrast color) at last stitch:
- 3 sc, increase in the next stitch. Repeat (3 sc, inc) three times (total 15 stitches).
Work three single crochets, two in next. Repeat. Finish last stitch with new color (see color change tip below).
Round 5:
- With white:
- 4 sc, increase.
- Repeat (4 sc, inc) three times (18 stitches total).
- Color change to blue in last stitch.
Change colors at the end by pulling through the new yarn before completing the final stitch; this yields tidy stripes.
Round 6:
- With blue:
- 5 sc, increase.
- Repeat (5 sc, inc) three times (21 stitches).
- Color change to white at the end.
Round 7:
- With white:
- 6 sc, increase.
- Repeat (6 sc, inc) three times (24 stitches).
- Color change to blue at the end.
Round 8:
- With blue:
- 7 sc, increase.
- Repeat (7 sc, inc) three times (27 stitches).
- Cut white yarn; continue with blue only.
Round 9:
- With blue only:
- 8 sc, increase.
- Repeat (8 sc, inc) three times (30 stitches).
Round 10:
- 9 sc, increase.
- Repeat (9 sc, inc) three times (33 stitches).
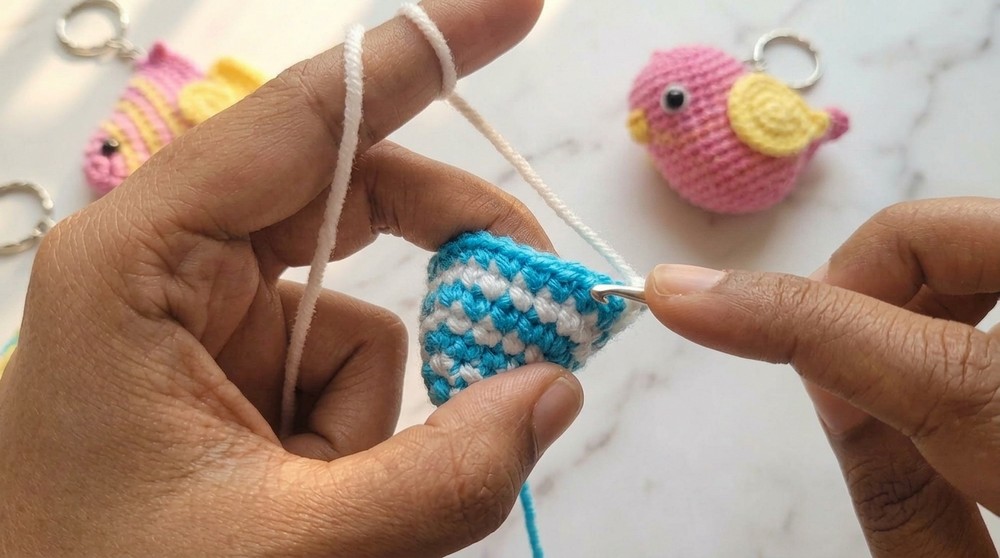
*To simplify: Work each round in a spiral, placing increases as stated (after every 1, 2, 3… stitches), and always finish the final stitch before a color change with your new yarn for crisp stripes.
Finishing the Body
- Slip stitch to the next stitch. Fold the fish body in half, lining up the edges.
- Chain 1. Single crochet through both layers to close the body, working through matching stitches on each side. Continue across, leaving no opening.
- Chain 1, cut yarn, pull end through to fasten off.
- Weave in tails neatly along seam for a clean finish.
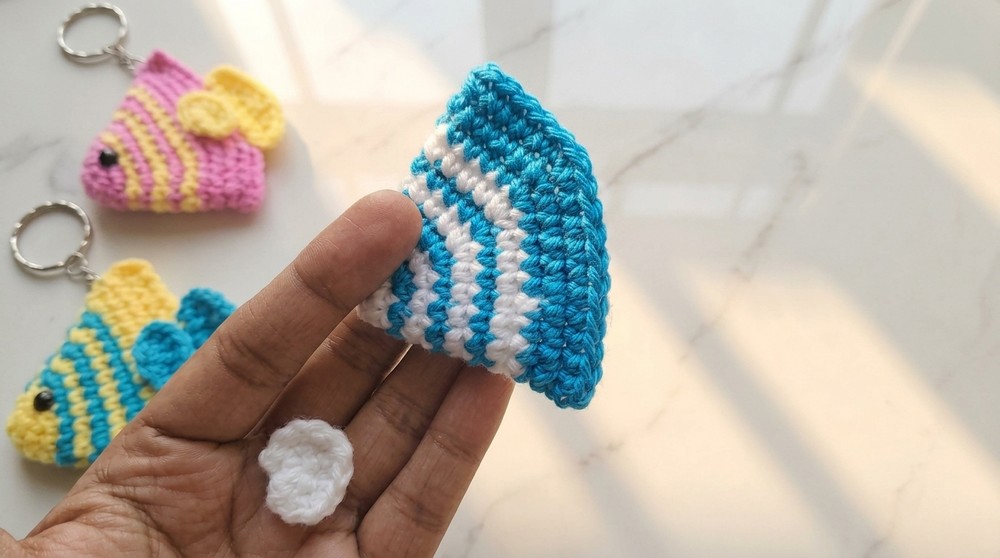
Fold body in half lengthwise, closing with single crochets through both front and back stitches ("whipstitch" with sc).
Tail Fin
- With white yarn, skip 5 stitches from body seam, insert hook into 6th stitch.
- Pull up a loop, chain 3 (counts as first double crochet).
- Into same stitch: 1 more double crochet (2 dc in same stitch).
- Next 4 stitches: 1 treble crochet (yarn over twice before inserting hook) into each.
- Next stitch: 1 double crochet.
- Chain 3, slip stitch into same stitch as last dc.
- Chain 1, fasten off, weave in ends.
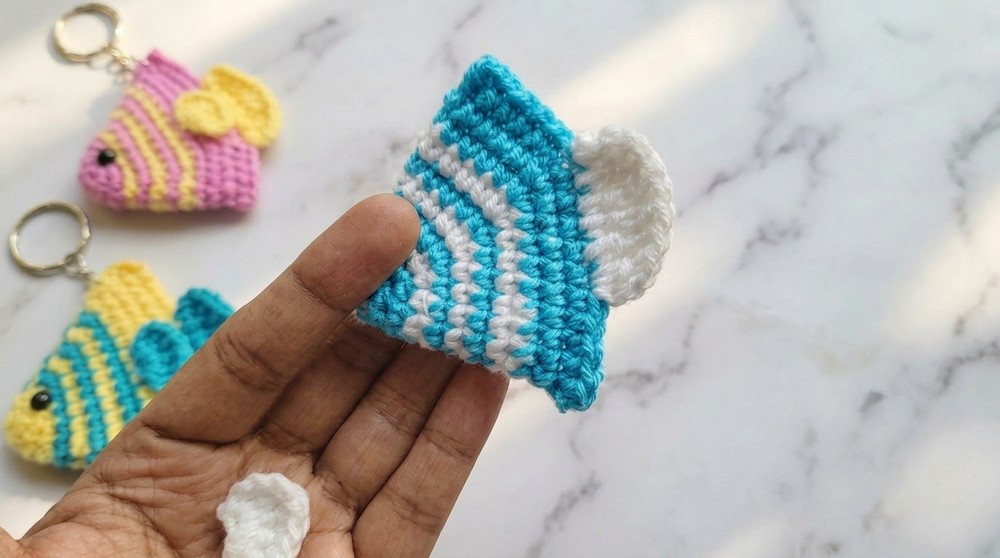
This creates a fan-shaped tail. The use of treble crochets (long, open stitches) makes it flexible and wavy!
Side Fins (Make 2)
- With white yarn, make a magic circle.
- Chain 3, work 4 double crochets into ring (5 dc total).
- Chain 3, slip stitch into ring.
- Chain 1, fasten off. Pull tail to close circle. Secure and weave in both tails.
Make two; these will be sewn or glued to the sides of your fish for cute, puffy pectoral fins!
Assembly
- Attach eyes: Glue flat black beads or stitch/embroider eyes near the front stripe of your fish.
- Attach fins: Using glue or needle and thread, affix one fin to each side.
- Attach tail: Make sure it is centered at the back.
- Attach keychain ring: Open ring, insert through top of fish, close securely.
Simple assembly - use glue or needle as you prefer for secure finishing.
Recommended For
- Beginners seeking fun, fast amigurumi projects
- Gift makers: a perfect, adorable, quick handmade present
- Crocheters practicing colorwork and assembly