
Bring your creative vision to life with the Crochet Cotton Candy Backpack. Inspired by the soft, pastel hues of classic carnival treats, this charming accessory is ideal for carrying small everyday essentials like your wallet, phone, or sunglasses. Lightweight yet sturdy, it's the perfect choice for casual outings, picnics, or even as a standout piece for festivals.

Pair it with flowy dresses, denim jackets, or cozy sweaters to add a playful and unique touch to your outfit. This project offers a chance to personalize colors and textures, ensuring the backpack reflects your own style. Practical and stylish, the design combines functionality with a whimsical charm that stands out in any setting.
Materials
Yarn:
- DK-weight yarn in rainbow colors:
- Cotton Candy
- Neutral-colored yarn for strap (such as white or cream).
Hook:
- 3.5 mm crochet hook (US Size E/4).
Accessories:
- Zipper: Approximately 20 cm long.
- Cardboard or stiff material: For reinforcing the base and sides.
- Fabric lining (optional): For reinforcing the inside of the backpack.
- Clips/Pins: To secure sections while sewing.
- Scissors: For cutting yarn and trimming edges.
- Tapestry Needle: To sew and weave ends.
Finished Size
- Height: Approximately 39 cm (15.3 inches).
- Width: Approximately 20 cm (7.9 inches).
- Strap Length: Adjustable, around 95 cm (37.4 inches).

Optional Decoration:
- Felt or crocheted clouds and sun for embellishment.
Gauge
Gauge is flexible for this project, but ensure consistency throughout:
- 10 stitches x 10 rows = 8 cm x 8 cm (3.1" x 3.1") using DK-weight yarn and a 3.5 mm hook.
Trendy Crochet Cotton Candy Backpack Pattern
Welcome to this comprehensive step-by-step guide to crocheting a rainbow backpack, ideal for kids or personal use. This backpack is colorful, functional, and sturdy. It features a beautiful rainbow-inspired pattern, a zipper closure, and adjustable straps. Follow along to create this stunning project efficiently.
Step 1: Backpack Base
- Foundation Chain:
- Start with a slip knot and chain 13 stitches.
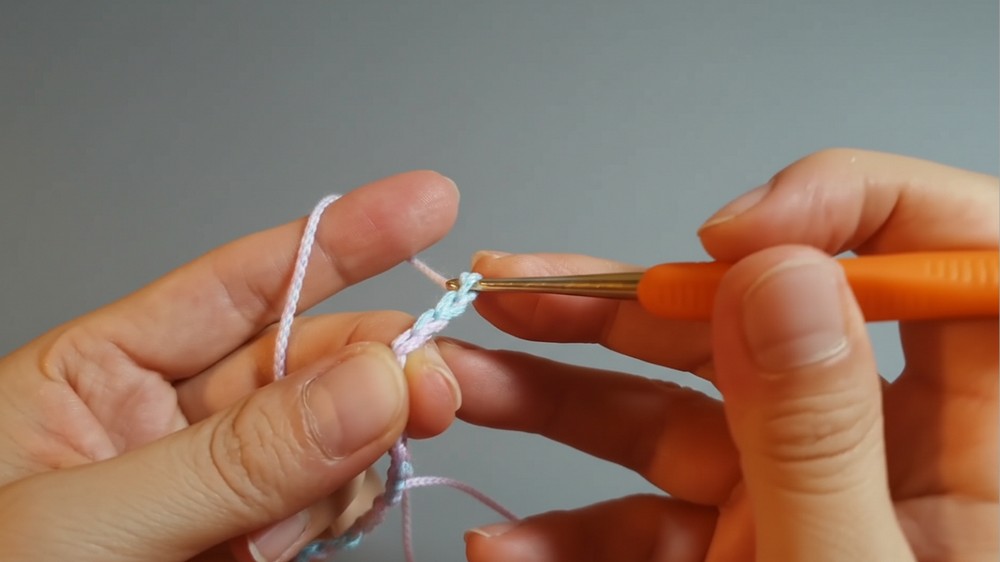
- Start with a slip knot and chain 13 stitches.
- First Row:
- Begin crocheting in the third chain from the hook (counting backward).
- Work 10 single crochet (sc) stitches along this chain, leaving 2 chains unused at the end.
- Corner and Round Base:
- In the last stitch, work 8 single crochets to form the rounded edge of the base.
- Continue working symmetrically along the other side of the foundation chain:
- Work 10 single crochet stitches in the back loops only.
- Repeat Rounds:
- For subsequent rows, crochet a single stitch into each stitch on the straight edges, and increase at the rounded edges:
- Increase stitches: Work 2 single crochets into each stitch around the curves of the base.
- Crochet for approximately 4 rows, ensuring the base shape remains symmetrical.

- For subsequent rows, crochet a single stitch into each stitch on the straight edges, and increase at the rounded edges:
Step 2: Creating the Backpack Walls
- Start the Walls:
- On the next row, switch to Back Loop Only (BLO) crochet to define the edge and create a seamless transition between the base and walls.
- Build Upward:
- Work one single crochet (sc) into each stitch in continuous rounds to form the backpack's cylindrical structure.
- Add Height:
- Work 130 rows in total (or until the desired height is reached). Alternate yarn colors in a rainbow sequence:
- Change the yarn color every third row to create stripes.
- Work 130 rows in total (or until the desired height is reached). Alternate yarn colors in a rainbow sequence:
- Even Rows:
- For even rows, crochet directly into the stitches, without increasing or modifying the stitch pattern.
- Odd Rows (Increase Rows):
- For odd-numbered rows, include increase stitches:
- Work two double crochets (dc) together at marked spots to add subtle width.
- For odd-numbered rows, include increase stitches:
Step 3: Zipper Section
- Prepare the Zipper Space:
- At row 130, stop crocheting in a complete circle. Leave space for the zipper between two rows:
- Work 4 stitches on both sides, leaving 2 skipped stitches in the middle.
- At row 130, stop crocheting in a complete circle. Leave space for the zipper between two rows:
- Secure the Zipper:
- Use pins to align the zipper with the space created.
- Carefully sew the zipper in place using a tapestry needle and sewing thread.
Step 4: Straps
- Foundation Chain for Straps:
- Chain 6 stitches, starting with a slip knot.
- Single Crochet Rows:
- Work 1 single crochet (sc) in each chain stitch, turn, and repeat for a strap length of 95 cm.
- Sewing the Straps:
- Fold the strap into two sections:
- One section will act as a handle (15 cm), while the remaining part will be the adjustable shoulder strap.

- Using a tapestry needle, sew the strap securely to the backpack body:
- Attach one end to the base sides and the other end to the upper back edge of the backpack.

- Attach one end to the base sides and the other end to the upper back edge of the backpack.
- Fold the strap into two sections:
Step 5: Reinforcement and Lining
- Cut Stiffening Material:
- Use cardboard or reinforced fabric to create a firm lining for the backpack base and sides.
- Cut pieces precisely to match the measurements of the crocheted sections.
- Secure the Lining:
- Attach the lining using fabric glue or sew it into the interior of the backpack.
Step 6: Final Touches
- Decorative Edge:
- Add final rows using slip stitches along all edges to create a clean finish.
- Attach Embellishments:
- Use crocheted or felt clouds and sun pieces to decorate the outside of the backpack for a fun, playful look.
- Weaving Ends:
- Trim loose yarn ends and weave them into the fabric with a tapestry needle.
Special Techniques
- Back Loop Only (BLO):
- Creates a distinct edge by working into the back loop of each stitch.
- Invisible Increase:
- Use two double crochets together (dc2tog) for smooth width expansion.
Customization Ideas
- Personalized Colors:
- Use pastel shades or monochrome hues to suit specific styles.
- Additional Pockets:
- Add internal or external pockets for organization.
- Handle Styles:
- Replace the crochet strap with leather or other sturdy materials.
Conclusion
Creating this Cotton Candy Backpack is a rewarding project, combining functionality with aesthetic appeal. Its sturdy structure, vibrant color scheme, and practical features make it an excellent addition to your collection or a thoughtful handmade gift. With reinforced straps and lining, it's built to last while being playful and full of charm.
Optional Add-Ons
- Tassels or Fringe:
- Add decorative tassels to the zipper or edges for playful details.
- Name Embroidery:
- Personalize the backpack with the recipient's name on the back panel.