
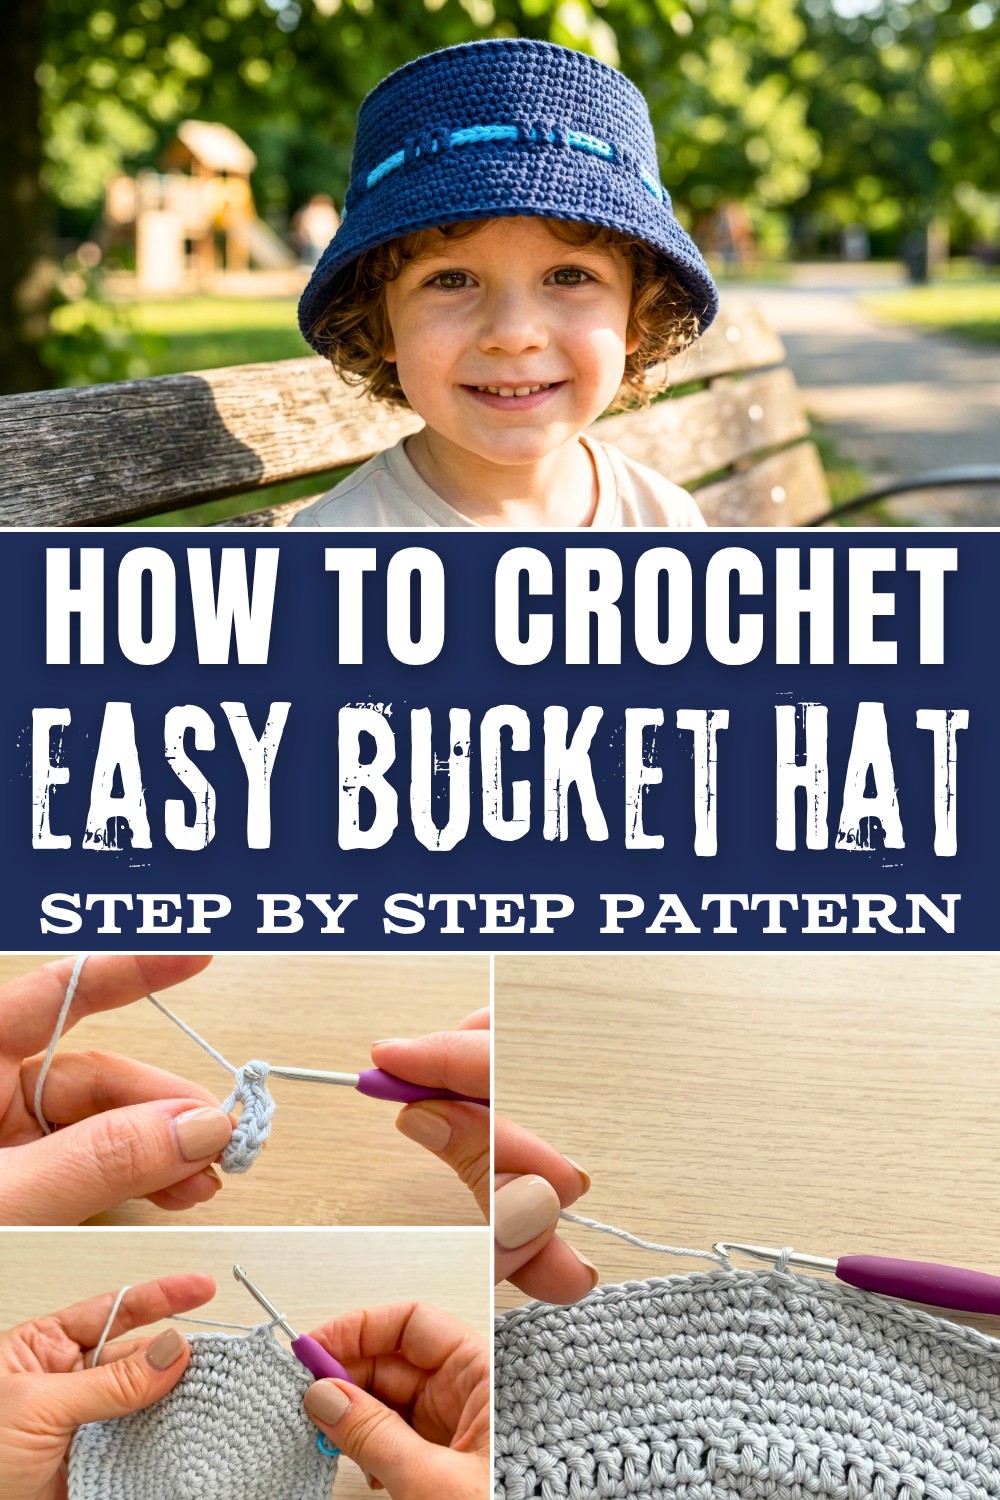
Solve your need for versatile headwear with the Free Crochet Bucket Hat Pattern, an innovative way to boost your fashion game everyday.
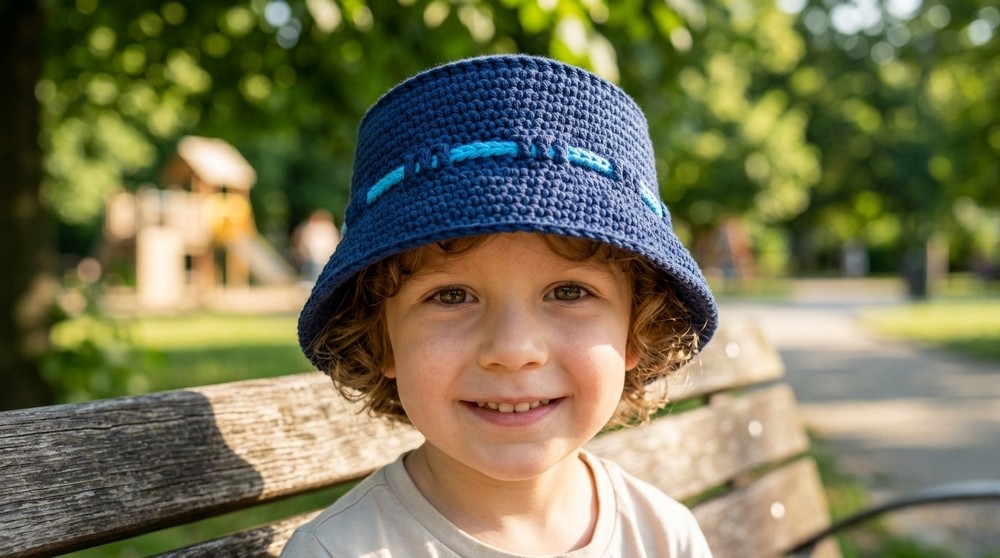
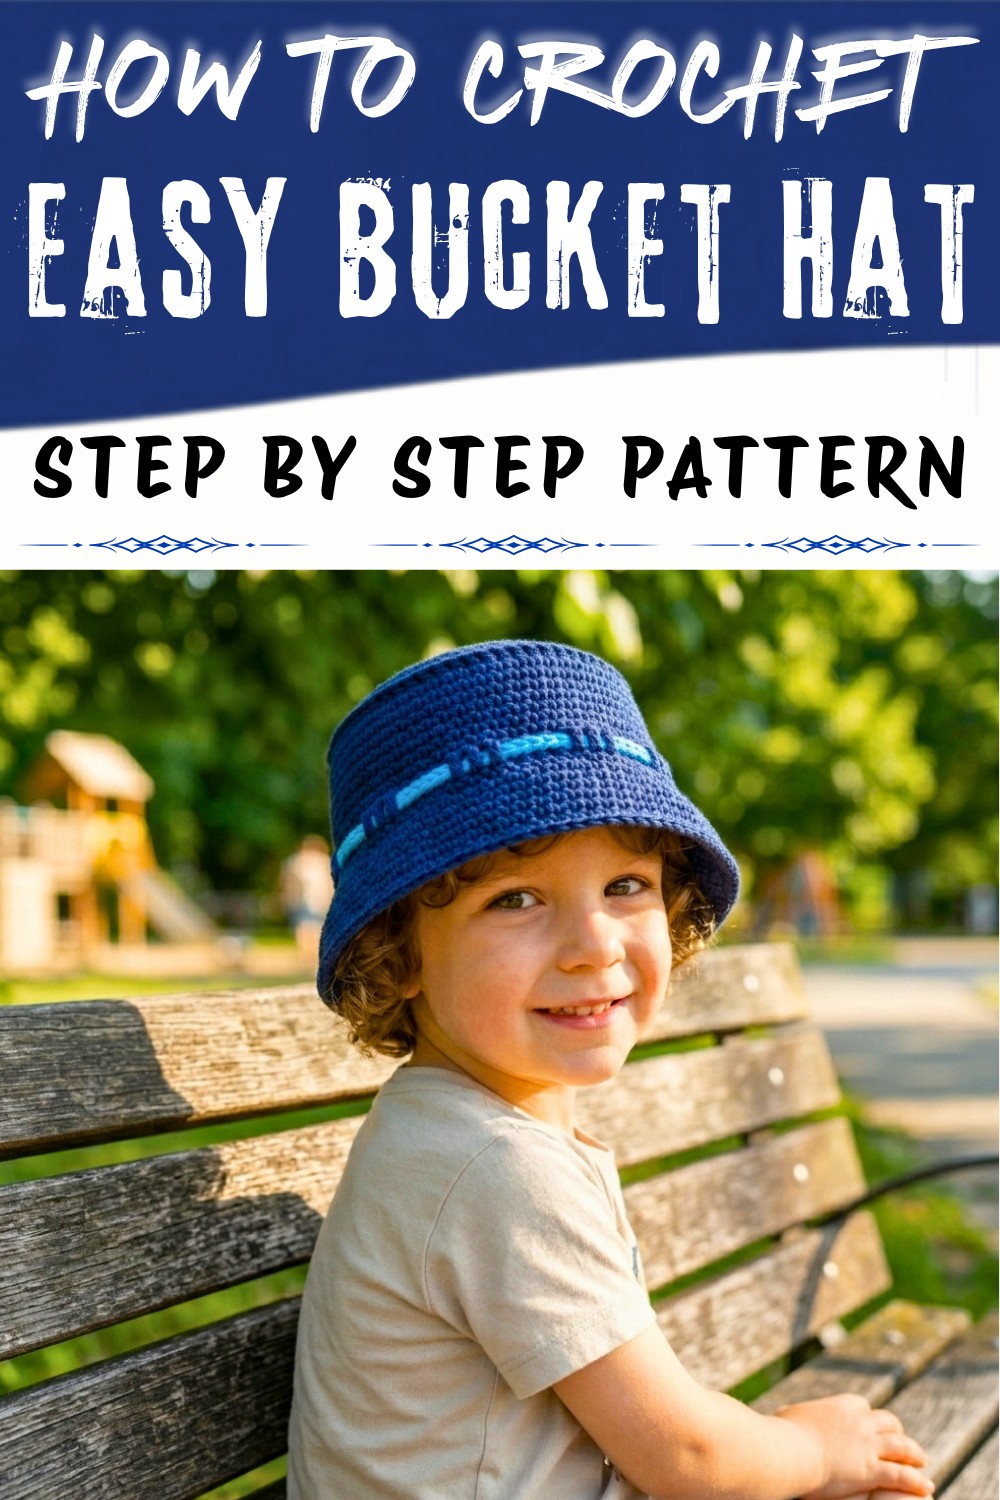
There's something stunning about creating your own crochet project, and this bucket hat pattern is a delightful way to bring form and function together. I've always loved the versatility of bucket hats-they're perfect for adding a stylish touch to any outfit while offering protection from the sun. What makes this pattern even better is how customizable it is! Whether you choose soft pastels for a playful look or vibrant and bold colors for a statement piece, the pattern lets your creativity shine. Plus, with the addition of a decorative braided band, you can personalize it even further.
This pattern uses single crochet stitches to build the structure, starting with a magic circle for a seamless and sturdy base. What sets this apart is the clever use of stitch increases that shape the crown and brim of the hat. There's also a slip stitch edging to give the brim a professional finish and the option to create a braided band for visual interest. These techniques combine simplicity with elegance, making the bucket hat both functional and eye-catching. Once completed, the textured brim, secure fit, and polished edges will make it a wardrobe favorite for kids or even adults with a larger version.
free Guidance to crochet bucket hat pattern for breezy days out
What You'll Learn
From this pattern, you'll master fundamental crochet skills like creating a magic circle, using stitch markers to track progress, and working in rounds. You'll also learn advanced techniques, including evenly spaced stitch increases for shaping, post stitches for textured edges, and slip stitches for clean finishes. These techniques open the door to crocheting not only bucket hats but also scarves, bags, placemats, and coasters using similar methods!
What You Can Make With These Skills
- Stylish bucket hats for children and adults
- Textured sun hats for outdoor fun
- Decorative placemats or coasters with unique edge finishes
- Braided rope embellishments for other crochet projects
- Simple yet elegant crochet bags
- Cozy headbands or wrist cuffs
This pattern is truly versatile and beginner-friendly, allowing you to create not just hats but an array of items inspired by the techniques learned. It's a great stepping stone to becoming a confident and creative crocheter!
Step-by-Step Crochet Pattern: Bucket Hat
Skill Level
Intermediate
Includes techniques for working a perfect circular crown, shaping a brim with increases, and weaving a decorative braided band.
Finished Size
- Head Circumference: 17-18 inches (43-46 cm), suitable for 1-2-year-olds.
- For larger sizes (e.g., adult small): Follow notes to increase diameter and brim width.
Materials
- Yarn:
- Medium-weight yarn (#4) acrylic or cotton. Use dark blue color for the hat. You may use a contrasting color for the band.
- Hook Size:
- 4.5 mm crochet hook (adjust as necessary for your tension).
- Additional Supplies:
- Scissors
- Darning Needle: For weaving ends and band assembly.
- Stitch Marker: Essential for marking the first stitch of each round.
Key Abbreviations (US Terminology)
| Abbreviation | Description |
|---|---|
| ch | Chain |
| sc | Single Crochet |
| sl st | Slip Stitch |
| st | Stitch |
| inc | Increase (2 sc in 1 st) |
Special Notes
- Circular Crown Sizing: Adjust rounds and diameter as needed for larger head sizes.
- Marker Use: Always use a stitch marker to track the beginning and end of every round for consistent increases.
- Adjustments for Larger Hats: To make a larger hat, stop increasing when the crown reaches the desired diameter (refer to sizing charts for head circumference and crown diameter).
Pattern Instructions: Crochet Bucket Hat
Part 1: Crown
This section creates a perfect circle for the top of the hat.
Round 1:
- Begin with a magic circle.
- Ch 1, then work 6 sc into the circle.
- Pull the tail snug to close the circle.
- Do not join; you will work in a spiral.
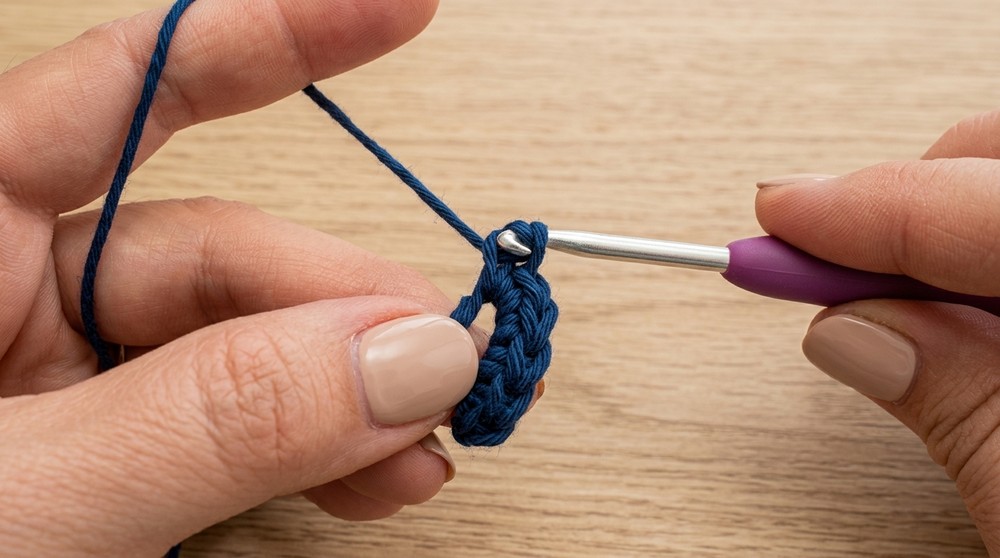
- Do not join; you will work in a spiral.
Round 2:
- Work 2 sc in each st around.
- Stitch Count: 12 sts.
Round 3:
- Work 1 sc in the first st, place a stitch marker in this st.
- Pattern: [1 sc, 2 sc in next st] around.
- Stitch Count: 18 sts.
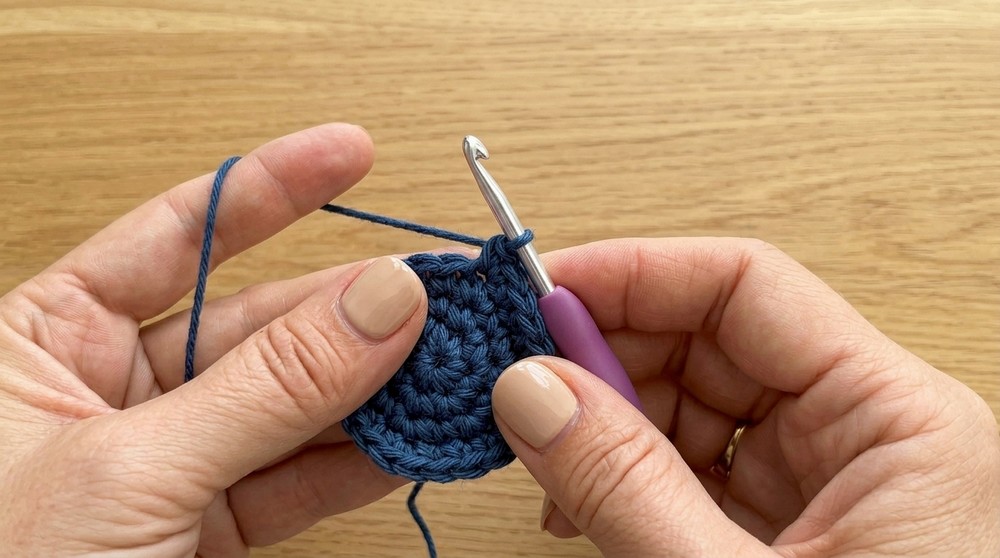
Round 4:
- Work 1 sc in each of the first 2 sts, then 2 sc in the next st.
- Pattern: [1 sc, 1 sc, 2 sc] repeat.
- Stitch Count: 24 sts.
Round 5:
- Work 1 sc in each of the first 3 sts, then 2 sc in the next st.
- Pattern: [1 sc, 1 sc, 1 sc, 2 sc] repeat.
- Stitch Count: 30 sts.
Round 6:
- Add 3 single crochet stitches to shift the "hexagon" shape to a smoother circle.
- Work 1 sc in each of the first 4 sts, then 2 sc in the next st.
- Pattern: [4 sc, 2 sc] repeat.
- Stitch Count: 36 sts.
Round 7:
- Add 4 single crochet stitches for smooth shaping.
- Work 1 sc in each of the first 5 sts, then 2 sc in the next st.
- Pattern: [5 sc, 2 sc] repeat.
- Stitch Count: 42 sts.
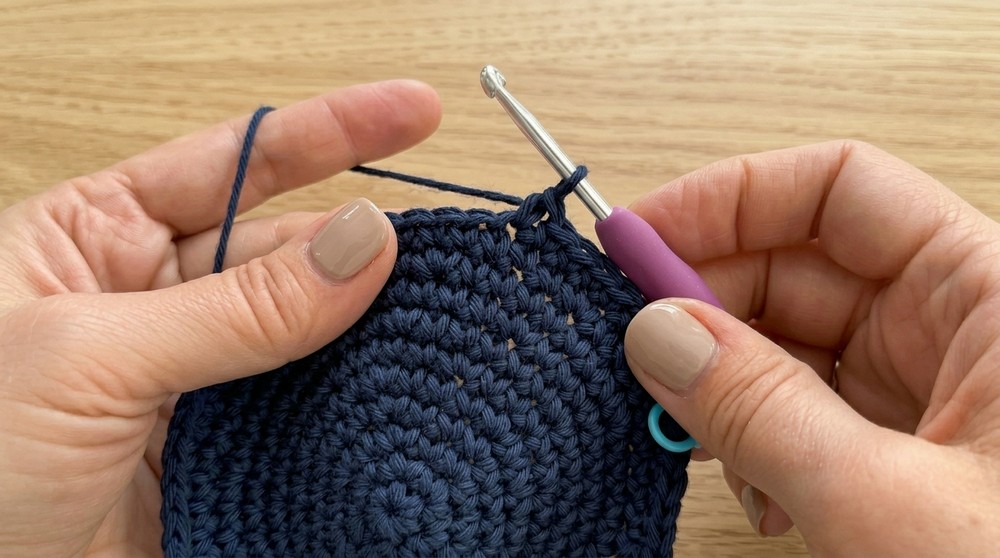
Round 8:
- Add 4 single crochet stitches for smooth shaping.
- Work 1 sc in each of the first 6 sts, then 2 sc in the next st.
- Pattern: [6 sc, 2 sc] repeat.
- Stitch Count: 48 sts.
Round 9:
- Add 5 single crochet stitches for smooth shaping.
- Work 1 sc in each of the first 7 sts, then 2 sc in the next st.
- Pattern: [7 sc, 2 sc] repeat.
- Stitch Count: 54 sts.
Round 10:
- Add 5 single crochet stitches for smooth shaping.
- Work 1 sc in each of the first 8 sts, then 2 sc in the next st.
- Pattern: [8 sc, 2 sc] repeat.
- Stitch Count: 60 sts.
Part 2: Wall Section
Row Setup:
- Mark first st; work 1 row of sc around the edge using post stitches for definition:
- Insert your hook around the post of each st and work 1 sc.
Remaining Rows:
- Work 1 sc in each st around for 6-7 rows (adjust height as needed).
- Slip stitch to join the last row.
Part 3: Brim
Brim Setup:
- Work 1 row of double crochet for structure:
- Ch 3 (counts as double crochet), then 1 dc in each st around.
- Slip stitch to top of ch 3.
Brim Increase:
- Next round sc increases for flare:
- [1 sc, 1 sc, then 2 sc in next st].
- Repeat pattern for entire round.
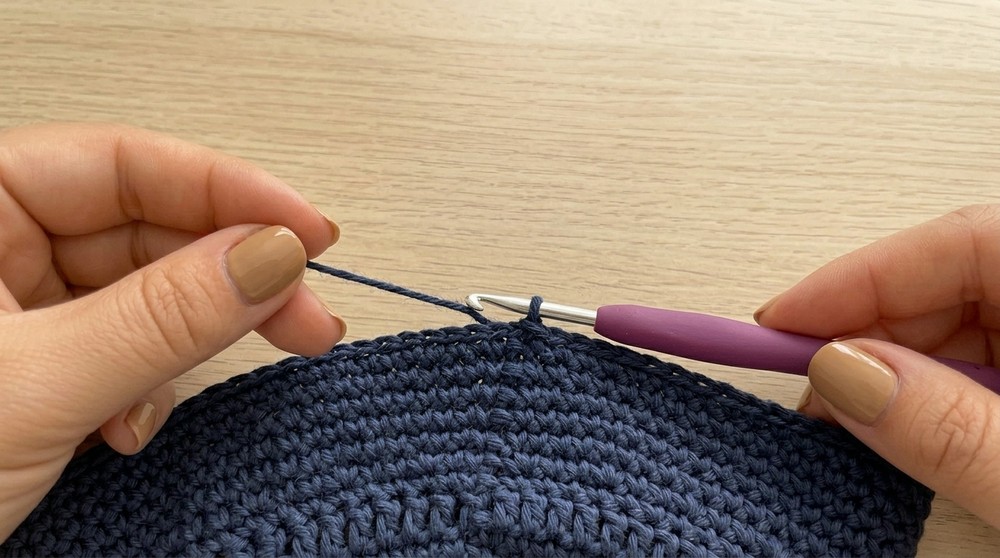
Brim Rows:
- Work 5 additional rows of sc without increases to lengthen the brim.
Final Edging:
- Work reverse single crochet (crab stitch) around the final row for decoration and structure.
Part 4: Decorative Band
Braided Band:
- Using a contrasting colored yarn, create a braided rope:
- Start: Slip knot.
- Insert into the back loop of the chain, pull directly through.
- Continue pulling through first loop to create the braid.
- Adjust the band length, ensuring it fits around the hat seamlessly.
Attaching Band:
- Thread band through the hat's base using a large plastic darning needle.
- Finish tying the ends on the inside of the hat, securing the band firmly.
Finishing
- Weave Ends: Use a darning needle to securely weave all loose ends.
- Check Shape: Smooth out any uneven areas. Proper blocking can improve shaping if required.
Conclusion
The Bucket Hat is complete and can be customized for different sizes and styles. Whether with contrasting bands, additional brim rows, or varied edging styles, this hat is versatile and stylish for all ages.
Pattern Corrections
- Ensure correct stitch count for circular rounds to retain symmetry.
- If the crown doesn't lay flat, tension inconsistencies might need adjustment.
Tips for Success
- Use a stitch marker for round tracking to prevent errors.
- Weave ends neatly to ensure durability.
- Ensure the band is securely attached to avoid loosening during use.
Some Challenges And Their Solutions
Like any crochet project, you may encounter a few challenges while working on this bucket hat pattern, especially if you're new. One common difficulty is maintaining consistent tension, which is important for shaping the crown and brim evenly. To solve this, take your time, relax your hands, and check your stitch count after each round. Another tricky part might be the magic circle at the start, but you can practice it a few times beforehand or use a simple chain loop as an alternative. Additionally, evenly spacing the increases can feel overwhelming, but using stitch markers to mark increments makes the process much easier. Remember, slowing down and working step by step will lead to success!